BitRaser Drive Eraser for Chromebook

BitRaser Drive Eraser for Chromebook / 4. How to / 4.2. Begin Erasure Process
4.2. Begin Erasure Process
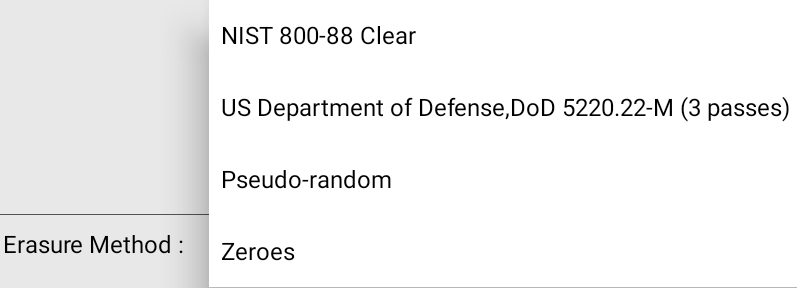
BitRaser Drive Eraser for Chromebook provides users with a solution for securely erasing data from Chromebooks, offering four distinct Erasure Methods. These methods customize the erasure session according to user preferences and needs, ensuring thorough data erasure. Additionally, the application includes Verification options, to confirm the permanent data erasure. This section will guide you through the step-by-step process of successfully performing Chromebook erasure using BitRaser Drive Eraser for Chromebook and utilising all its features.
Erase data using BitRaser Drive Eraser for Chromebook:
-
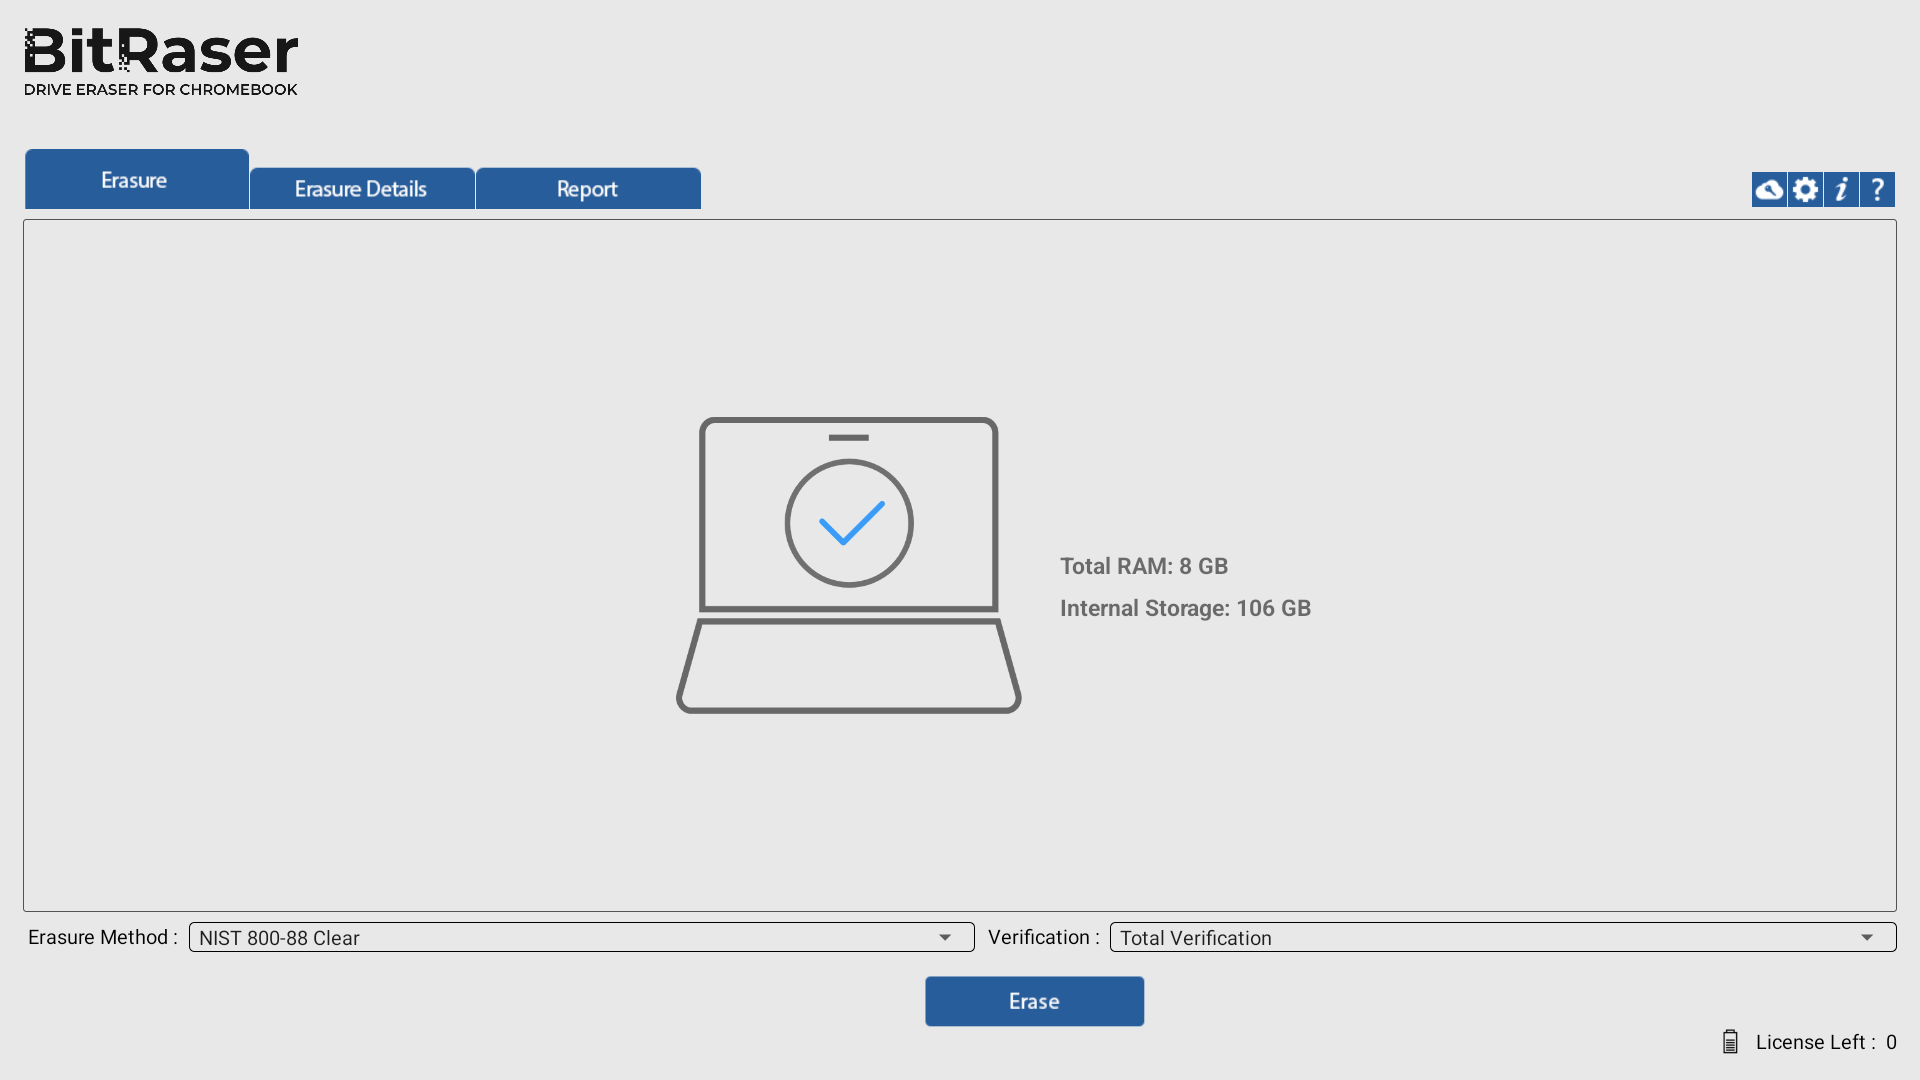
Run the BitRaser Drive Eraser for Chromebook application. The screen would be as shown below:

-
The Total RAM and Internal Storage information appears on the screen.
-
Customize your Erasure Process by selecting an erasure and verification method:
-
Set the Erasure Method from the drop-down list.

-
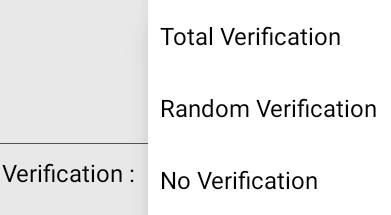
Set the Verification Method from the drop-down list.

-
Note: Depending on the type of Erasure Method that you have selected, the Verification method may or may not be available
- Click
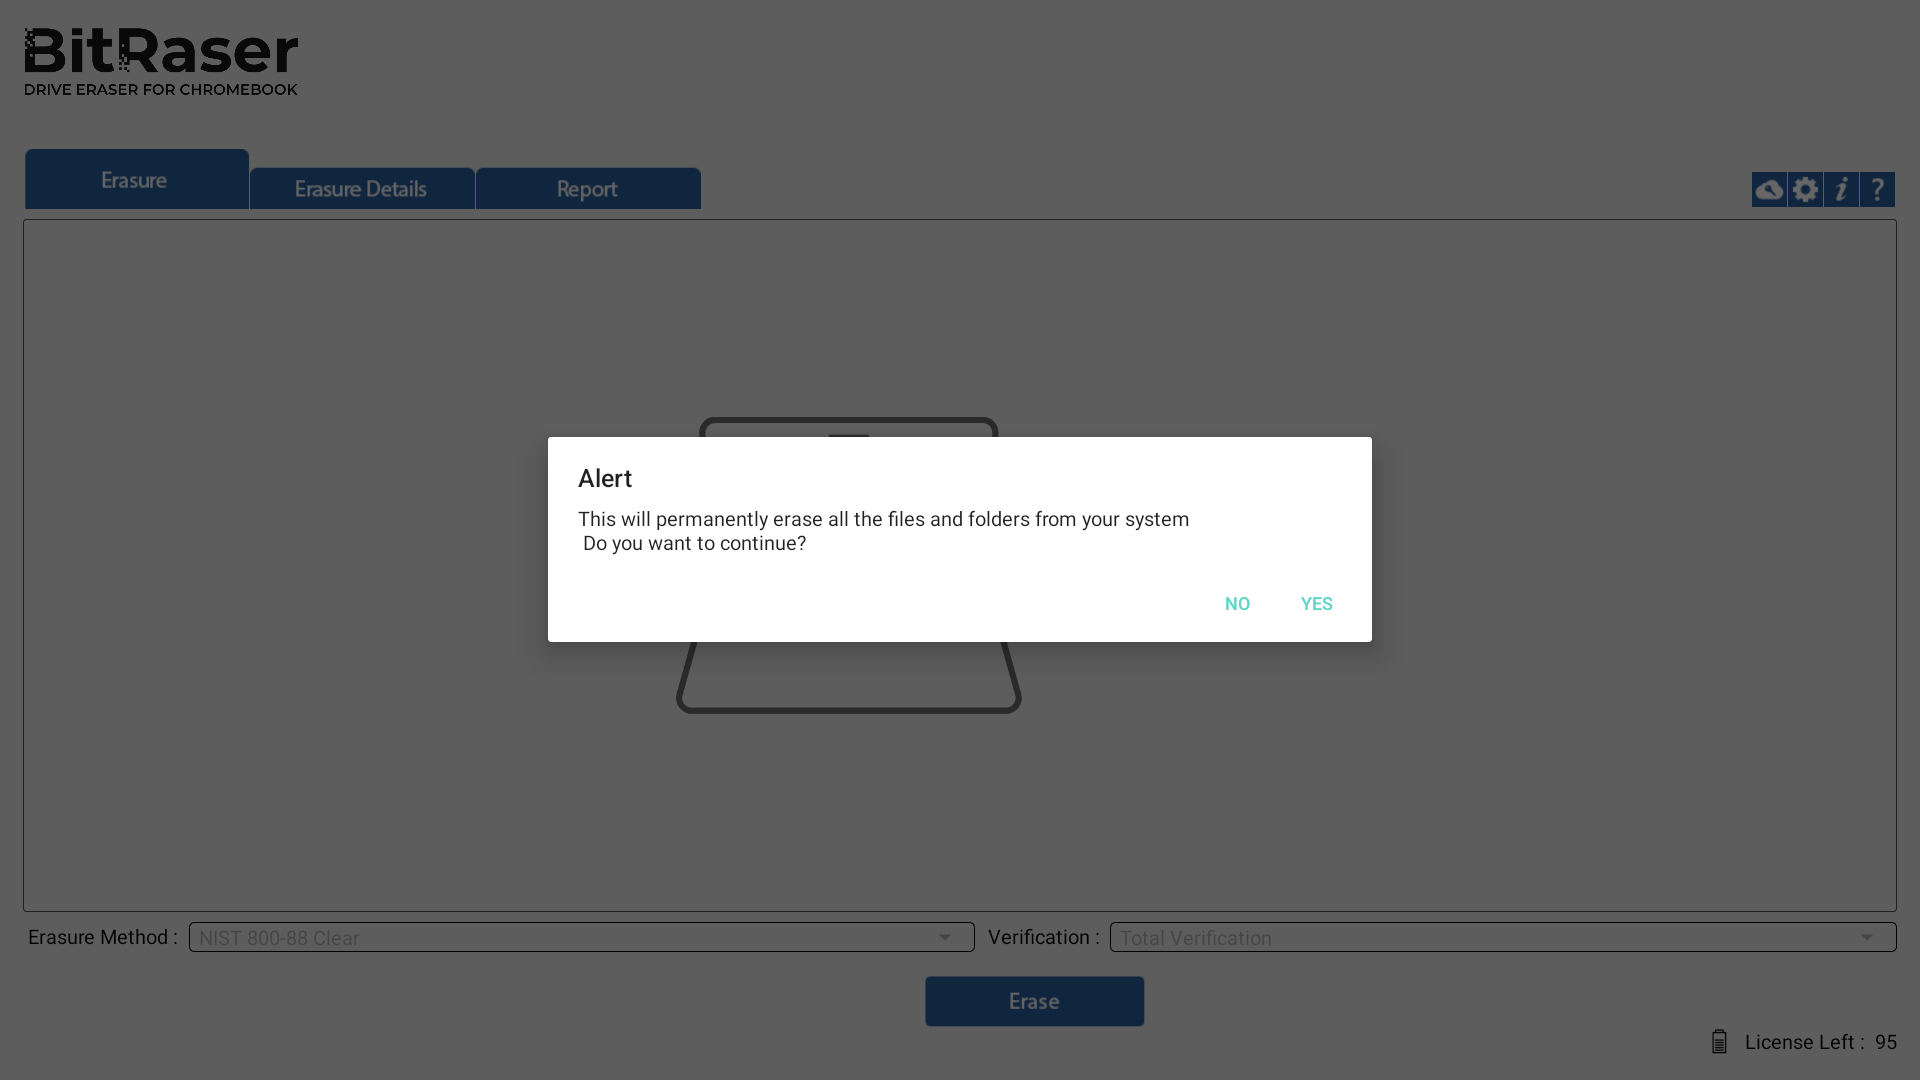
 to initiate the erasure process. The following screen appears:
Caution: BitRaser Drive Eraser for Chromebook erases the selected storage device beyond recovery. Back up the data that you want to preserve from your storage device before starting the erasure process.
- An Alert screen will prompt, "This will permanently erase all files and folders from your system. Do you wish to continue" Click Yes to initiate the erasure process or No to cancel the action.

Note: To disable the system prompt before the erasure process, click on  and Check the "Don't show alert message before erasing" checkbox. This will prevent the alert from appearing before initiating the erasure process.

Caution: At this stage, BitRaser Drive Eraser for Chromebook accesses the license information, and the process cannot be stopped before the erasure is completed.
- A progress bar as shown below, shows the progress of the erasure along with the percentage of data erasure. The Erasure process takes place in 2 stages:
-
Stage 1: During this stage, BitRaser Drive Eraser for Chromebook prepares the system for erasure.

-
Stage 2: During this stage, the erasure method selected by the user runs and the data on the Chromebook is erased permanently.

Note: The time required for the erasing process depends on the number of files stored in your system and your selected erasure method.
Tip: If you wish to speed up the process, Select Zeroes from the erasure method.
-
Once initiated, you cannot stop the erasing process through the application. If you wish to halt the process, you must force-stop the application from the Taskbar.
Note: If you open the application after force-stopping it, the license will be consumed, but the report will not be sent. You will need to restart the erasure process and let it complete again, which will consume another license.
- After the erasure process is completed, BitRaser Drive Eraser for Chromebook will prompt you to power wash your system. Click OK and initiate a power wash.

Note: To disable the system prompt after the erasure process, navigate to the settings and Check the "Don't show alert Powerwash message after erasing" checkbox. This will prevent the alert from appearing after initiating the erasure process.

 3. Getting Started