BitRaser USB Creator for Mac

BitRaser USB Creator for Mac / 4. How to / 4.1. Work with BitRaser USB Creator for Mac
4.1. Work with BitRaser USB Creator for Mac
Create bootable media to erase your Macs using BitRaser USB Creator for Mac. The software creates the media for old Intel based Macs and also for Macs having T2/ M1/ M1 Max/ M1 Pro/ M2 / M3 etc. chipset. Before getting started with the boot media creation process, please ensure that you have a suitable storage media available as per the storage space requirement listed below:
| Mac Type | Media Type | Model |
| T2 chip and above | 32 GB USB Drive | T2 / M1 / M1 Max / M1 Pro / M2 / M3 etc. |
| Others | 32 GB USB Drive | Older Intel chipset based Macs |
An active internet connection must be available on the Mac running the boot media creation process as the software requires downloading of few components during the process.
At least 40 GB of free space is required on the Mac running the software.
Full Disk Access to the software on the Mac having MacOS Catalina or higher operating system.
Steps to Create Bootable Media:
1. Launch BitRaser USB Creator for Mac.
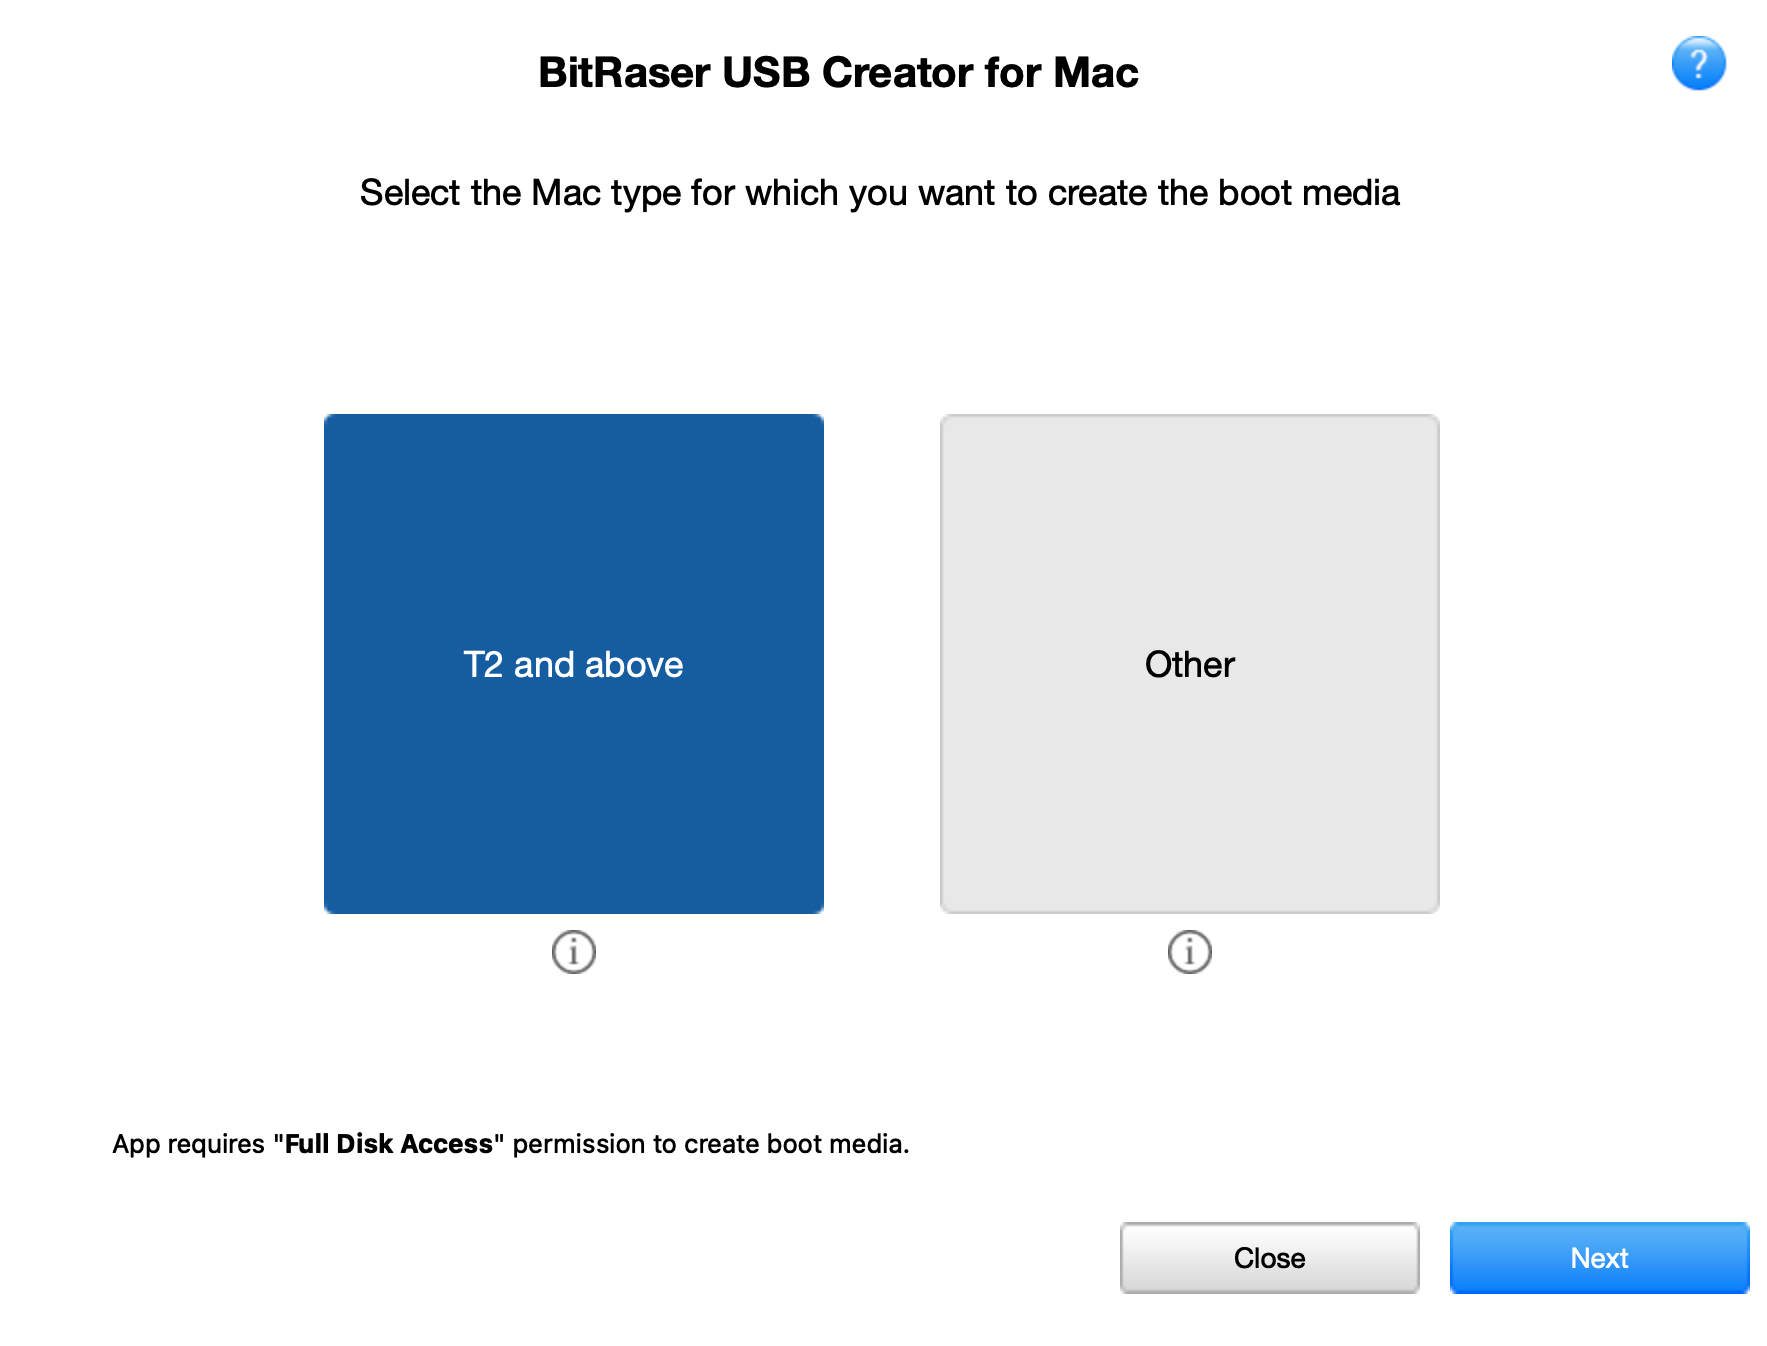
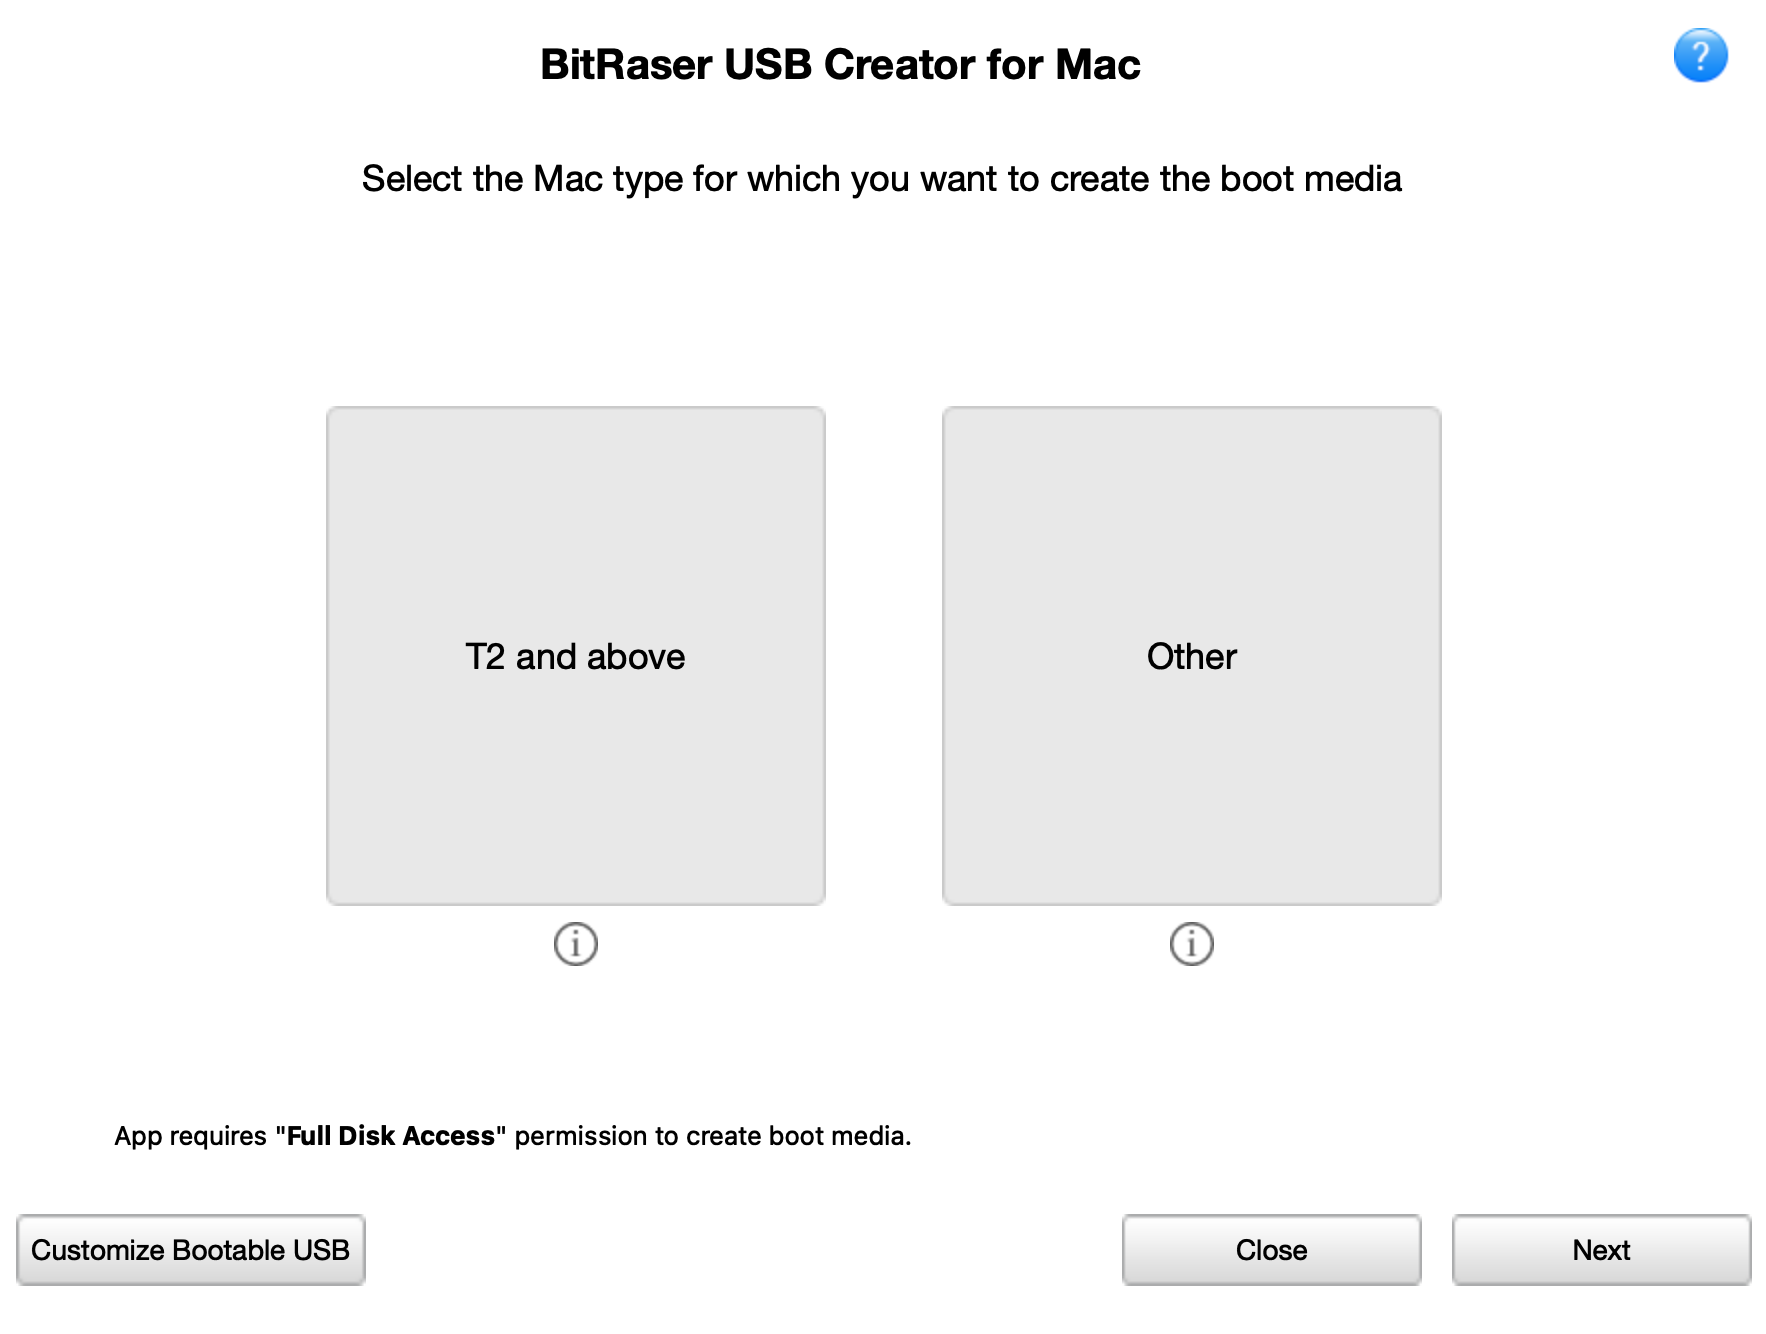
2. Select the Mac type for which you want to create the boot media and click Next.
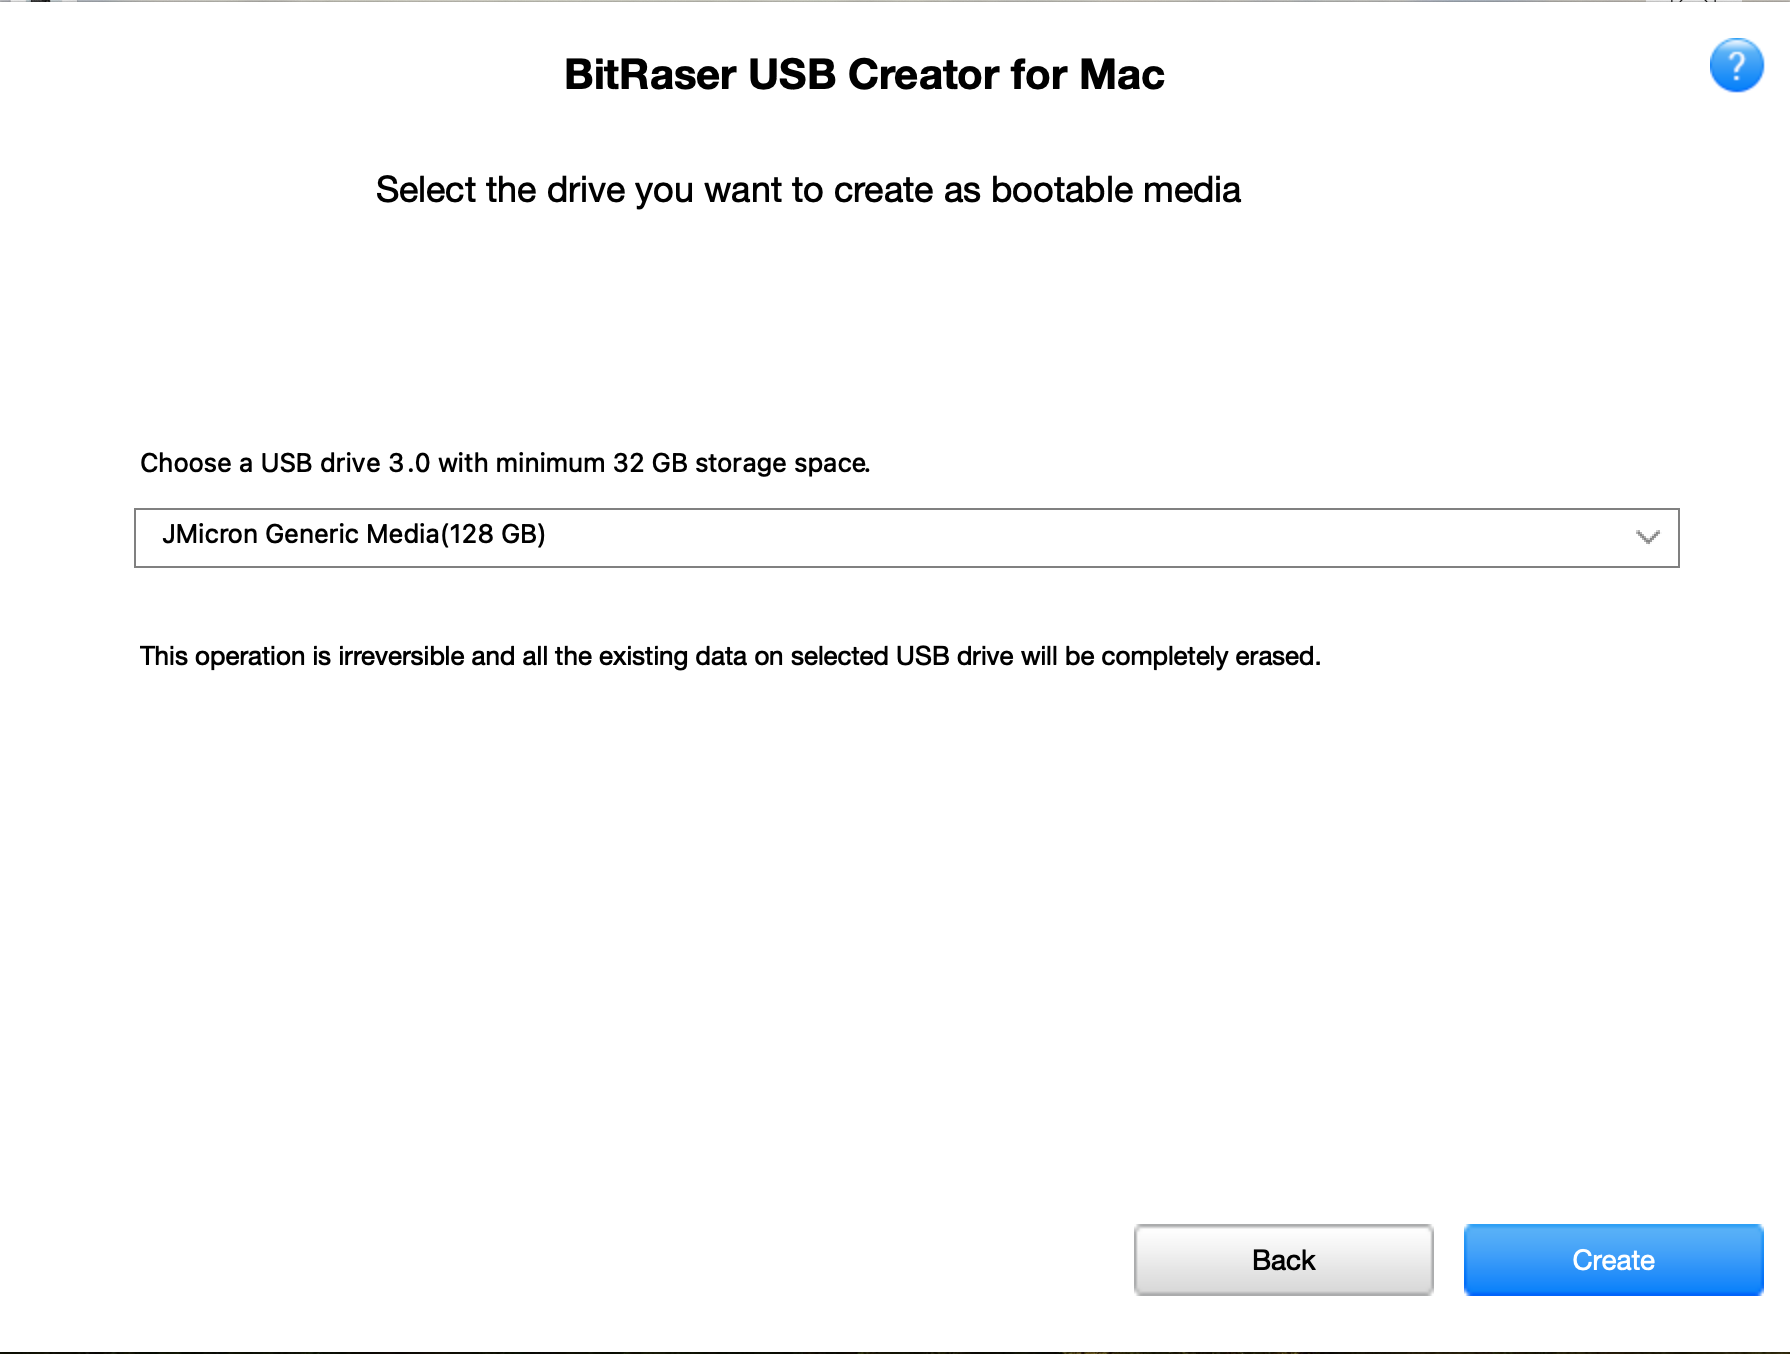
3. From the dropdown list, select the relevant drive you want to create as bootable media and click Create.
4. A confirmation message "Selected storage media will be erased while creating bootable drive and all the data on the drive will be lost" appears. Click Continue to start the process.
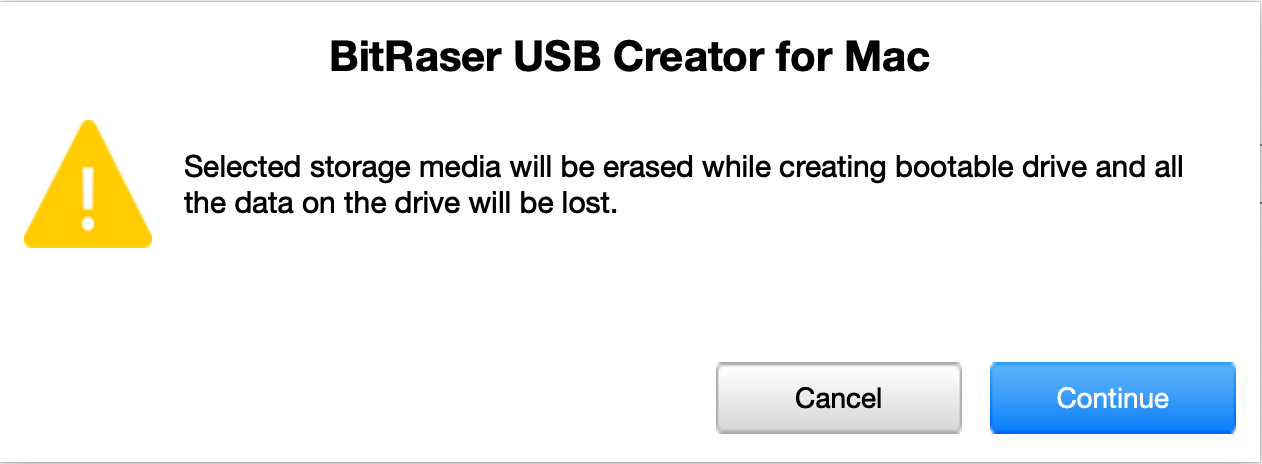
Note: All the data on the selected storage media will be erased permanently and the process is irreversible.
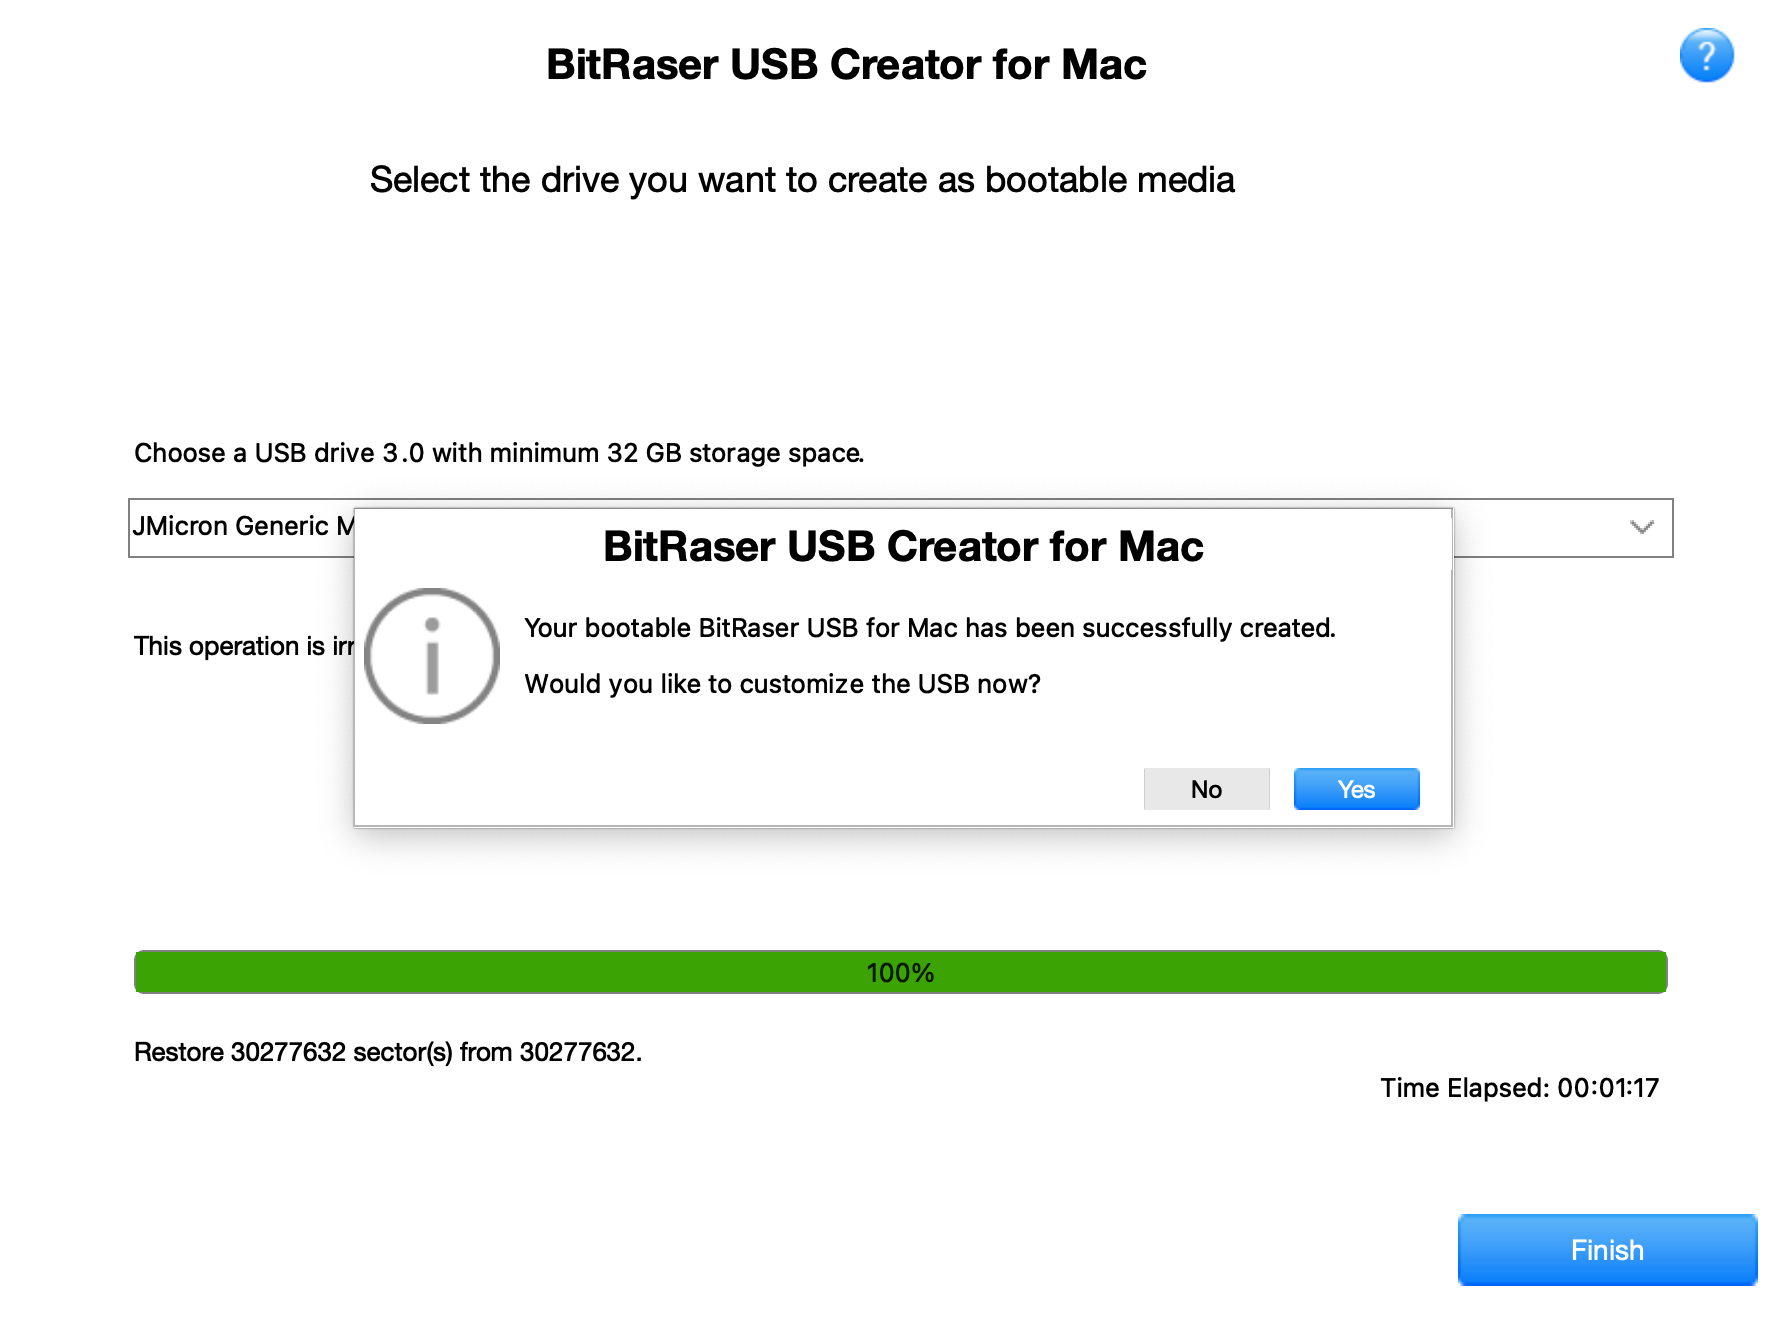
5. The status of the process is displayed on a progress bar.
Note: The process may take several minutes to complete.

6. A dialog box appears with the message ‘Your bootable BitRaser USB for Mac has been successfully created.’ Click Yes to Customize the USB.
7. Once you click Yes, a dialog box appears prompting you to eject and re-insert the bootable USB to initiate the customization process.
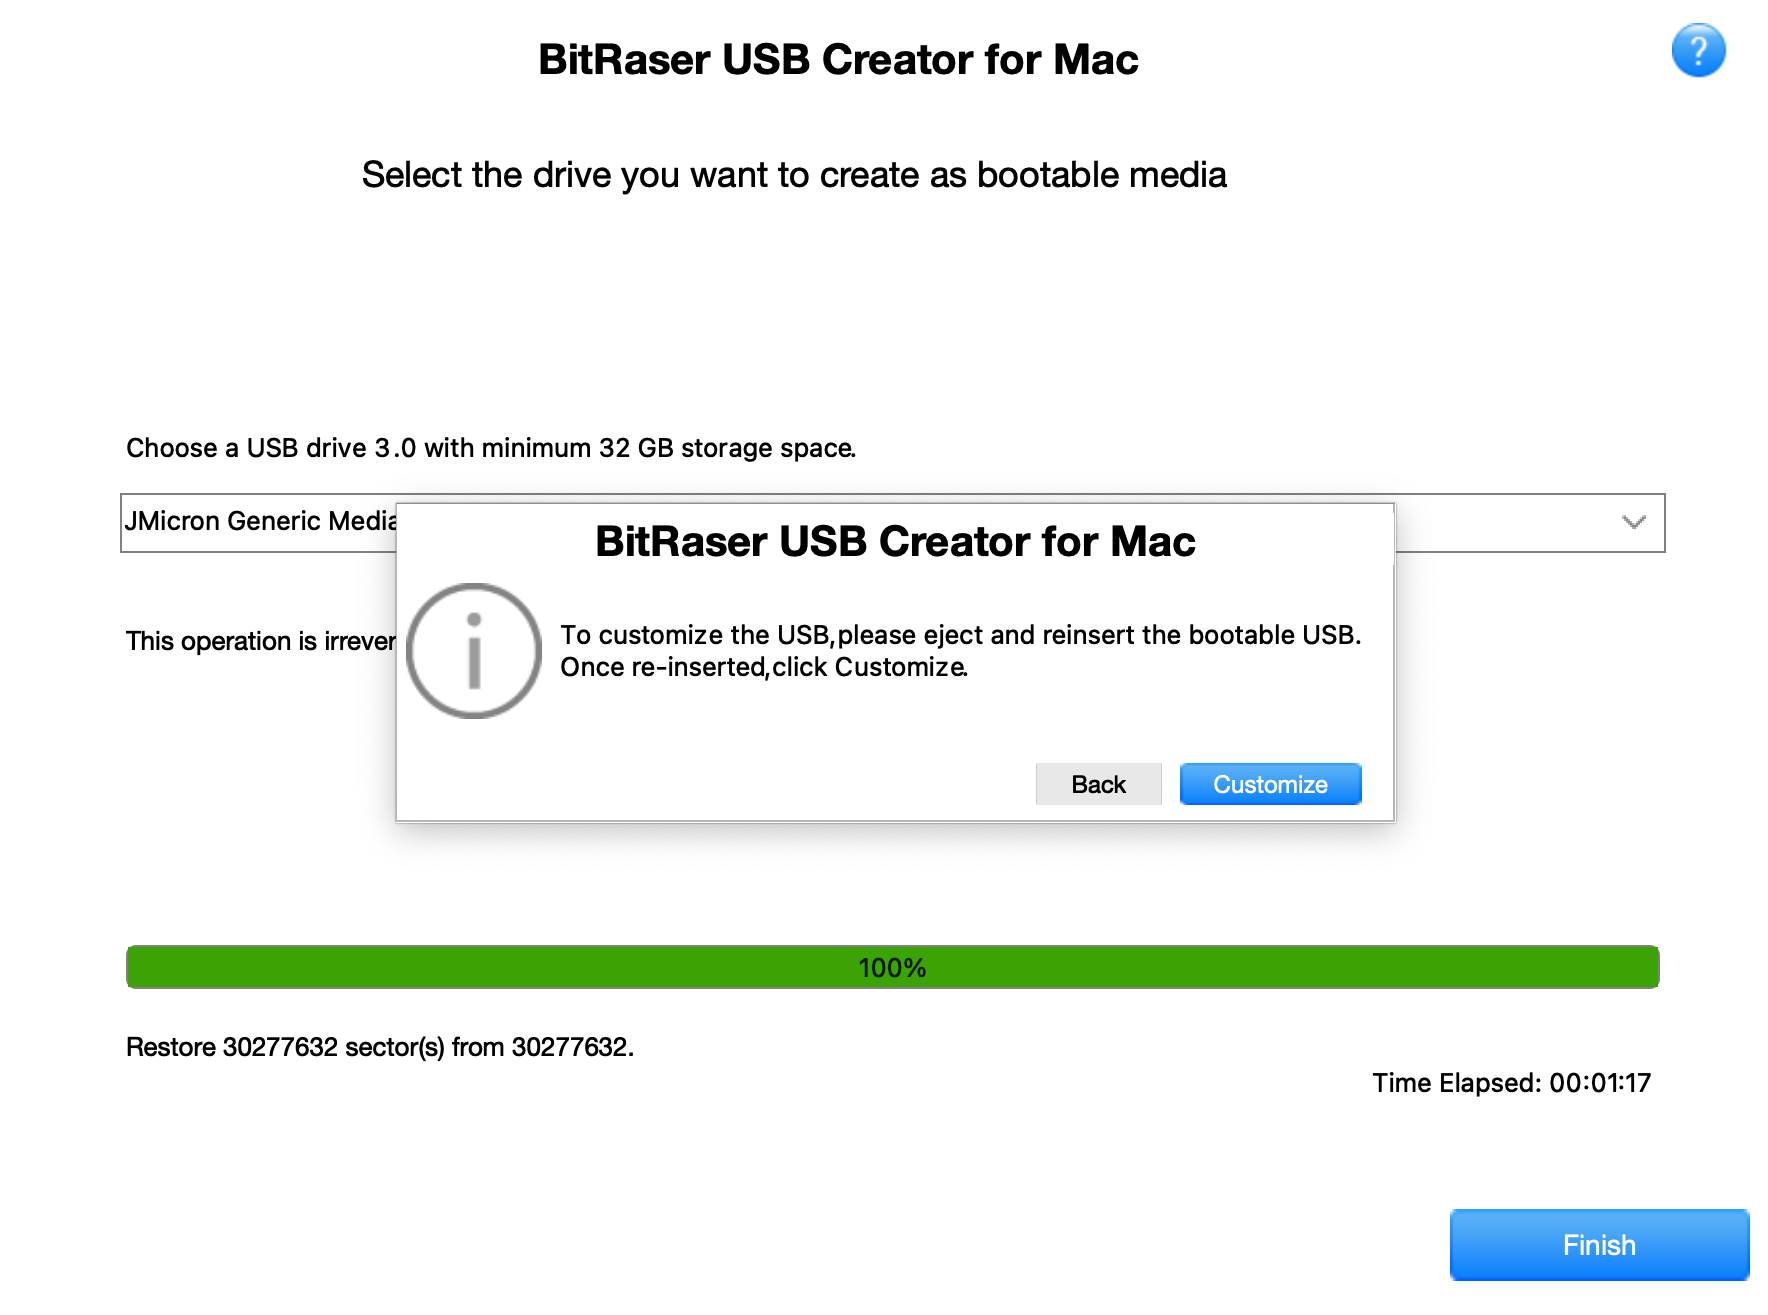
8. Once the USB is re-inserted, click the Customize button to personalize the bootable ISO image.
9. The customization screen appears as shown below. You will see that the General tab is selected by deafult.
Note: If you haven't created the customization of the bootable USB yet, you can still do it the next time you launch the application.
- When you launch the application again, the main screen will appear as shown below:
-
Click Customize Bootable USB located at the bottom left of the screen.
-
The customization screen will appear with the General tab selected by default.
 3. Getting Started