BitRaser File Eraser Network
- 1. About BitRaser File Eraser Network
- 2. Quick Overview
 3. First Steps
 4. How to
- 5. Frequently Asked Questions (FAQs)
- 6. About Stellar

BitRaser File Eraser Network / 4. How to / 4.4. Erase Internet Activity, Application or System Traces
4.4. Erase Internet Activity, Application or System Traces
BitRaser File Eraser Network provides the option to erase all the data traces that are found in the OUs connected on a same server. Data traces include, the traces created during the usage of the system, the internet traces created by the web browsers, the system traces created by the operating system, and the application traces created by the apps. This option scans traces from the computer selected by you and lists them.
Steps To Erase Traces:
1. Run BitRaser File Eraser Network. The following screen appears:

2. The software prompts you to login to domain. Enter your administrator domain credentials to access the network. Refer to the Connect Domain section for more information.

4. BitRaser File Eraser Network lists all the connected OUs to the server after checking the network connection status of each OU.

5. Select the computer from which you wish to erase traces and click on Erase Traces.
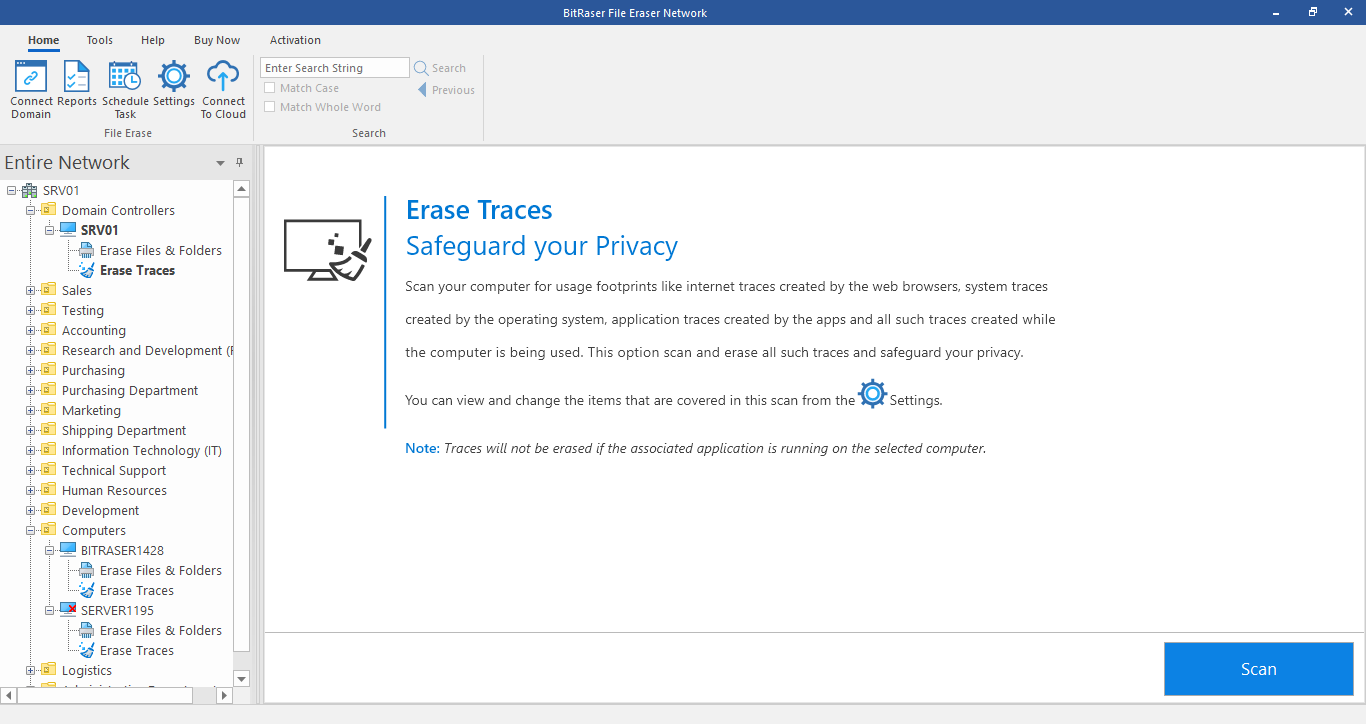
Note: Computers that are unavailable for erasure due to any reason are marked with  icon.
icon.
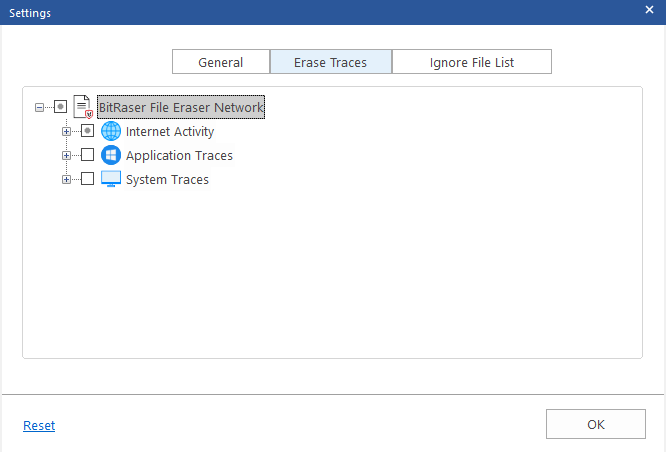
6. For Erasing Traces, the application uses a default set of scan settings. To customize the saved scan settings, click on the Settings button from the Home ribbon and select your preferred general settings:

- Click on Erase Traces tab in the center.
-
BitRaser File Eraser Network provides three different options to erase the traces:
-
Erase Traces of Internet Activity
-
Erase Application Traces
-
Erase System Traces
-
Refer to Erase Traces Settings section of this user manual to know more about these options.
- Either click (+) or double click on the option to expand.
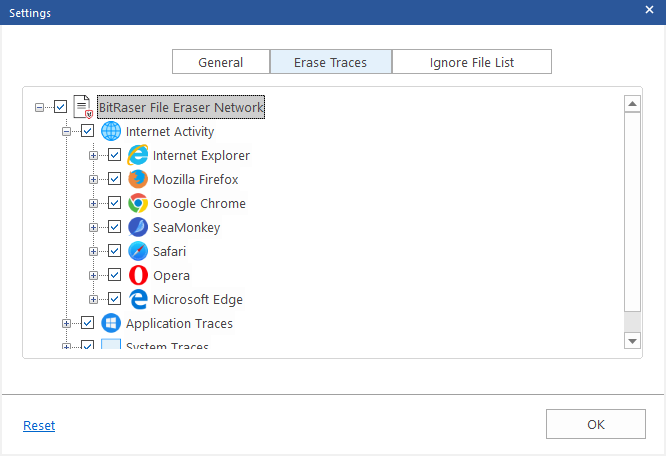
- Check against the respective sub-categories that you want to scan for traces. Select the checkbox of the required option to select all the sub-categories of that option. Click OK.
Note: Click on Reset button to set all the settings to default.
7. The software takes you back to Erase Traces screen. Click Scan.
8. Once the scanning process is finished, the software gives you the option to select the items you wish to erase from the scanned list, leading to their final erasure. Either click (+) or double click on the option to expand.
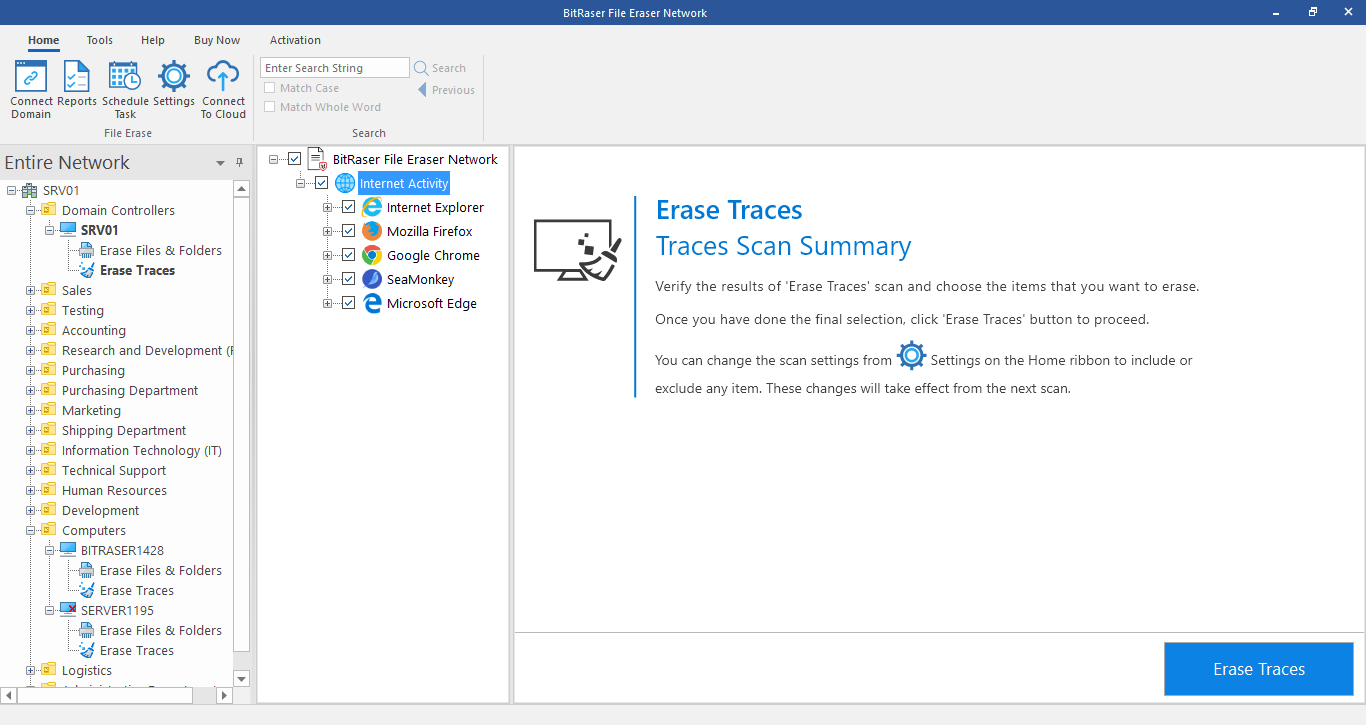
9. Check/Uncheck against the respective sub-categories that you want to erase. Select the checkbox of the required option to select all the sub-categories of that option.
10. Click Erase Traces button from the bottom right of the screen to start the erasure process.
Note: Make sure that you have closed all the running applications, before initiating the erasure process.
11. Confirm to Proceed dialog box appears to confirm whether you want to erase the selected data permanently. Click Proceed to continue.
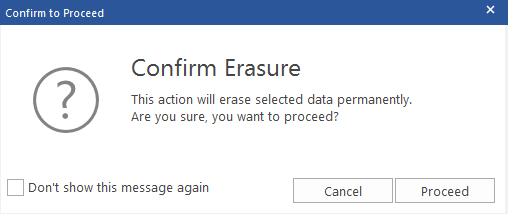
Note: If you do not wish to see the Confirm to Proceed dialog box, check the "Don't show this message again" option.
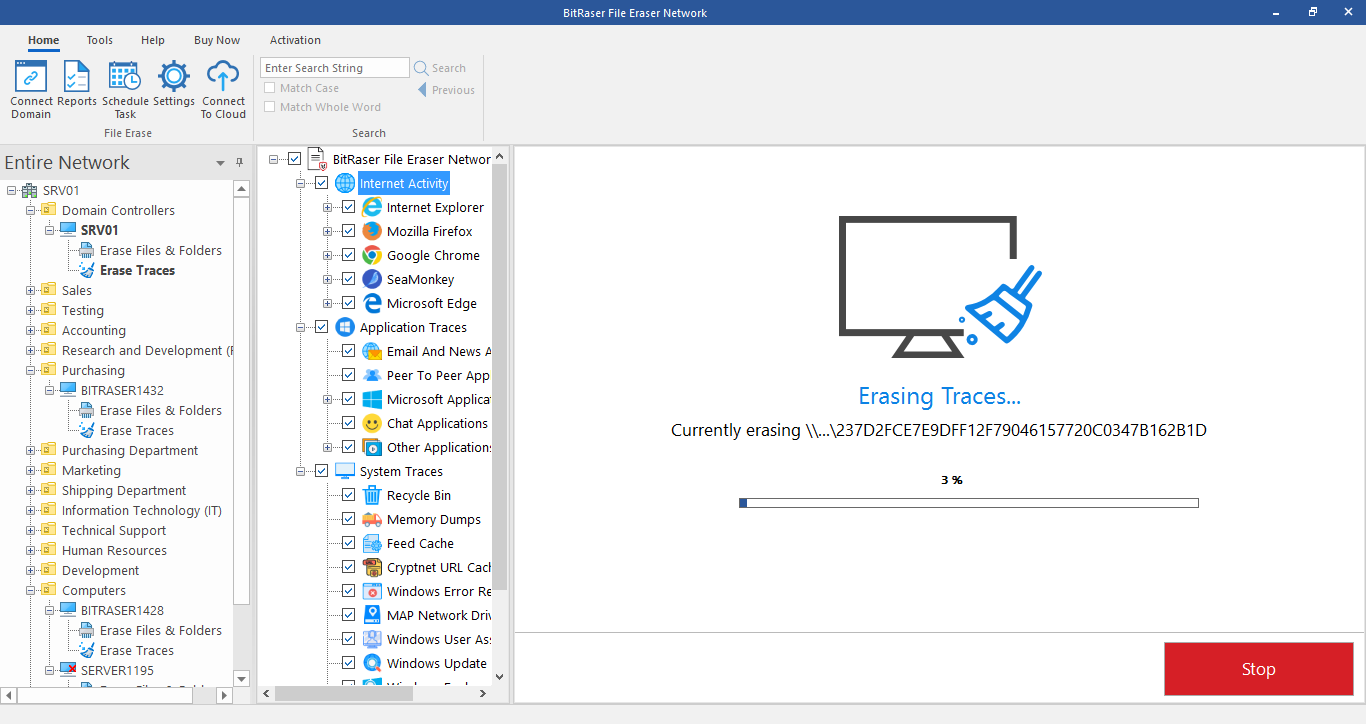
12. A screen showing the progress of erasure process is displayed as shown below:
13. After successful erasure completion, Process Completed window appears with the Erasure Summary of deleted traces.
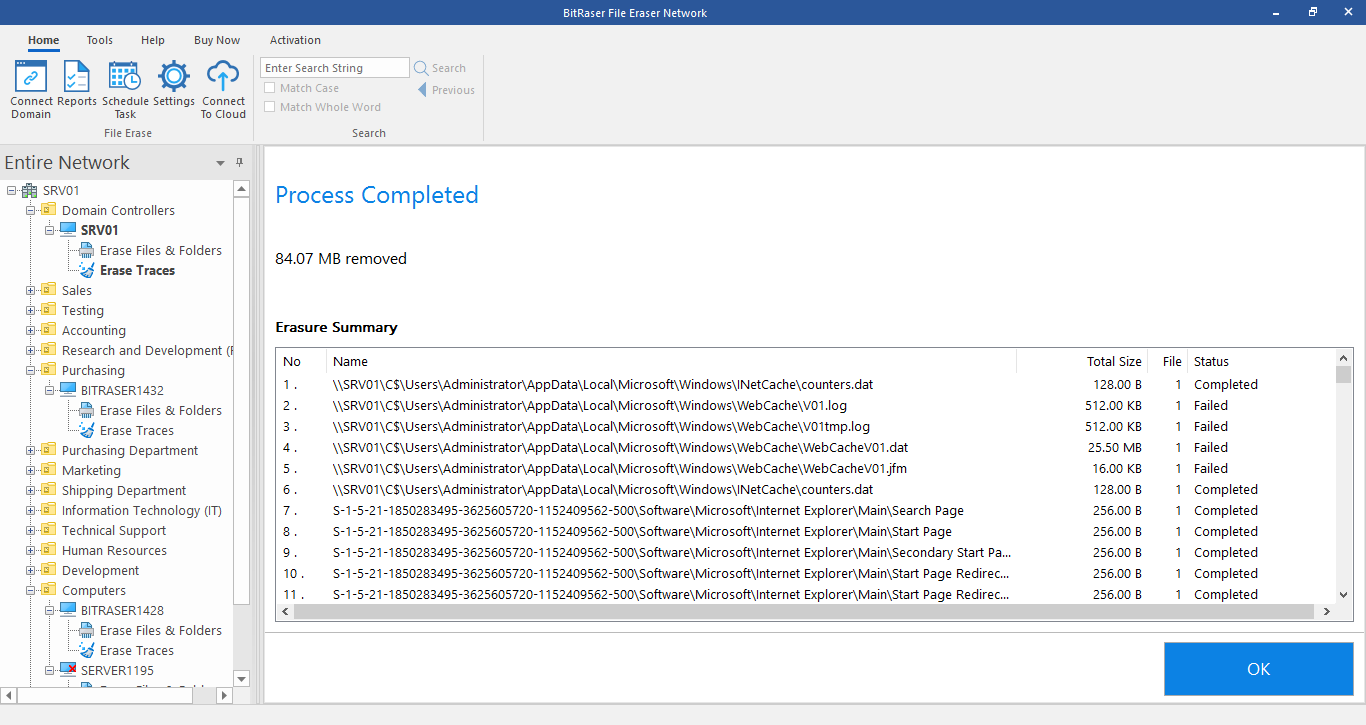
14. Click OK to finish the process.