BitRaser File Eraser Network
- 1. About BitRaser File Eraser Network
- 2. Quick Overview
 3. First Steps
 4. How to
- 5. Frequently Asked Questions (FAQs)
- 6. About Stellar

BitRaser File Eraser Network / 3. First Steps / 3.5. Customization and Settings / 3.5.1. General Settings
3.5.1. General Settings
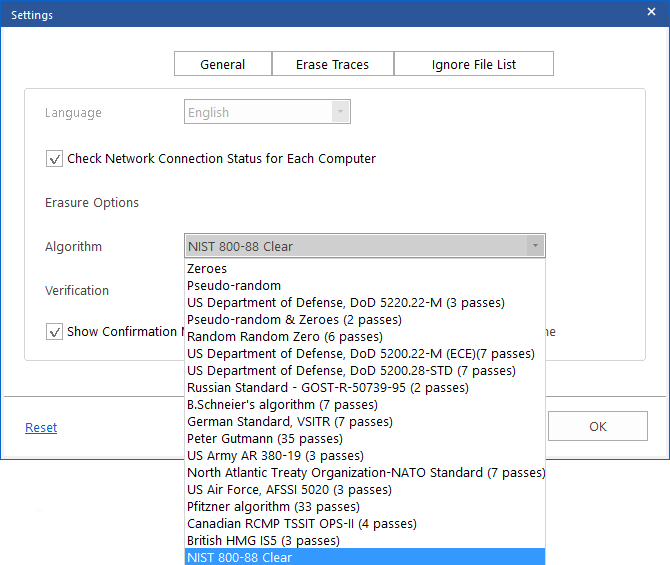
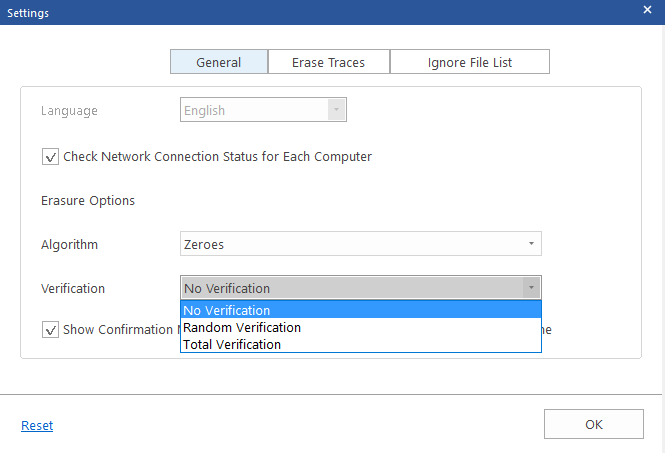
General settings are basic configuration settings that allow you to control how your application is displayed. BitRaser File Eraser Network allows you to customize the basics of your erasure process according to your preferences. The software enables you to choose an erasing algorithm from a list of eighteen leading erasure algorithms. Additionally, it provides three verification choices to guarantee the permanent eradication of your files, folders, and traces. For comprehensive information on each, please click on the corresponding links below:
Steps to Customize General Settings:
1. Run BitRaser File Eraser Network.

2. Once you have successfully logged into your domain using administrator credentials, select Settings option from the Home menu. Settings window appears with General tab selected by default.

Note: You can access and customize the settings even without connecting to the domain. Once you connect the domain, the erasure process adheres to your customized settings.
3. In "General" settings, the checkbox labeled "Check Network Connection Status for Each Computer" is selected by default. If you want to view the network connection status for each computer, leave this checkbox enabled; otherwise, disable it here. Keeping it enabled simplifies your scanning and erasure processes as you get to differentiate between the accessible and inaccessible computers.
Note: checking the network connection status of each computer is a time taking process. Please select this option accordingly.
4. In Erasure Options, Zeroes algorithm is selected by default, click the drop-down menu of Algorithm and select your preferred Algorithm from the list of eighteen.

5. Click the drop-down menu of Verification and select your preferred verification method from the three given options.

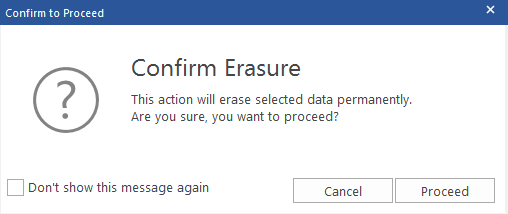
6. Each time you intend to permanently erase your selected data, a "Confirm to Proceed" dialog box appears, seeking final confirmation, as shown below. To manage this, a checkbox labeled "Show Confirmation Message on Each Erasure" is provided and enabled by default. If you don't wish to see this confirmation message for before every erasure you can disable it from here.

7. "Show File Size in Details Pane" checkbox is selected by default. If you don't wish to see the erasing file or folder's description such as its size, name etc. in the Details Pane, you can disable it from here.
Note: Click on Reset to set all the settings to default.
8. Click OK to save your preferences.