BitRaser Mobile Eraser & Diagnostics
 3. Getting Started
BitRaser Mobile Eraser & Diagnostics / 4. Working with BitRaser Mobile Eraser & Diagnostics / 4.3. Diagnostic Process
4.3. Diagnostic Process
You can diagnose your device by using the diagnose feature of BitRaser Mobile Eraser & Diagnostics.
To diagnose a device using BitRaser Mobile Eraser & Diagnostics:
1. Run BitRaser Mobile Eraser & Diagnostics. Plug the iOS/Android device into the computer.
2. The Devices tab (selected by default) lists all the attached iOS/Android devices. The screen which appears is displayed below:
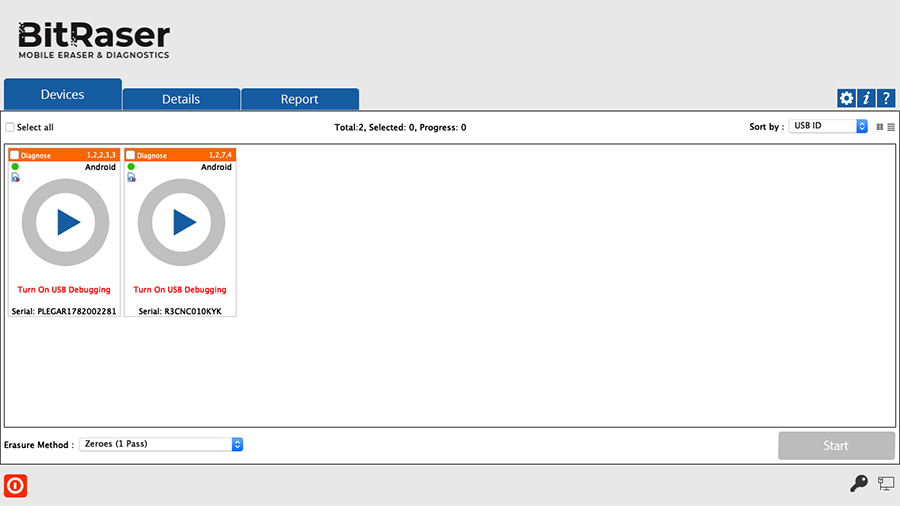
A device message appears after its connection. For example: In the above screen, an Android device shows the message 'Turn On USB Debugging'. To continue from this stage, USB Debugging must be allowed on the Android device's end.
Note: For more information, please refer to the section 'How to enable the USB Debugging mode in your phone?' in the next topic of this user guide.
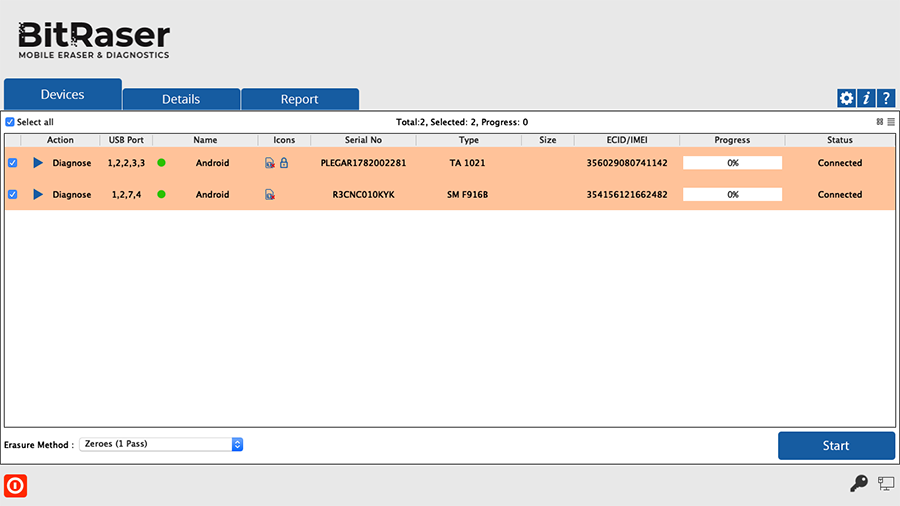
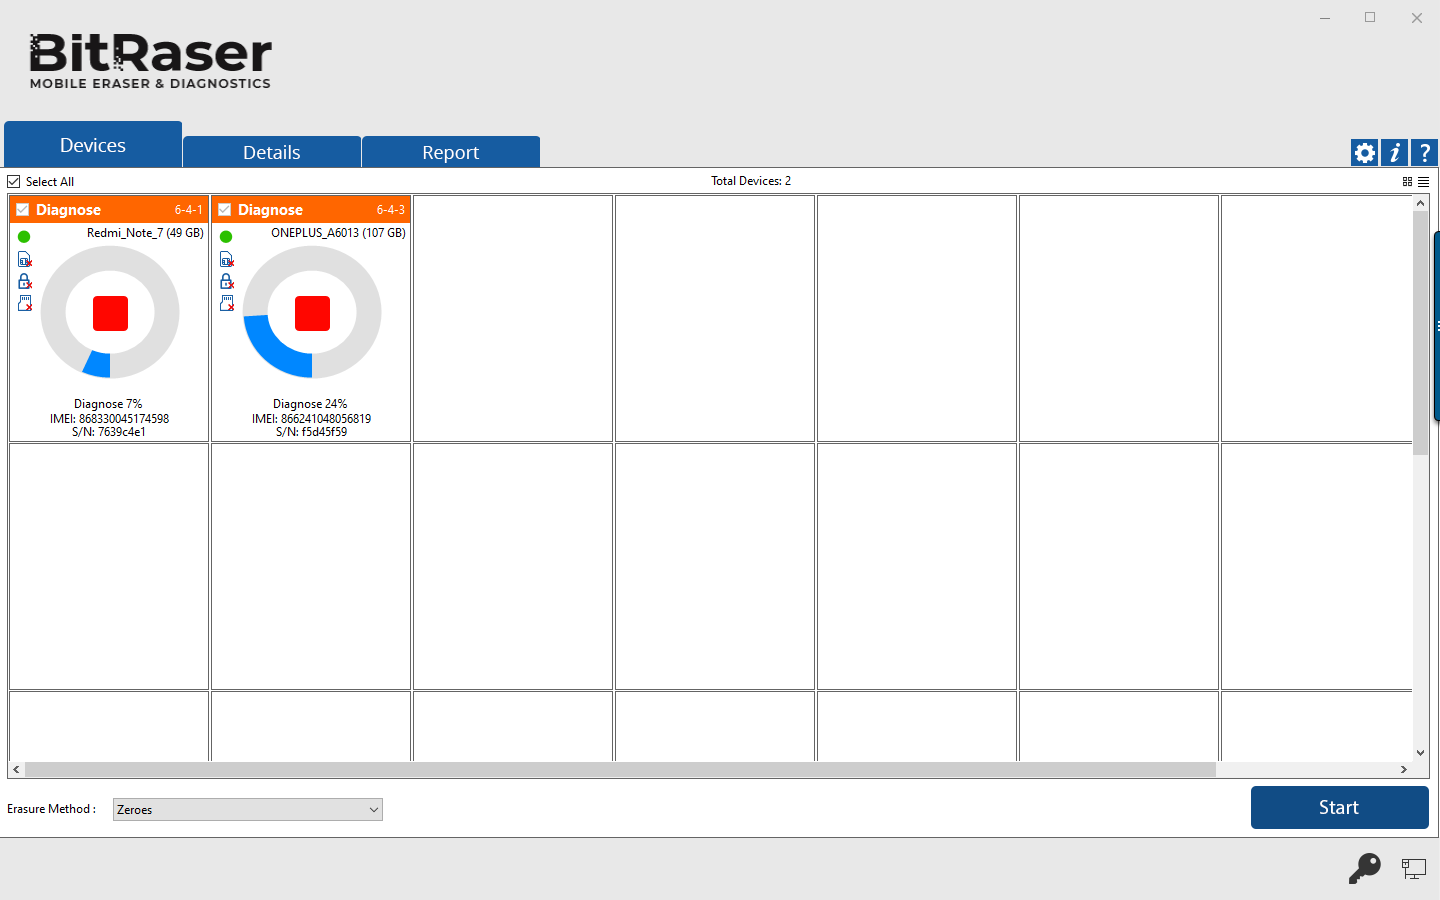
3. All the devices along with their information like process (Erase or Diagnose), USB port name, type, progress bar, status, ECID/IMEI, and serial number are displayed. You can also see icons for connectivity status, SIM card status, and FMD (Find my device) locked/unlocked status.
Note: If you wish to change the process (Erase or Diagnose), click on the Erase (header area in green color) to change the process to Diagnose (header area in orange color) and vise versa.
4. You can preview the device's information either in a Grid view or List view.
- In the Grid view, the devices get displayed in a grid-like structure, and also the devices can be sort using the Sort By option. The Sort By option allows sorting the devices based on the following information/criteria: USB ID, Name, Serial Number, Type, Size, ECID/IMEI, and Status.

- In the List view, the devices get displayed in a list.
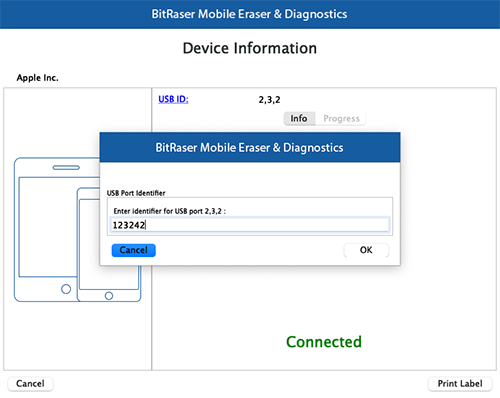
5. Clicking on any of the following devices will show device information of the corresponding device. These details can be printed by clicking on the Print Label button.

6. From the dialog that appears, click on USB ID to change the identifier for the USB port. Click OK.
7. Select the devices to diagnose by marking the check-box before every device.
Note: Mark Select All option to select every listed device for diagnosing.
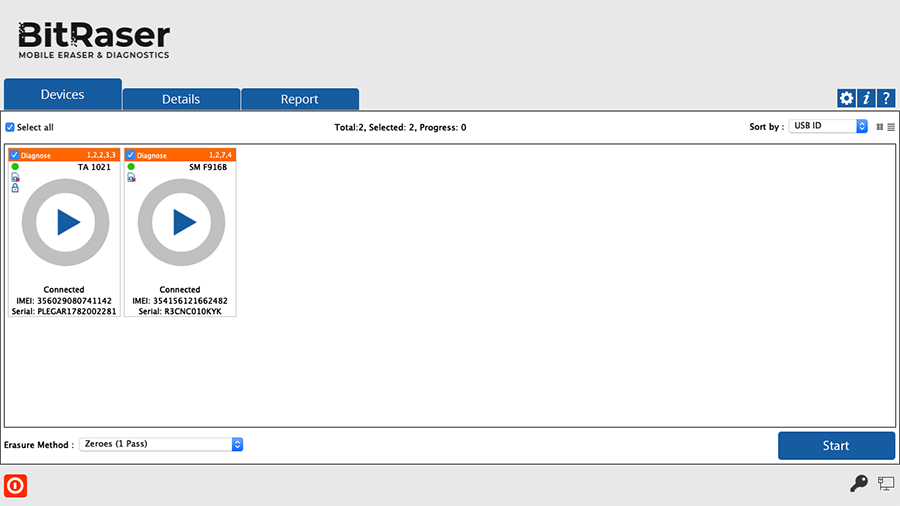
8. Click the Start button to begin the diagnostic process on your device.
Note: The application begins with automatic diagnostics tests and then proceeds to manual diagnostics tests.
9. Upon completion of the diagnostic process, the application will display the "Completed" status for all the diagnosed devices as shown below.
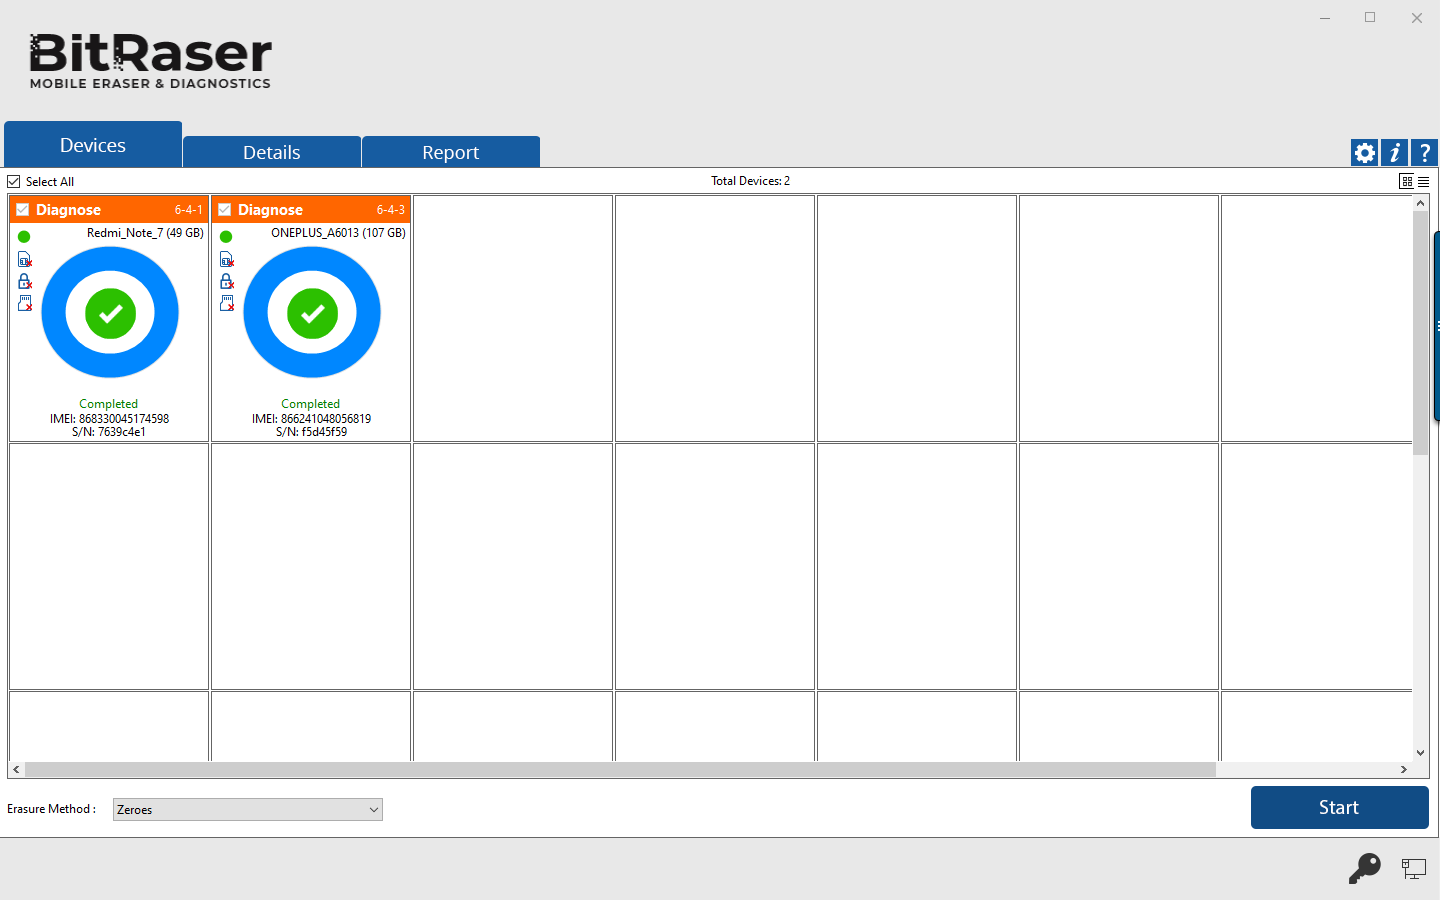
10. Once the diagnostic process is completed, the application will display the summary of the test results on your mobile device.
Note: If you wish to diagnose a single device, you can start the process by simply clicking the play button in the middle.
Note: After you start the diagnostic process, you can disconnect your device from the system and perform the test. However, the final report will be sent to the cloud when you reconnect the device and submit result.
Note: At this stage, BitRaser Mobile Eraser & Diagnostics acquire license information from BitRaser Cloud, and licenses are consumed depending upon the number of devices you have selected for diagnostics. Therefore, you need an active internet connection to start the diagnostic process.
Tip: It is recommended to enable Bluetooth, GPS (location services), and Wi-Fi on your device before starting the diagnostic process, to diagnose these services on your device.
Note: On your iOS device, make sure you have enabled the Bluetooth from the Control Centre of your device. This is required to diagnose the Bluetooth service successfully.
The diagnostic process for a device takes place in five different phases, to understand these phases refer to the next section of Diagnostic Stages.