BitRaser File Eraser Network
- 1. About BitRaser File Eraser Network
- 2. Quick Overview
 3. First Steps
 4. How to
- 5. Frequently Asked Questions (FAQs)
- 6. About Stellar

BitRaser File Eraser Network / 4. How to / 4.7. Create Erasure Task / 4.7.2. Schedule Erasure for Erasing Traces
4.7.2. Schedule Erasure for Erasing Traces
BitRaser File Eraser Network allows you to schedule a task to scan and erase internet or browser traces, system traces and application traces that are created while operating the system. By using the Create Erasure Task option, you have the flexibility to customize and create tasks based on your preferences. You can decide the frequency, time, and date for task execution. It's worth noting that the software automatically generates the name of the task.
Steps To Set Schedule Erasure for Erasing Traces:
1. Run BitRaser File Eraser Network.

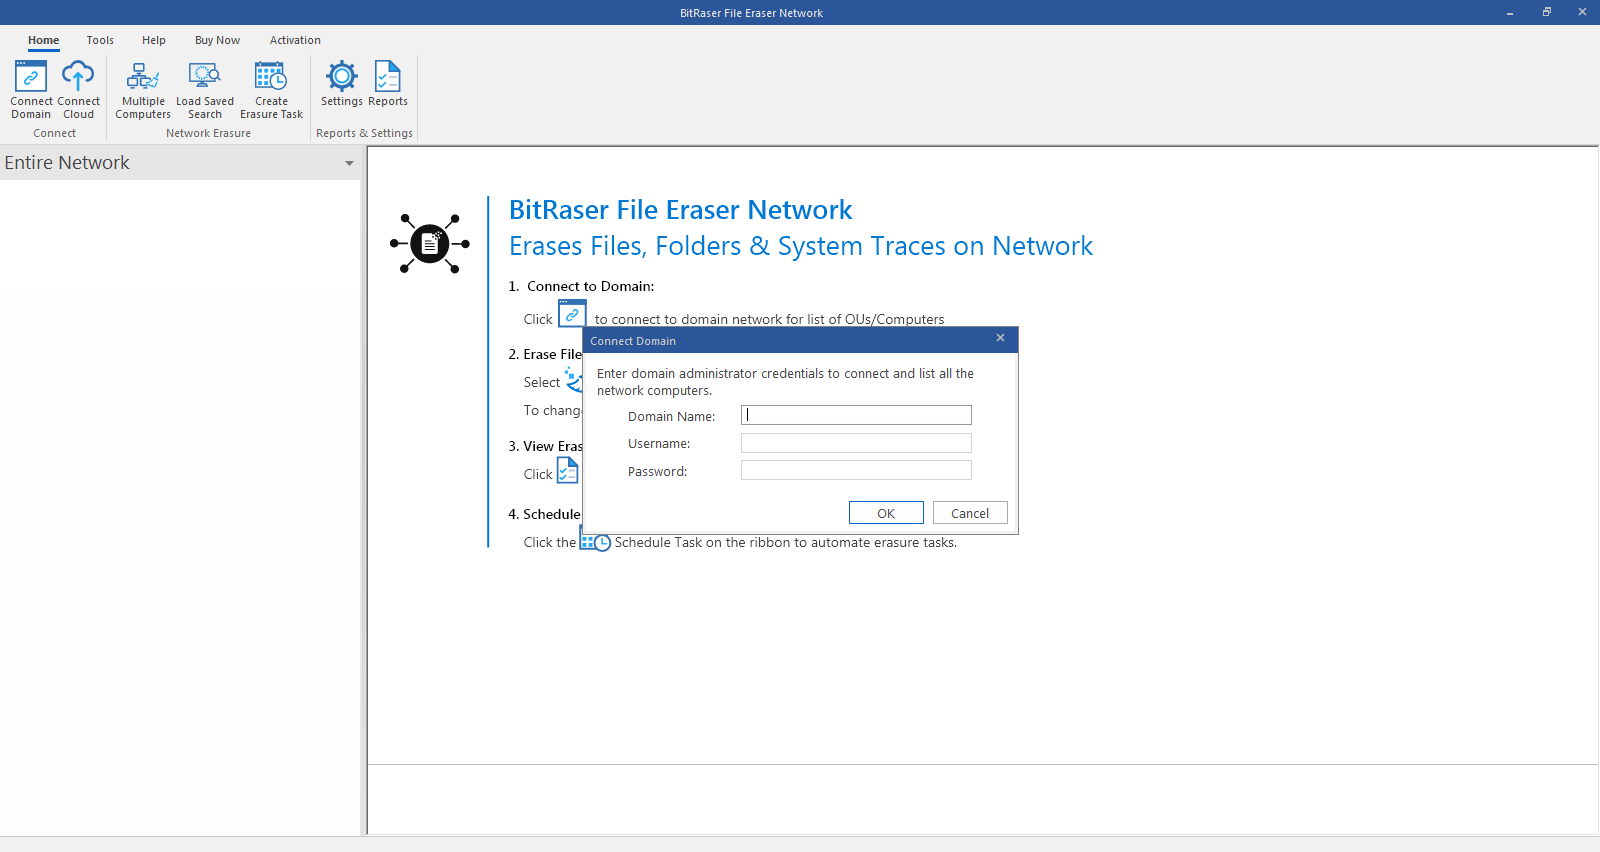
2. Before scheduling erasure for erasing traces, connect to the domain
3. Once you have successfully logged into your domain using administrator credentials, select Create Erasure Task option from the Home menu. Schedule Erasure window appears with Files & Folders tab selected by default.
4. Select Traces tab.

Note: The already scheduled tasks are listed with their details in the Summary column. You can edit or delete them using the Edit or Delete button. Refer to Edit or Delete an Existing Task section for more information.
5. Schedule the erasure task as per your convenience. Select the Frequency using the Run drop-down menu:
-
Select Once to run scheduler once.
-
Select Daily to run scheduler daily.
-
Select Weekly to run scheduler every week.
-
Select Monthly to run scheduler every month.
-
Select Every Boot to run scheduler at every startup.
6. Select Date and Time from Schedule Erasure window. Click Next.
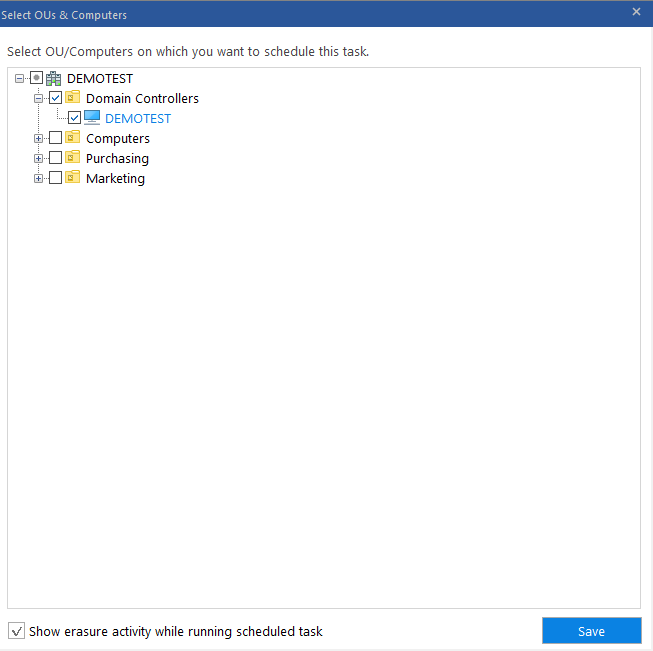
7. Select OUs & Computers window appears with the list of connected OUs to the server. Choose the computers on which you wish to apply the task settings and click Save.

Note: Uncheck "Show erasure activity while running scheduled task" checkbox if you don't want to see the erasure activity being performed while the scheduled task is running.
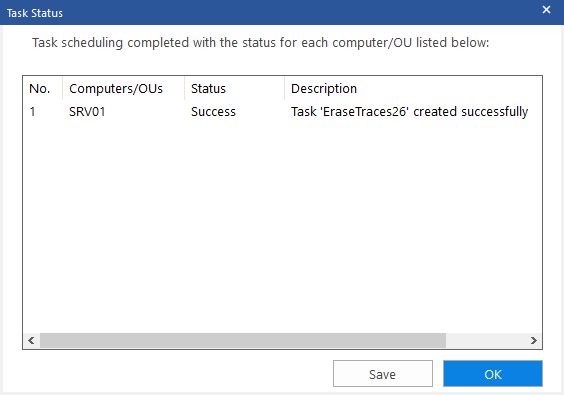
8. Task Status dialog box appears with task details such as serial number, Computers/OUs, status and description once the task has been successfully created. Click OK to exit or click Save to browse and save the task status at your desired location in .csv format.

Note: The status appears as failure if the selected computer is inaccessible or doesn't meet the task requirements.
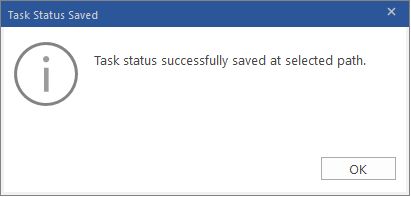
9. Task Status Saved dialog box appears with the message "Task status successfully saved at selected path." once you have successfully saved your task. Click OK to finish the process.
