BitRaser File Eraser Network
- 1. About BitRaser File Eraser Network
- 2. Quick Overview
 3. First Steps
 4. How to
- 5. Frequently Asked Questions (FAQs)
- 6. About Stellar

BitRaser File Eraser Network / 4. How to / 4.3. Erasure from Multiple Computers / 4.3.1. Erase Files and Folders / 4.3.1.1. Keyword Search
4.3.1.1. Keyword Search
Steps to Erase Files and Folders using Keyword Search:
-
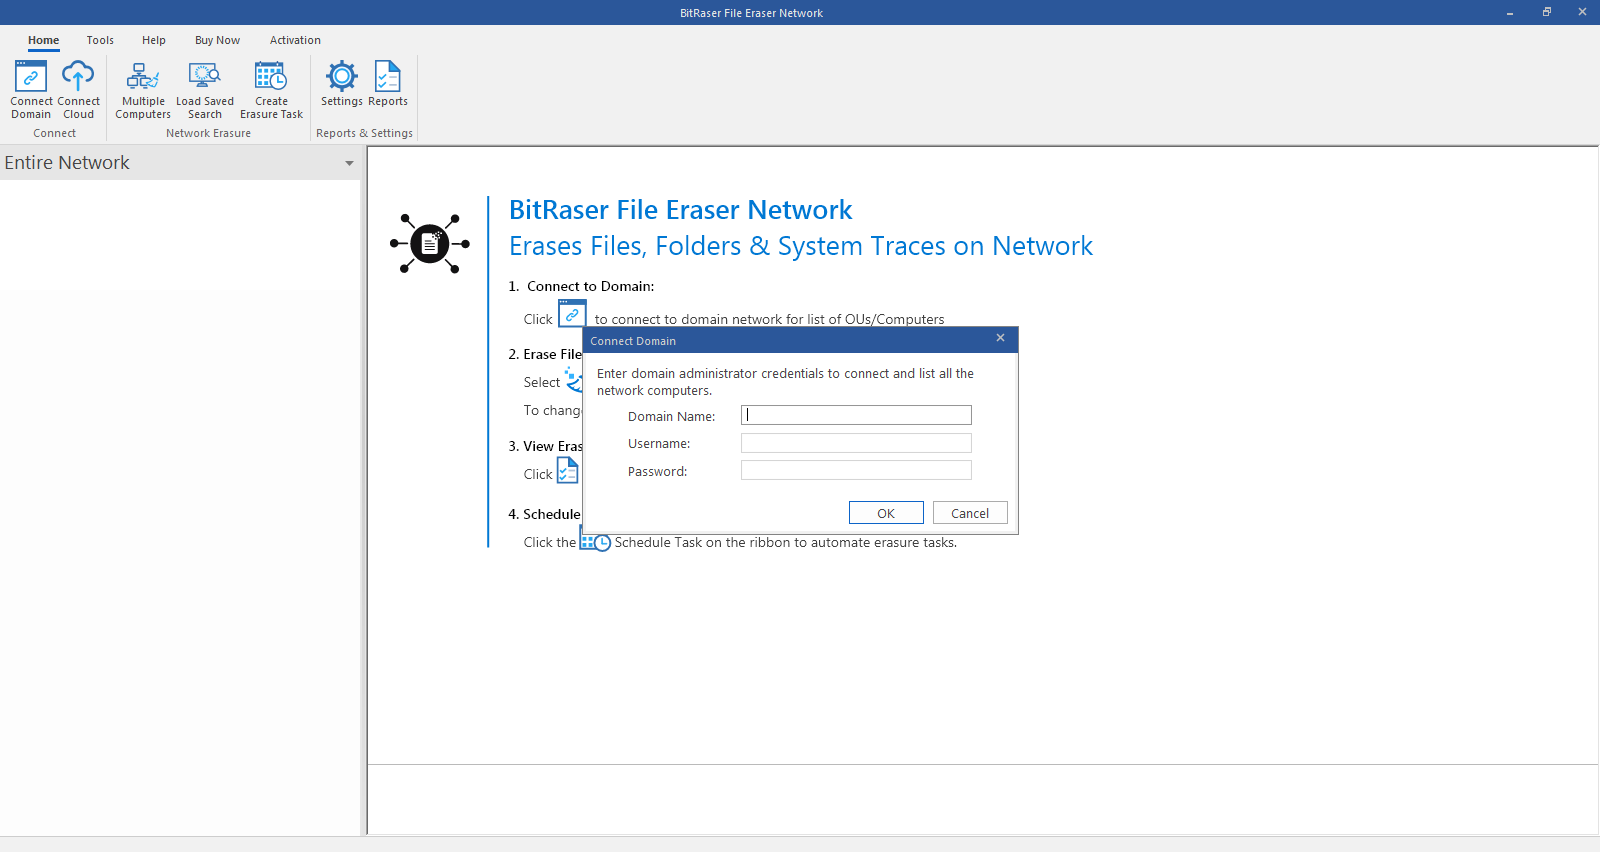
Run BitRaser File Eraser Network.
-
Before proceeding further, connect to the domain.
-
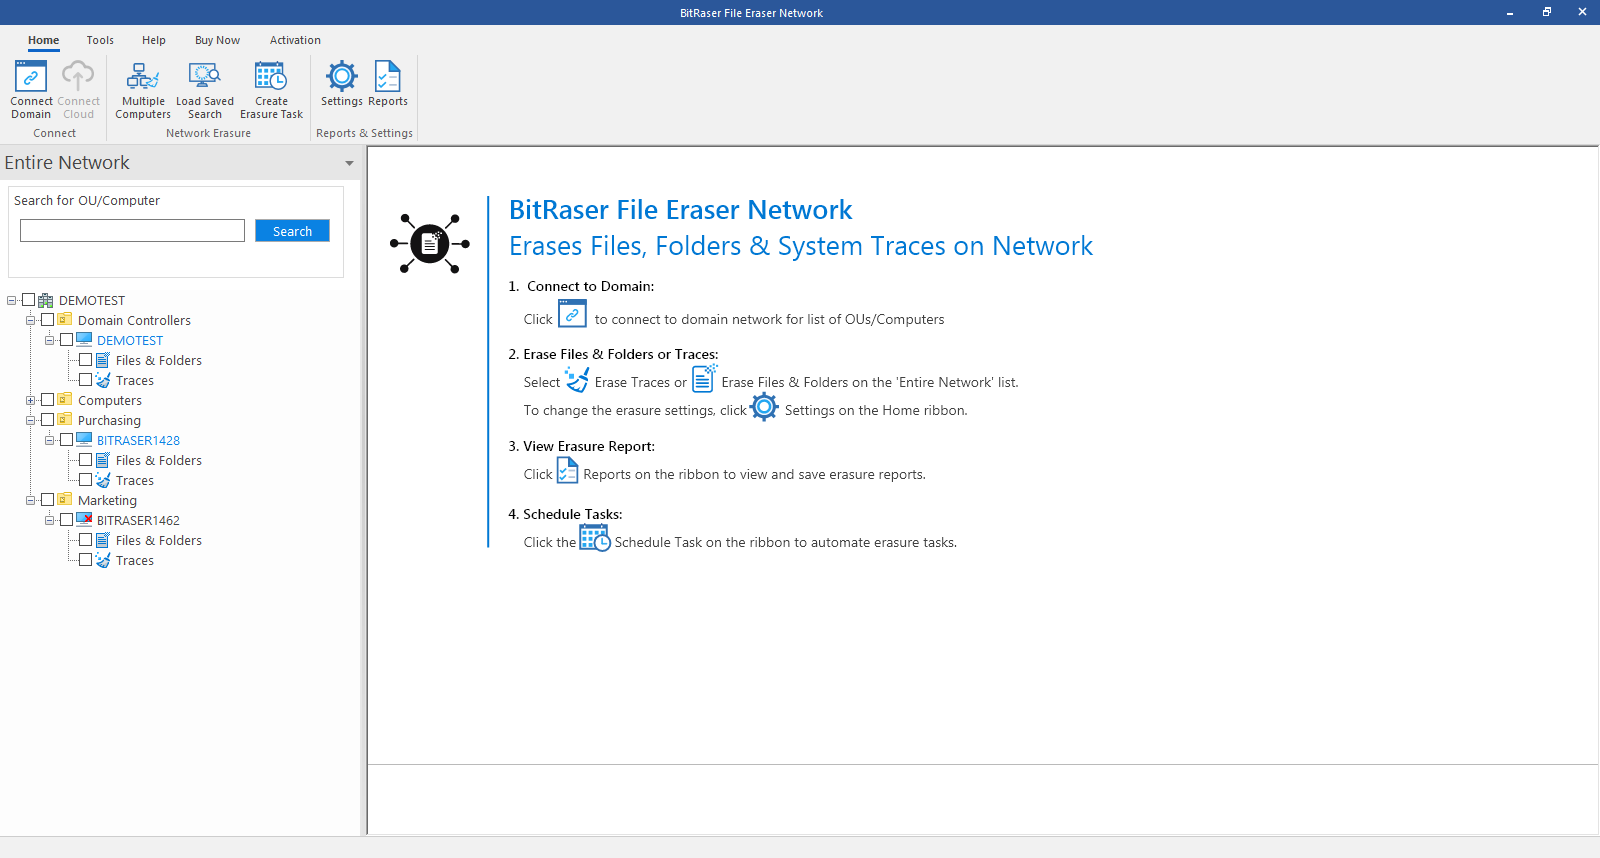
Go to Home ribbon and click Multiple Computers from the Network erasure tab.
-
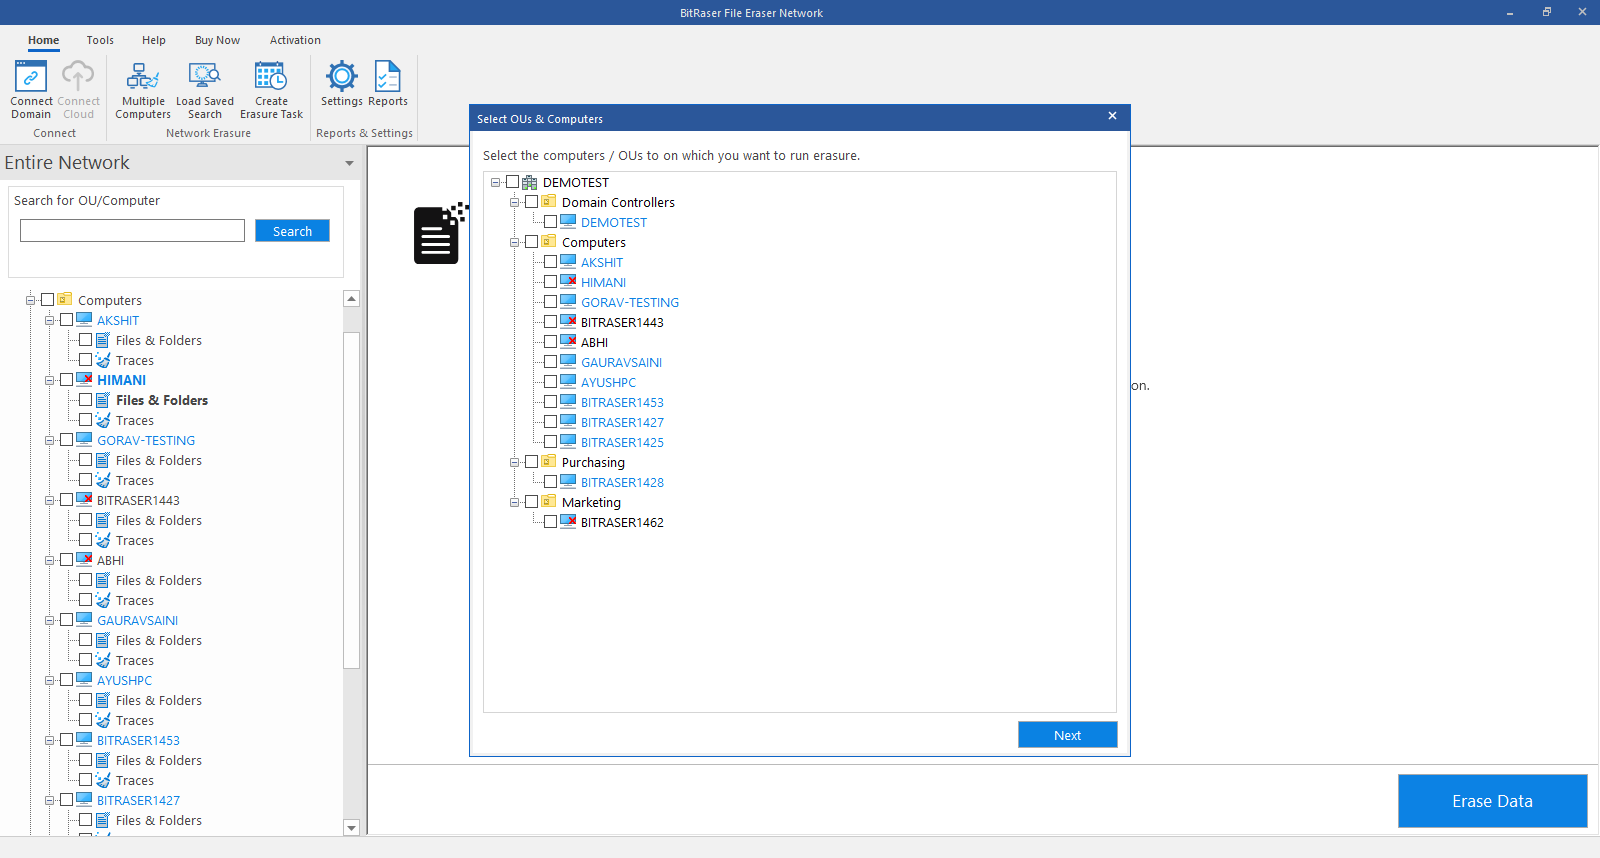
Select OUs & Computers screen appears. From the given screen select the computers / OUs on which you want to run erasure.
-
Click Next to proceed.
-
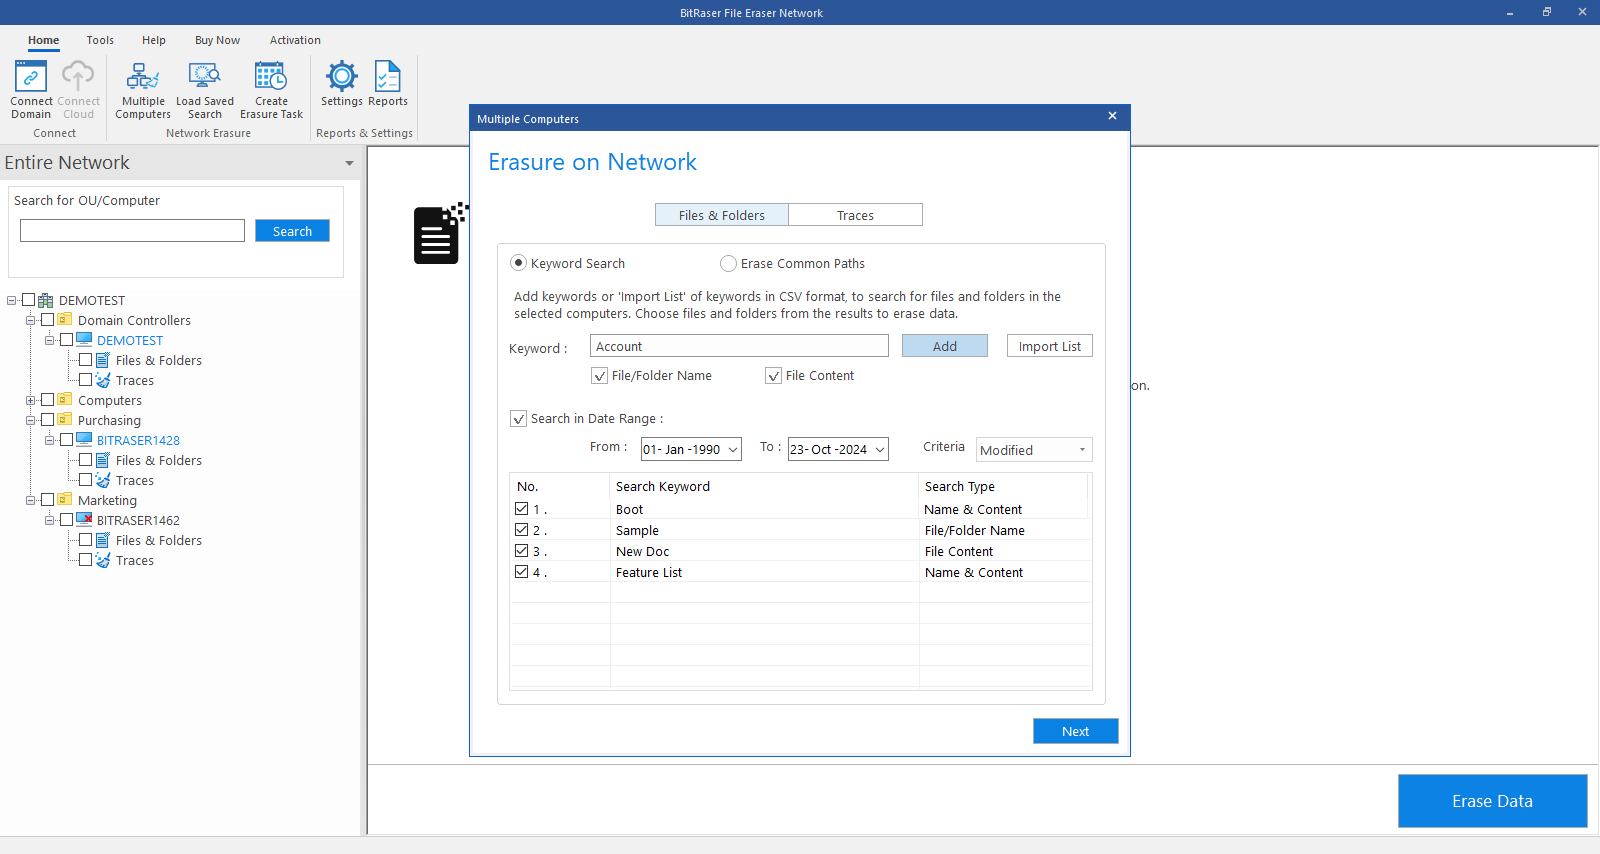
The Files & Folders tab is selected by default. You will see that Keyword Search radio button is also selected by default.
-
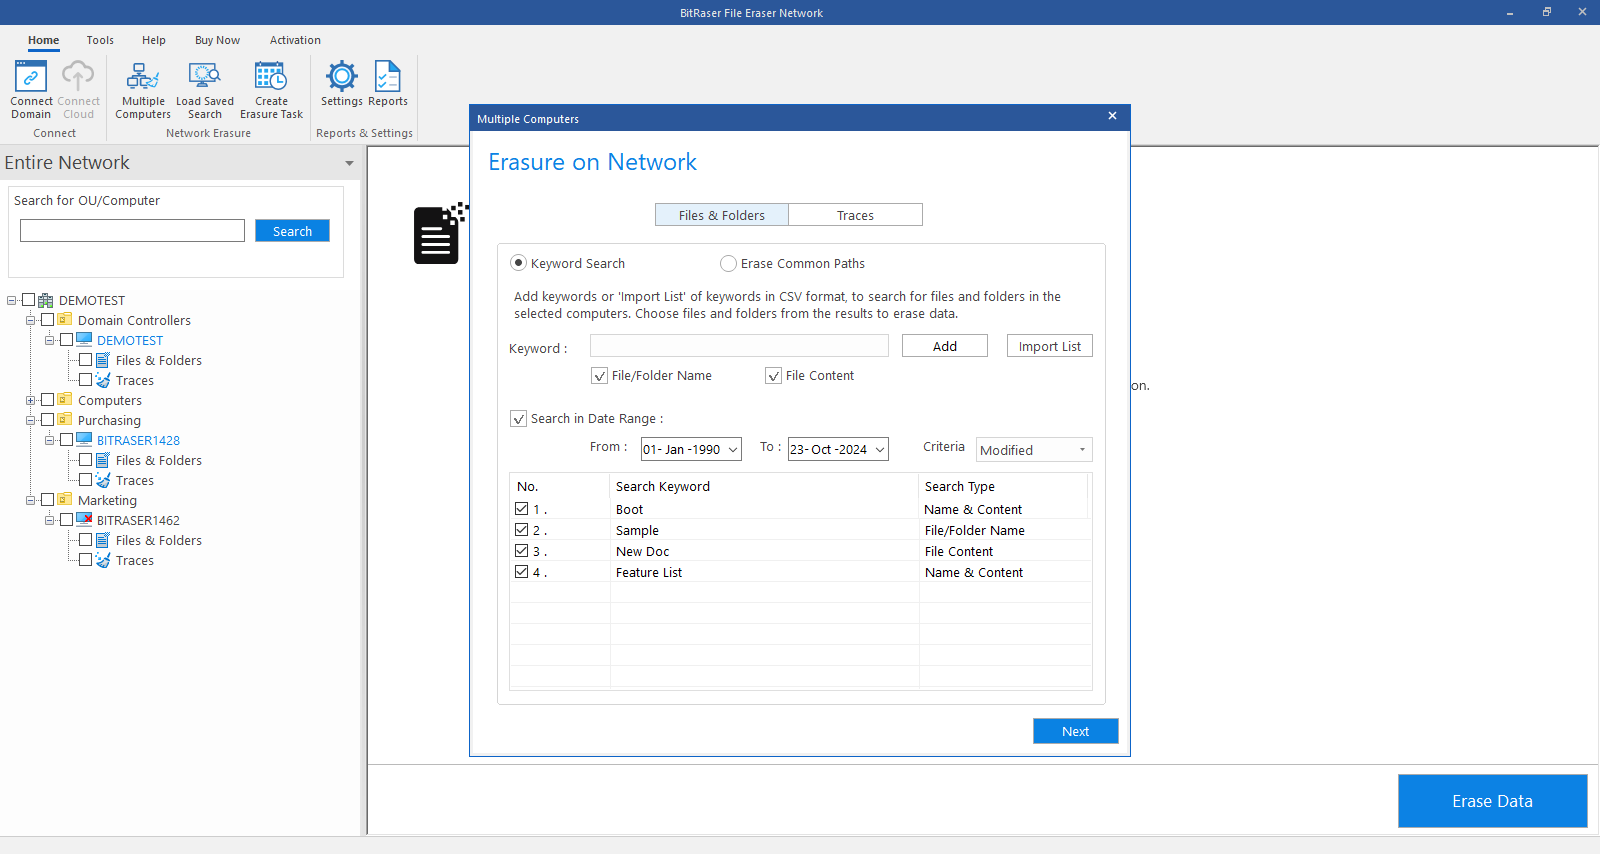
Add the keyword you want to add in the Keyword field and click Add.
Note: To add multiple keywords, enter the keyword and click Add. Repeat this process for each additional keyword you wish to include.
-
If you want to add a list of keywords click "import List" to import the file containing the keywords in CSV format and click Add.
-
All the keywords you added appear in the table given below.
-
Below the Keyword field, you will find two checkboxes:
-
File/Folder Name: Select this option to search for files or folders by their name. If the name matches the keyword, the file or folder will appear in the search results.
-
File Content: Select this option to search for files or folders by their content. If the content matches the keyword, the file or folder will appear in the search results.
Note: When manually adding keywords, it is necessary to select either File/Folder Name or File Content, or both. However, when adding a CSV file, its format automatically determines whether the keywords apply to the file content, file/folder name, or both, based on the data structure.
- Select the Date Range field if you want to search for files within a specific date range. The Date Range feature will filter and select all files that match the specified dates.

-
From: Choose the starting date.
-
To: Choose the ending date.
-
Criteria: Specify the criteria based on file creation, modification, or access time.
-
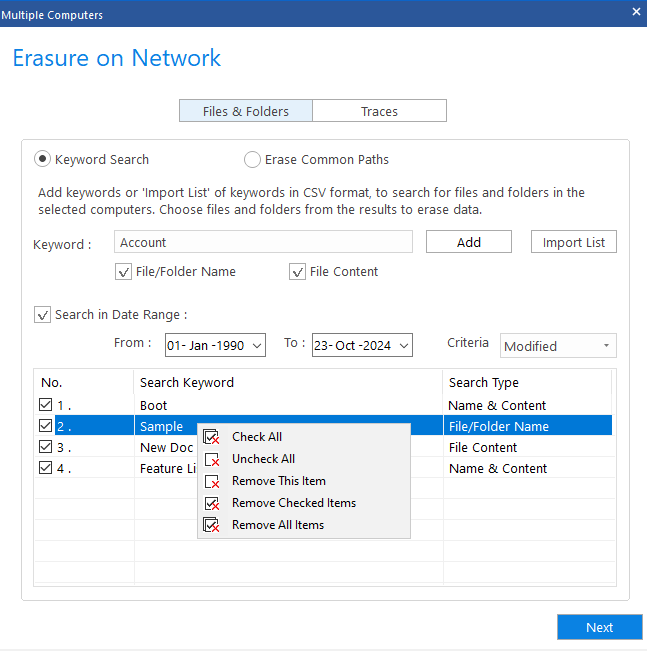
The keywords you added will appear in the table as shown below:
Note: Right-click on the keyword in the table. A menu appears as show below:
-
Check All - Use this option to check all the keywords shown in th table.
-
Uncheck All - Use this option to uncheck all the keywords shown in the table.
-
Remove This Item - Use this option to remove the selected keyword from the keyword list.
-
Remove Checked Items - Use this option to remove all the selected keywords from the list.
-
Remove All Items - Use this option to remove all the items from the list.
-
After succesfully completing the above steps, click Next to proceed.
-
The searching process begins on selected computers. The searching progress screen appears as shown below:
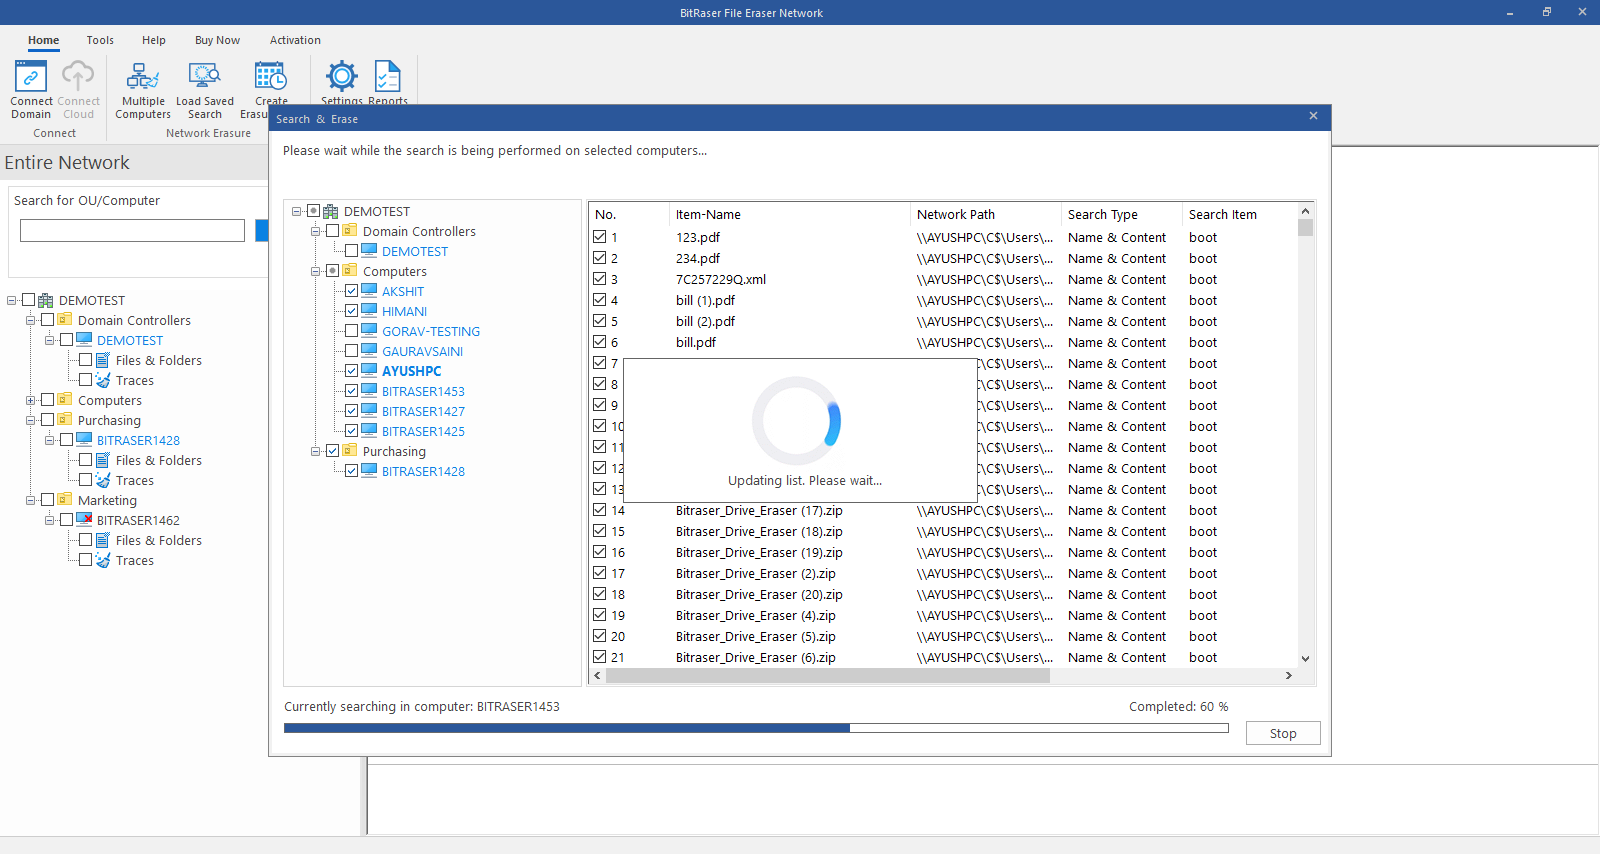
Note: Deselect the checkbox if you don't wish to erase a particular file.
Note: Click on the computer in the left pane to view search results. Double-click to preview the content in the computer.
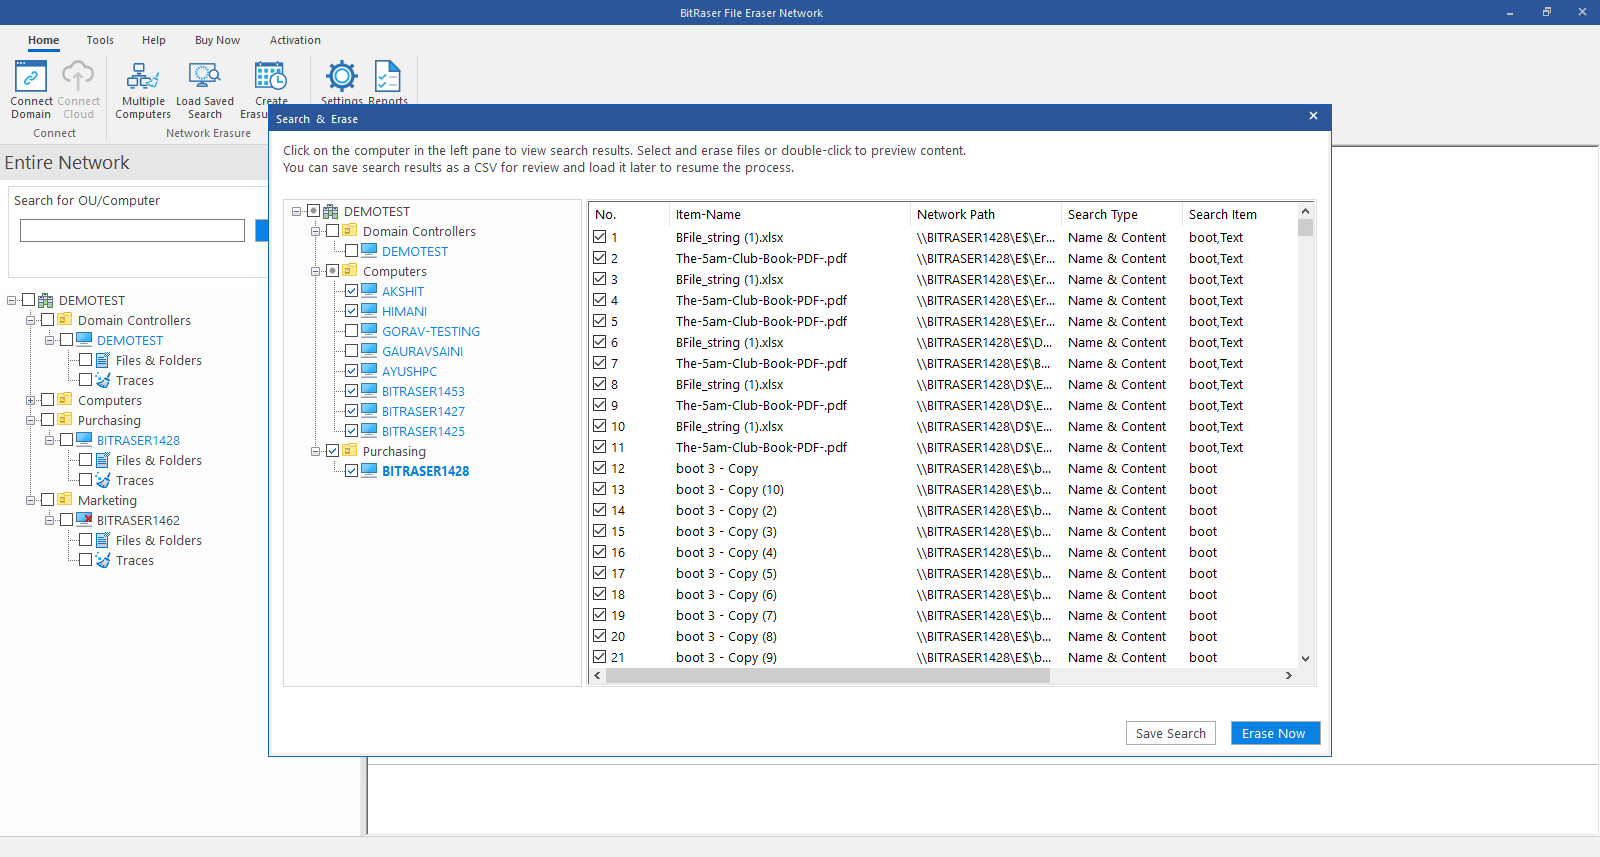
- Once the searching process is completed, you will see two buttons at the bottom-right of the Search & Erase window:
-
Save Search: Click on this button to save search results as a CSV for review and reload it later to resume the erasure process.
(i). If you click Save Search, Browse For Folder dialog box appears.
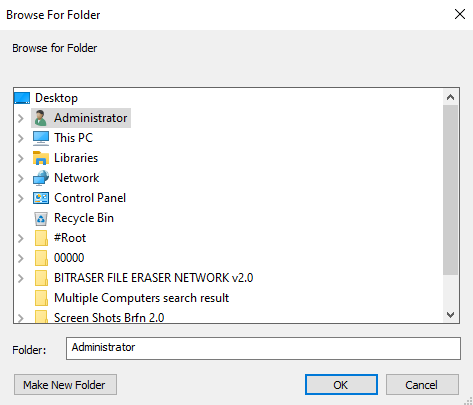
(ii). Select the location where you want to save the search results and click OK.
(iii). Save Search dialog box appears with a message "Search results saved successfully."
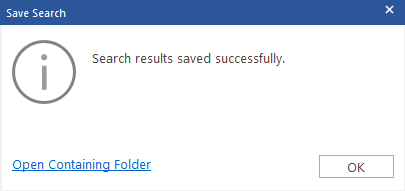
(iv). Click Open Containing Folder to view the saved results.
Note: You can reload the search results saved in your local system in the software. To know how to reload the search results, click here.
Note: You may modify the search results file, but the row names and numbers must remain unchanged.
Note: If you dont want to remove the file present in search results, set the value 0 in selected column.
- Erase Now: Click on this button to erase the selected files and folders.
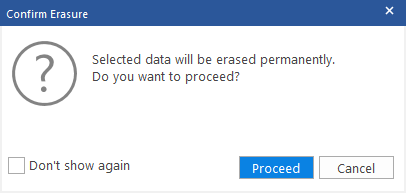
(i). If you click Erase Now, Confirm Erasure dialog box appears to confirm whether you want to erase the selected data permanently. Click Proceed to continue.
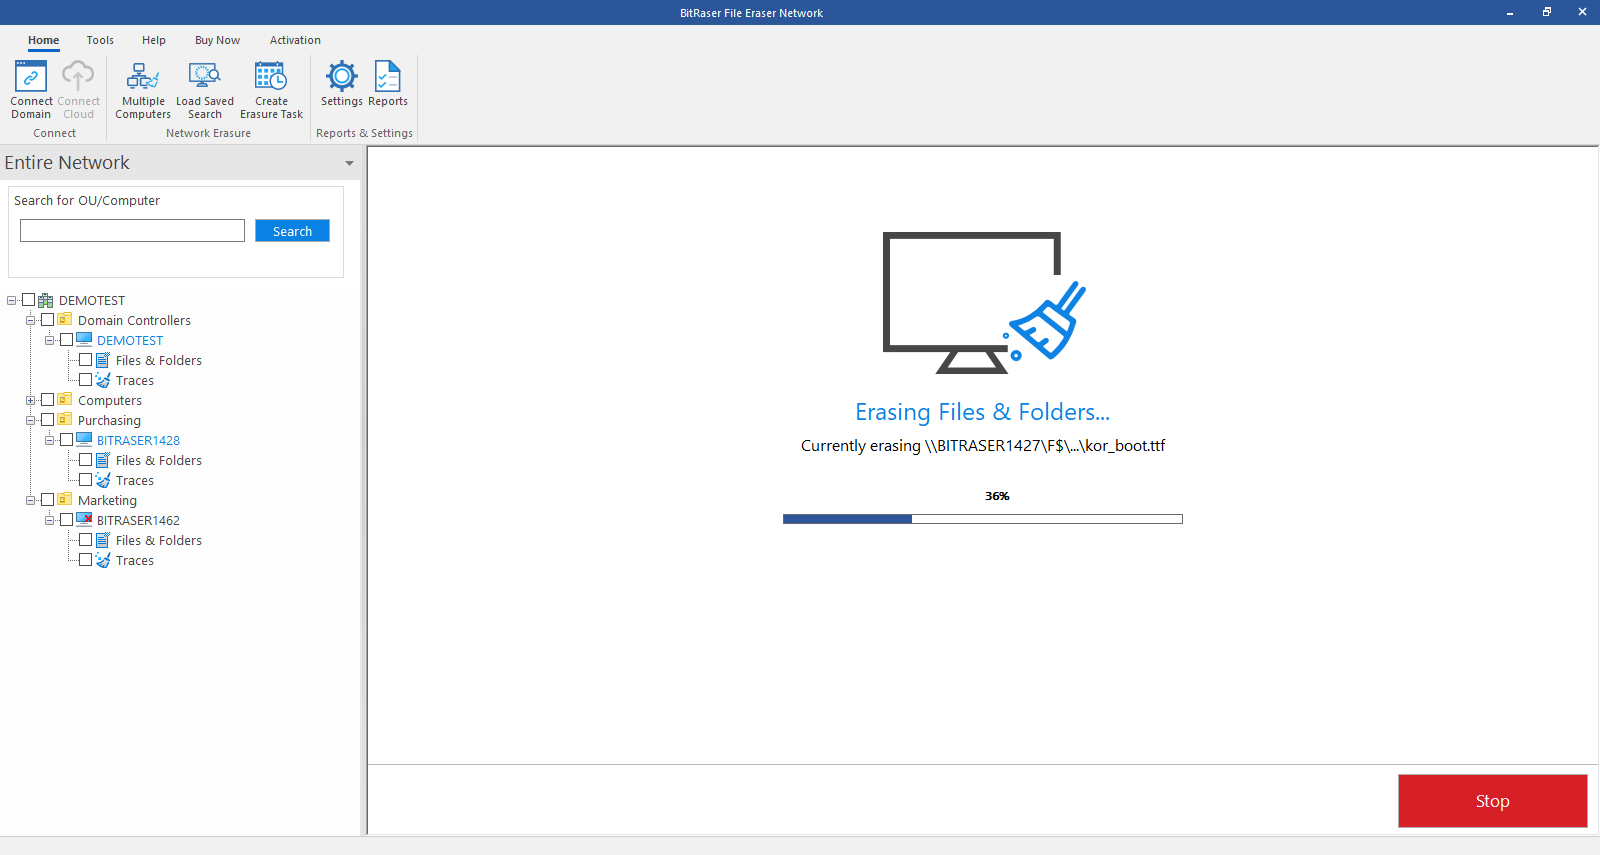
(ii). A screen showing the progress of erasure process appears as shown below:
(iii). After successful erasure completion, Process Completed window appears with the Erasure Summary of deleted files.
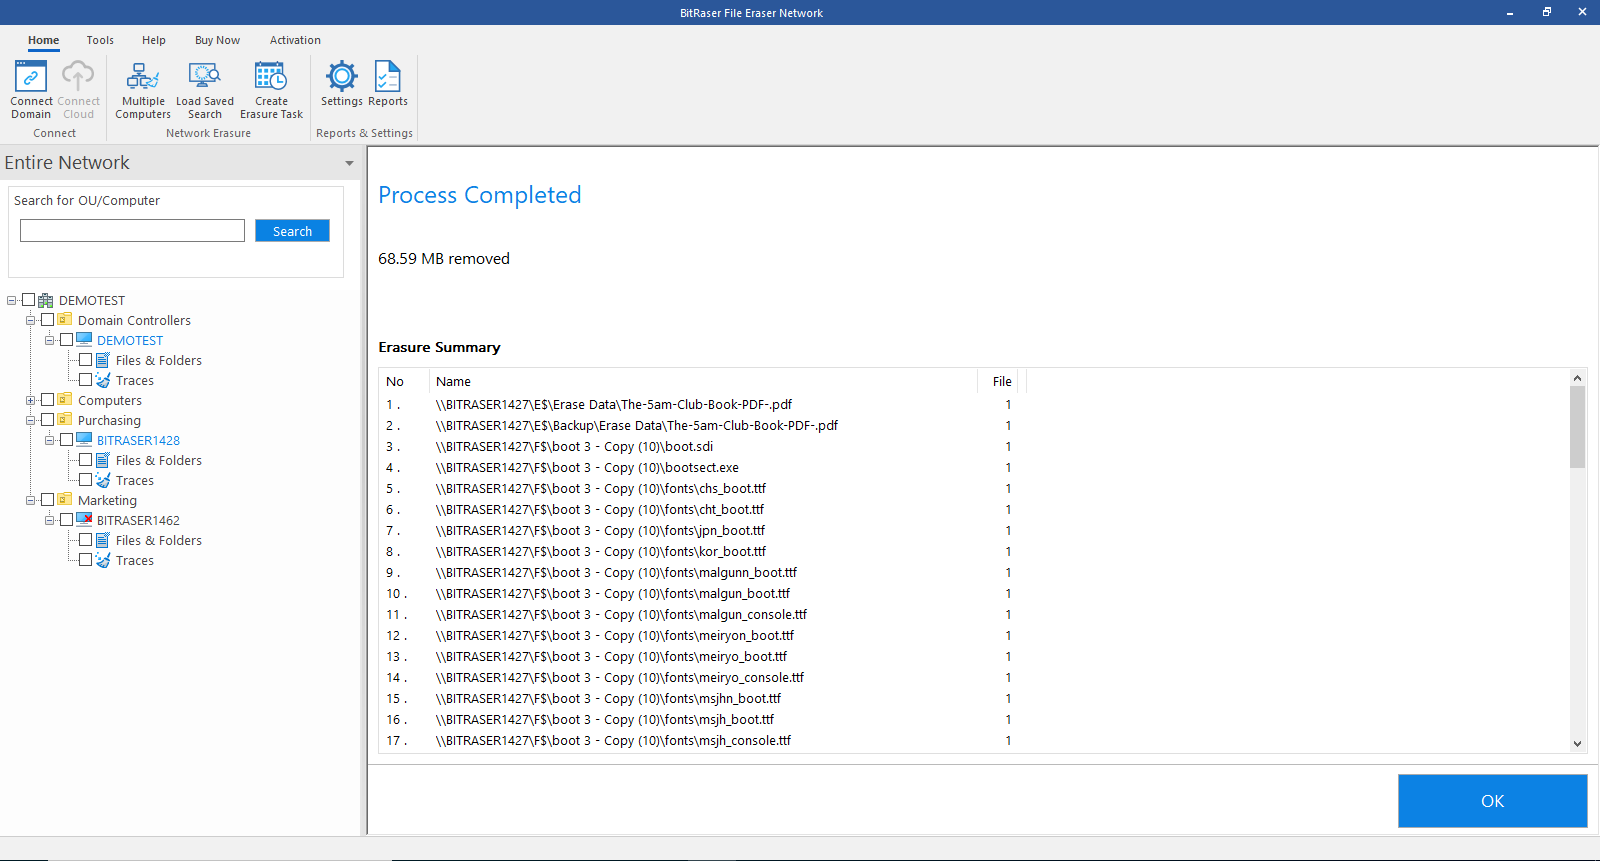
(iv). Click Ok to finish the process.