BitRaser File Eraser Network
- 1. About BitRaser File Eraser Network
- 2. Quick Overview
 3. First Steps
 4. How to
- 5. Frequently Asked Questions (FAQs)
- 6. About Stellar

BitRaser File Eraser Network / 3. First Steps / 3.4. Activation and Licensing / 3.4.2. Manage Licenses / 3.4.2.1. View Computers
3.4.2.1. View Computers
Manage Licenses feature allows you to keep a track of your computers using licenses in a pool. You can view the computers present in a pool and save that list at your desired location in your device for your future reference. Various situations may arise where you prefer not to allocate a license to a particular computer, such as when upgrading the computer, when it is not in a working condition, or if it's no longer part of the domain. With Manage Licenses, you can deactivate any such computer utilizing a license that you no longer wish to allocate. This allows you to reclaim or return the license for use on another computer, which will be reflected in the remaining balance of licenses.
Steps to View Computers and Deactivate License:
1. Run BitRaser File Eraser Network.

2. The software prompts you to login to domain. Enter your administrator domain credentials to access the network. Refer to the Connect Domain section for more information.

3. BitRaser File Eraser Network lists all the connected OUs to the server once you have successfully logged in to your domain. Now from the main screen click on the Activation ribbon.

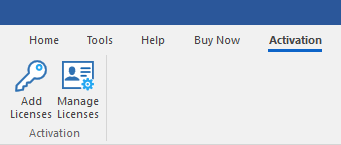
4. The activation ribbon provides you two options called Add Licenses and Manage Licenses. You need to choose Manage Licenses.
5. Manage Licenses window appears with all the active pools listed in it as shown below:
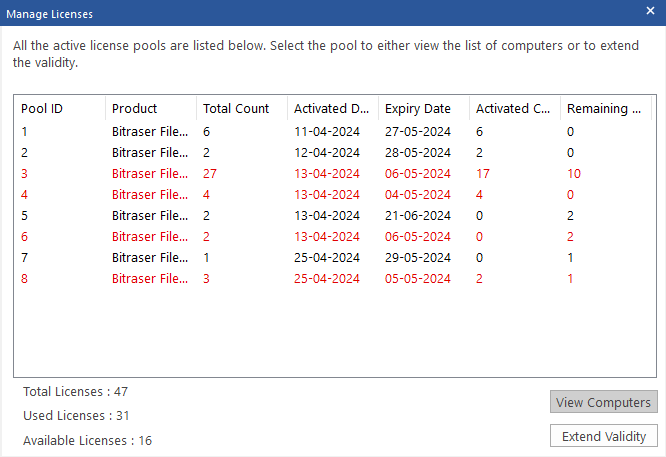
Note: Pools highlighted in red are the ones expiring soon; extend their validity if you wish to continue using them. Refer to extend validity section for learning step wise procedure.
6. Select the pool you want to view for its associated computers and click on the View Computers button provided at the bottom of the window.
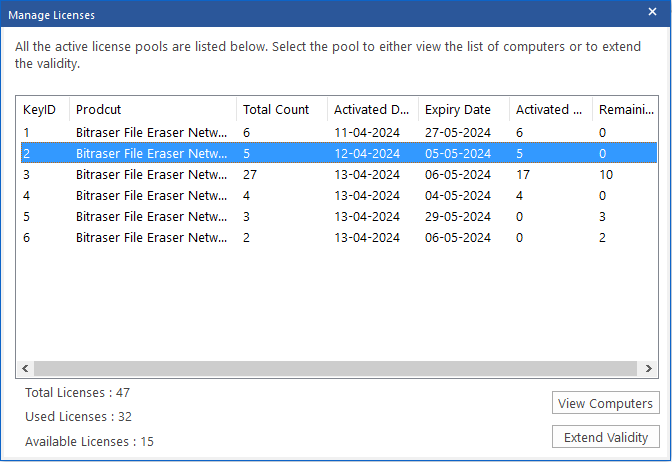
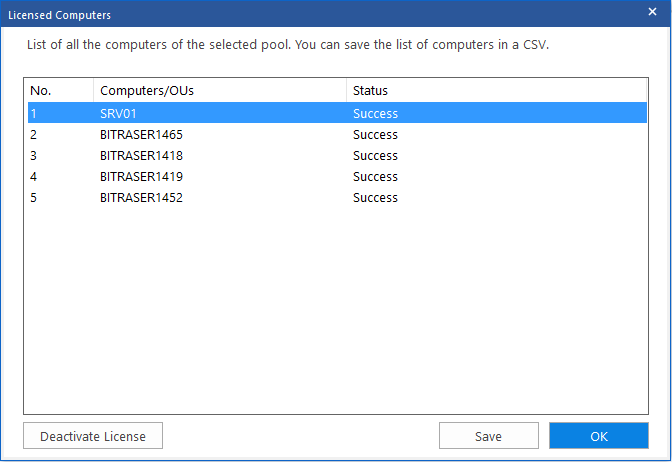
7. Licensed Computers window appears with all the computers present in your selected pool.
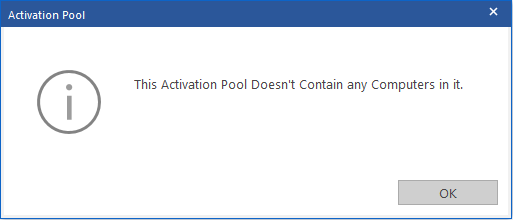
Note: In case there are no computers present in your selected pool the following dialog box appears. Click OK to exit.
8. Select the computer you wish the license to be deactivated for and click Deactivate License button.
9. Deactivate License dialog box appears asking you to mention reason for deactivating or returning the license in the text field. Provide your reason and click Deactivate.
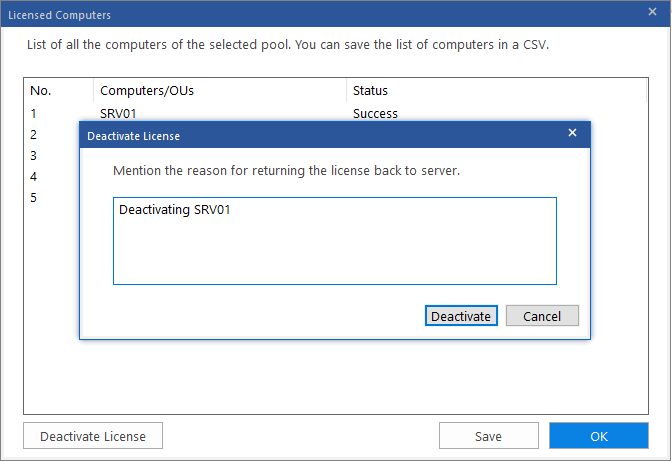
Note: If you don't wish to put any reason in the text field you can still proceed the process by directly clicking the Deactivate button.
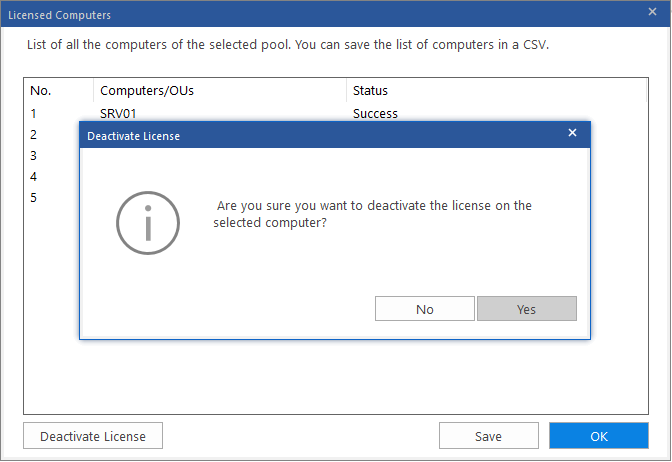
10. A message "Are you sure you want to deactivate the license on the selected computer" appears asking for your final confirmation. Click Yes.
11. The computer is removed from the list of Licensed Computers and the list is updated accordingly. Click Save to browse and save the task status at your desired location in .csv format.
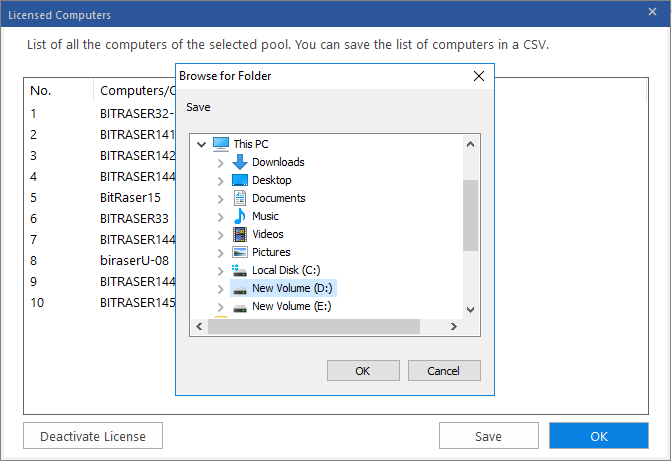
12. Save List dialog box appears with the message "Computer list saved successfully" once you have successfully saved the list. Click OK to finish the process and go back to the Manage Licenses window.
