-
Home
-
ProductsBack to main menu
- Drive EraserSoftware to Erase Data From HDD, SSD, PC, Mac, Chromebook & Server
- Virtual Machine EraserErase Virtual Machine that are no longer required
- Mac Erasure Secure & Fast Data Erasure from M3, M2, M1, T2, T1 & Intel Based Mac
- Chromebook ErasureErase Sensitive Data Stored on All Models of Chromebook
- Mobile Wiping Certified Data Erasure from iPhone, iPad & Android Devices
- File Erasure Software Software to Wipe Files, Folders, Traces, Browser History Etc.
-
SolutionsBack to main menu
FEATURED SOLUTIONS
- Enterprise & SMBWipe Drives and Devices like PC, Mac®, Mobile Phone & Servers to remain Compliant with Laws.
- Managed Service Provider & SIExpand your Portfolio by Providing Data Erasure as a Service Online, Offline or Remotely using BitRaser.
- Government Comply with CMMC, NIST 800-171 etc. by Wiping Sensitive Data stored on PC, Mac, Laptop, & Servers.
- ITAD & Refurbisher Automate Data Wiping & Erase in Bulk Drives, Laptops, Mac Device, Servers & Mobile Devices.
- Individual & Home User Safeguard invasion of privacy at the time of disposing old PC, laptop & mobile phone
- Educational Institutions Erase Data on Drives, PC, Laptop, Mac & Smartphone to Comply With Laws Like FERPA & COPPA .
- Non Profit Organizations Comply with Data Privacy Laws by Erasing Data Securely from Drives & Devices.
- Health & Insurance Permanently erase data, including PHI/ePHI, from devices to ensure compliance with HIPAA, GDPR, CCPA.
- Banking & Finance Securely wipe financial data from all devices, ensuring full compliance with GDPR, CCPA, GLBA, and more.
-
ResourcesBack to main menu
FEATURED RESOURCE
- Product Certifications BitRaser - Tested & certified by multiple International Bodies
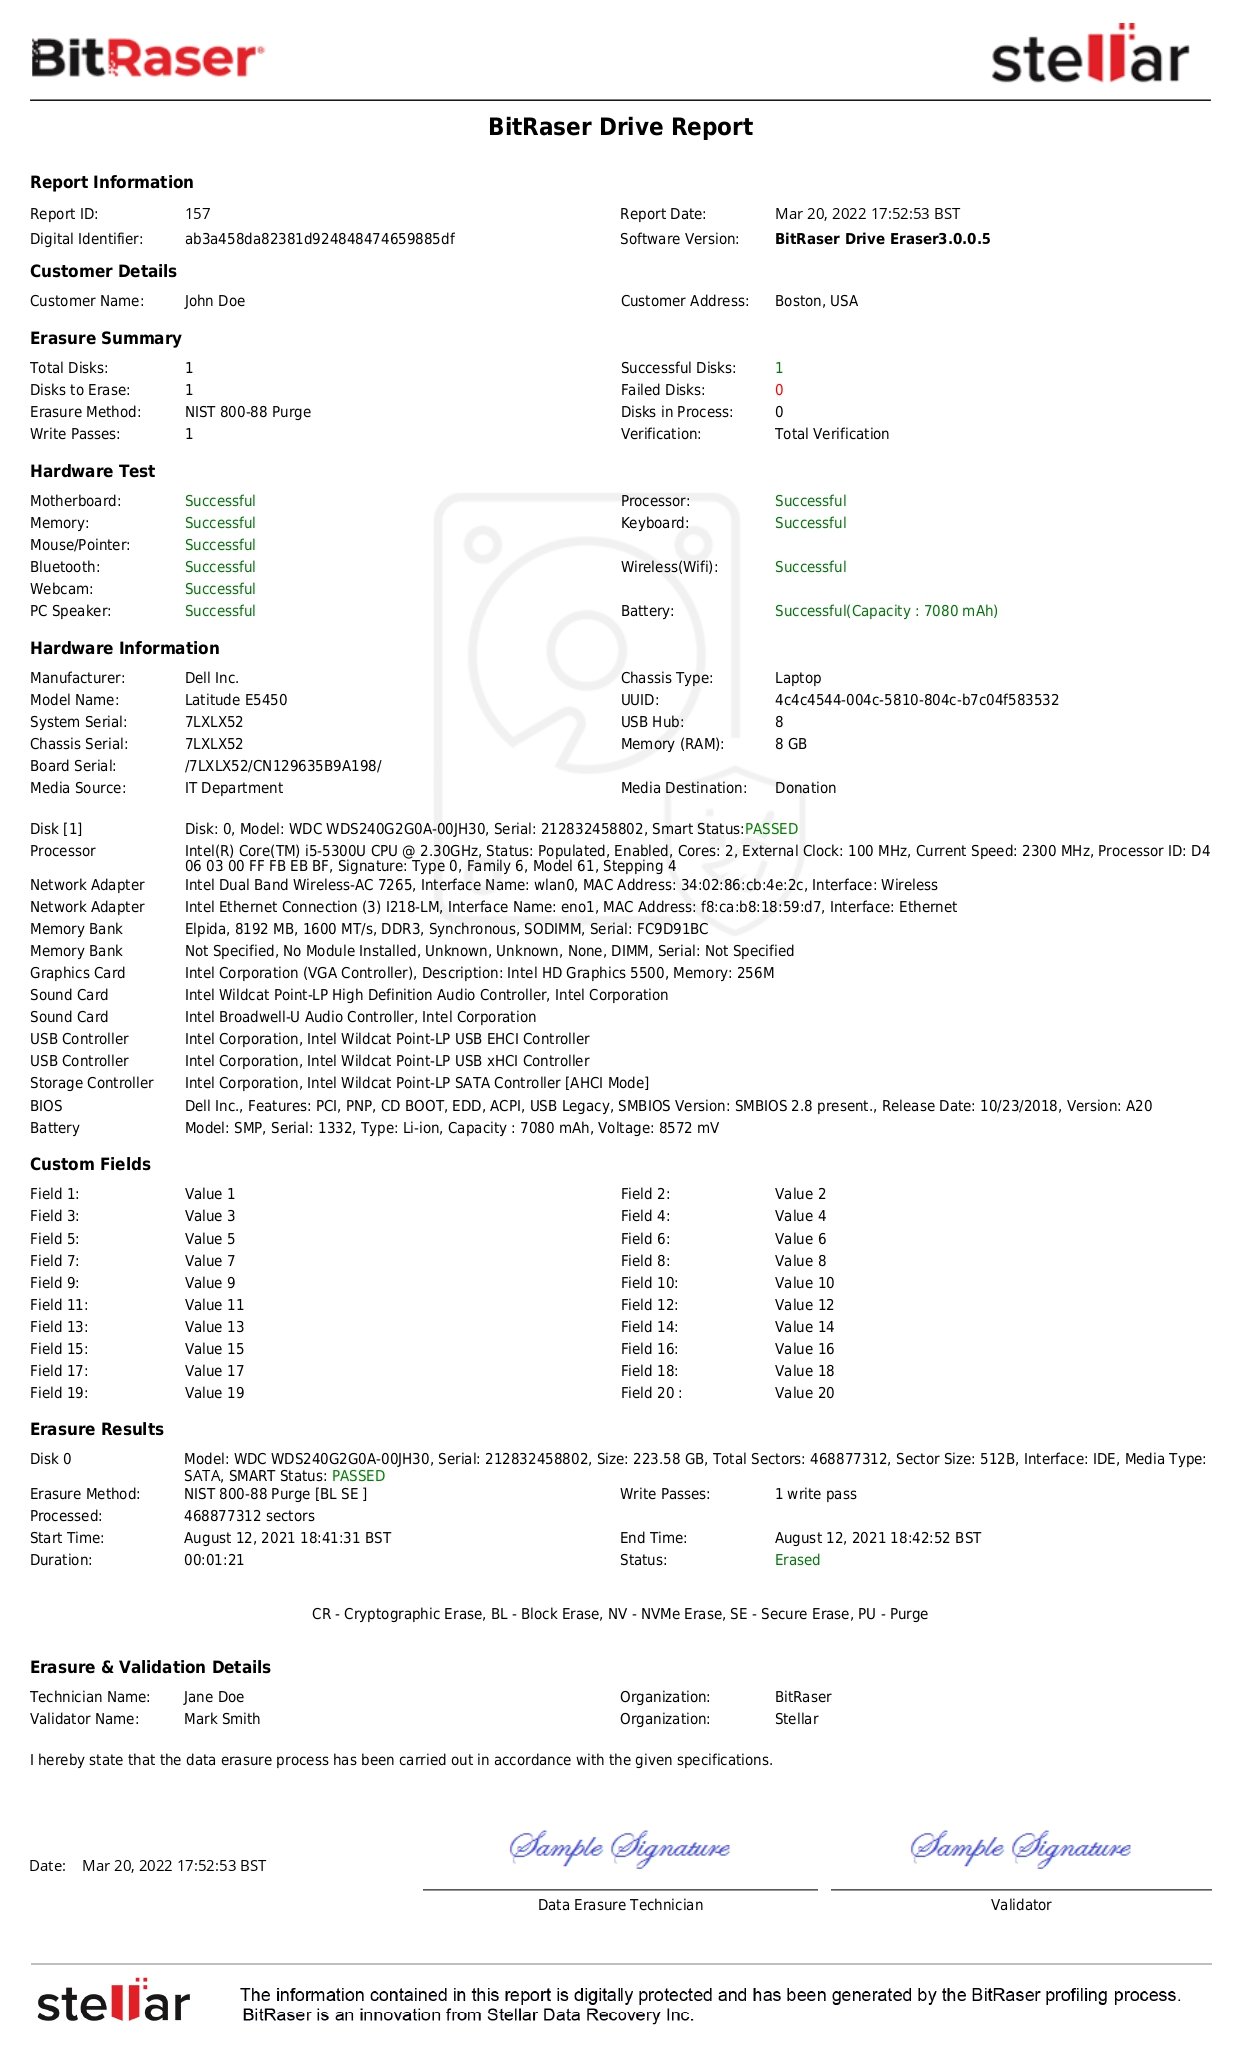
- Sample Reports & Certificates Tamper proof reports & certificates to help meet audit trails
- Data Erasure Standards Global erasure standards that help you comply to international laws & regulations
- Technical Articles Series of articles to help understand data erasure, diagnostics, verification & compliance
- Deployment Learn how to use BitRaser software for wiping drives & devices, diagnosing them or verifying erased drives
- Knowledge Base Discover in-depth KB articles to learn about the functionality of BitRaser products
- Case Studies Read our customer case studies illustrating the real-world usage in diverse business scenarios
- Frequently Asked Questions Our Top FAQs That Will Help You Get Answers To Your Questions
- Blogs Gain latest insights into data erasure, data protection, privacy and regulations
-
Partners
-
Support
-
Request Free License


