In today's internet-driven world, smartphones are an inseparable part of people's daily lives. Where Apple iPhone and Samsung mobile devices have been ruling the market for a long time, Xiaomi Redmi phones entered the market by storm and managed to create their own price-sensitive market segment. Due to the quantum leap in technological advancements, when you upgrade to a new Redmi phone or recycle an old one, it's essential to ensure that the stored data is completely erased.
As a Redmi phone user or a recycler looking to wipe data permanently, you can rely on BitRaser Mobile Eraser as a powerful tool that can help safeguard data privacy.
In this KB, we'll share steps to help you wipe your Xiaomi Redmi phone easily using BitRaser Mobile and Eraser software. While the tool is available for Windows and bare-bone hardware; for the purpose of this KB, we are looking at Windows downloadable variants only.
Follow the steps below to erase 'Redmi' phones like Xiaomi Redmi Note 11 Pro 5G, Redmi Note 12 Pro 4G, Redmi Note 12 Turbo, Redmi A2+, Redmi A2, Redmi Note 12 4G, Redmi Note 11S, Redmi 9A, Redmi Note 10 4G, Xiaomi Redmi Note 10S, Redmi Note 8 Pro, Redmi 9C, etc. using BitRaser Mobile Eraser software.
Step 1
Download and install the BitRaser Mobile Eraser tool on your Windows machine to wipe your phone's data.
Read the instructions in this deployment guide for downloading and installing the BitRaser Mobile software on a Windows machine as per your requirement. Post downloading, install the DIY software. Accept the license agreement and click 'Next' to finish the installation.
Step 2
Launch and open the 'BitRaser Mobile Eraser & Diagnostics' Tool to initiate the Redmi phone data erasure process.
Follow the below steps:
How to enable USB Debugging on your Xiaomi Redmi phone?
- Go to 'Settings' on your Android device and click the 'My device' option.
- Find 'All Specs'
- Tap MIUI version 7-10 times to make Developer options available. (You will notice that 'You are now a developer!)
- Go back to the previous page and find 'Additional Settings'.
- Find the 'Developer Options'
- Turn on 'USB Debugging'. Tap 'OK'
Procedure to Install BitRaser App (BitRaserAndroidErasure.apk) on Redmi Devices:
- Go to 'File Manager' of the Redmi phone that you are wiping and install BitRaserAndroidErasure.apk on the phone as prompted by the application.
[Ensure that the Redmi phone remains connected to the BitRaser Mobile Eraser app]
- Locate and open the BitRaser folder. If you are unable to locate then initiate the erasure process to find BitRaser Folder in internal storage.
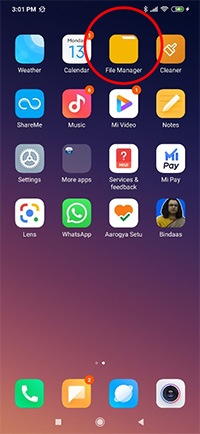
Image 3: Open File Manager on Redmi |
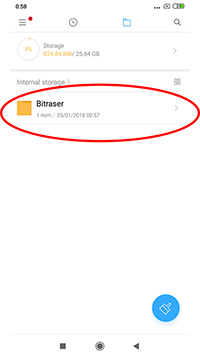
Image 4: Locate and Open BitRaser Folder |
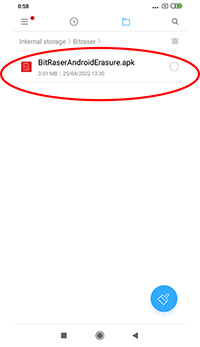
Image 5: Select and Open BitRaserAndroidErasure.apk |
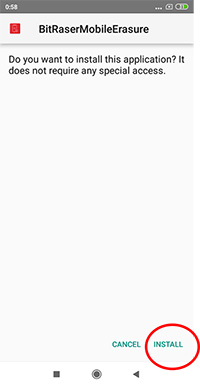
Image 6: Install the BitRaser application |
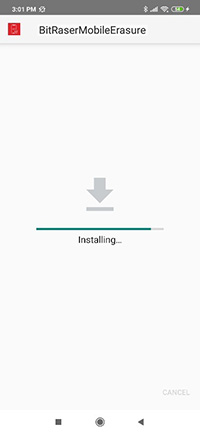
Image 7: Wait while the app installs |
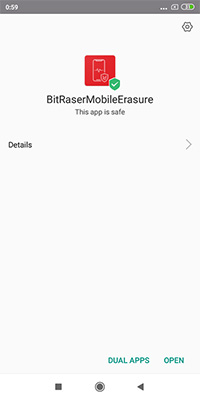
Image 8: Successful installation |
- Click on BitRaserAndroidErasure.apk and open the file. Upon proceeding, a notification appears on your Redmi phone screen asking if you want to install the application. To begin the installation process, select the "Install" option.
- The device will take some time to install the .apk file. Wait for some time till the application is installed successfully.
- On opening the BitRaser application, you will receive pop-up messages asking to grant certain permissions. Proceed to allow access to photos, media, files, and phone calls.
- BitRaser Mobile Eraser & Diagnostics application may stop functioning on your device if you DO NOT ACCEPT THE REQUIRED PERMISSIONS. Check the reference images shared below.
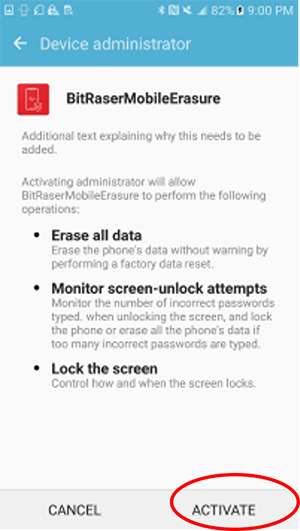
Image 9: Accept the permissions to activate the app
Step 3
Begin Data Erasure Process
- Select the device and the erasure method. You can choose from the 10 erasure standards that BitRaser Mobile Eraser and Diagnostics software supports. Once you have made your selection, click on START to begin the Redmi phone data erasure process. The default standard is 'Zeroes'.
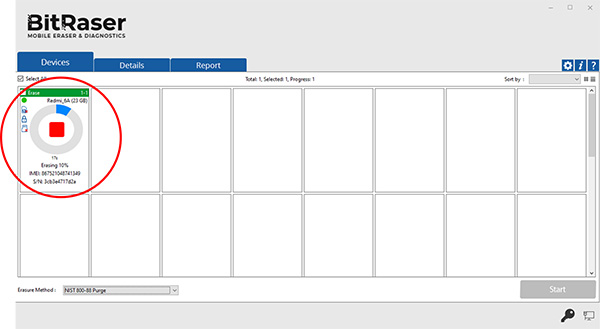
Image 10: The Data Erasure process is initiated
- Once the erasure process is completed the software interface flashes the status as 'Completed' in green on the screen for the erased device.
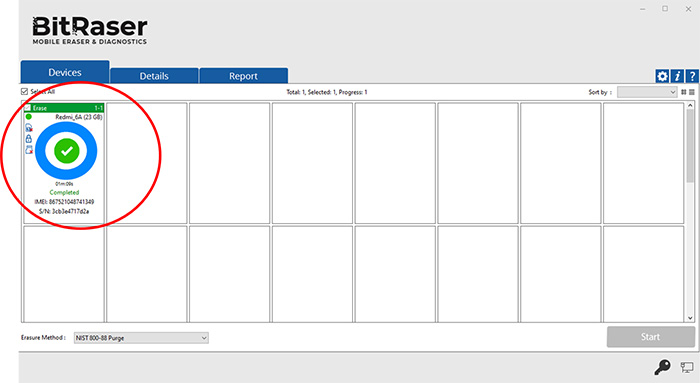
Image 11: Redmi phone is successfully wiped
Step 4
Save Erasure Report
- Now that the erasure is completed, you can collect the erasure report, from the Report tab. The report tab lists all reports created on the selected time period.
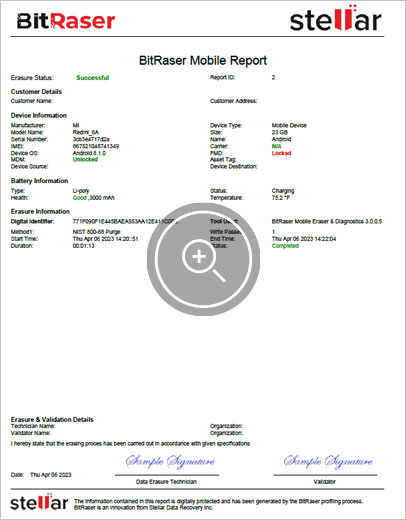
- From here you can either preview the report, save it in PDF, XML, and CSV formats, or send it over to your account at the BitRaser cloud console. Check the pdf to see a sample report.
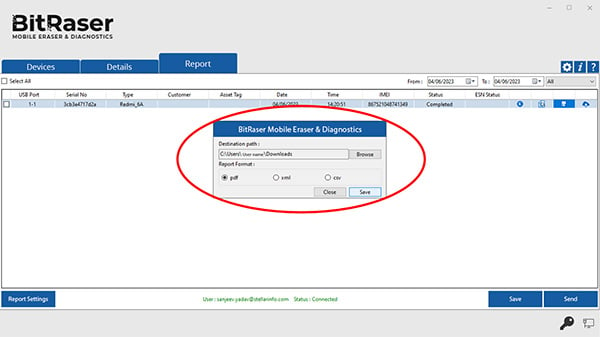
Image 12: Save the erasure report in PDF, XML, and CSV formats
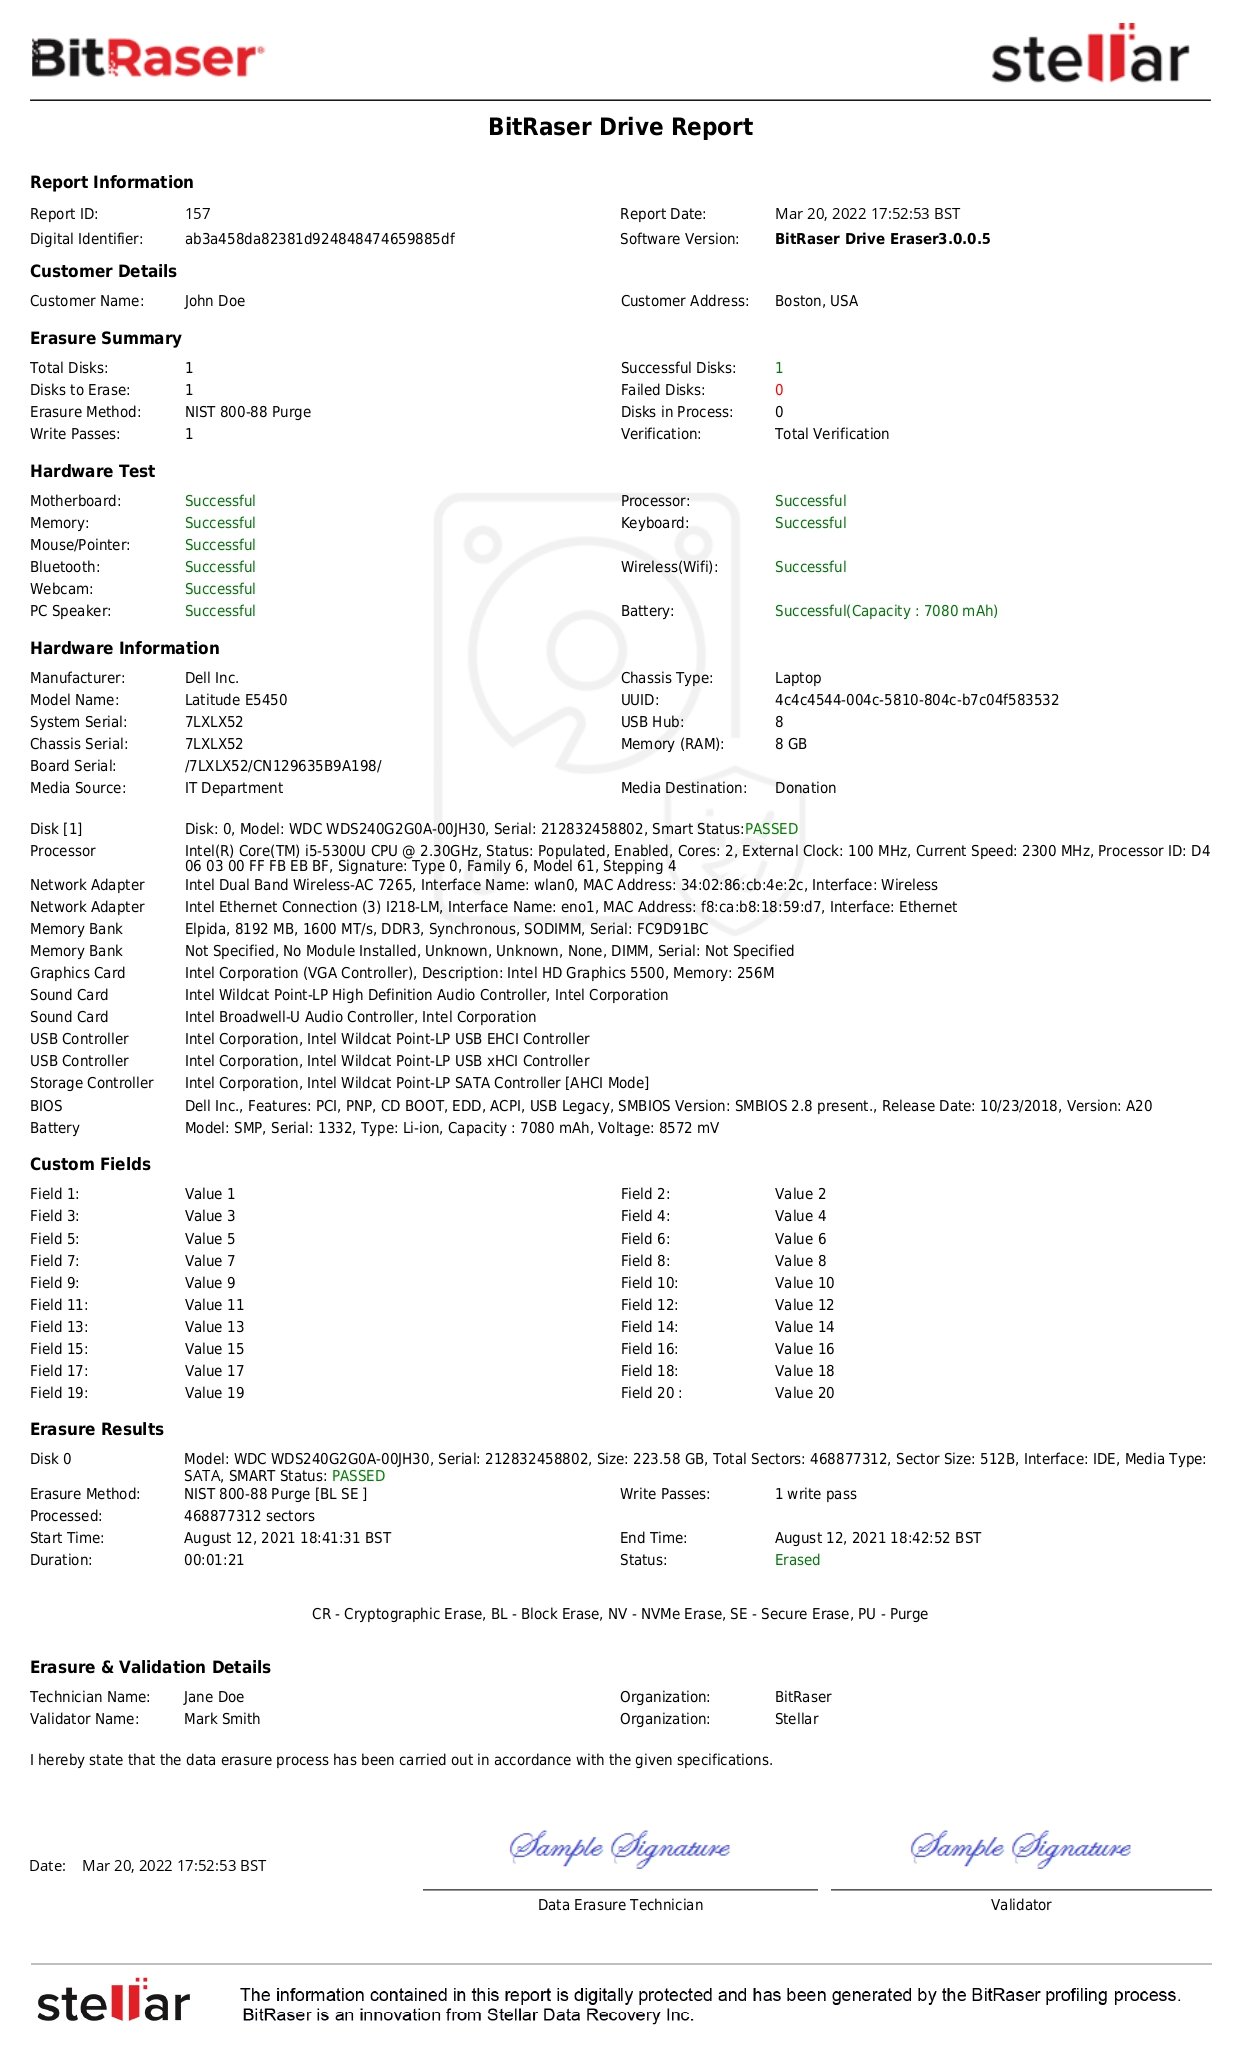
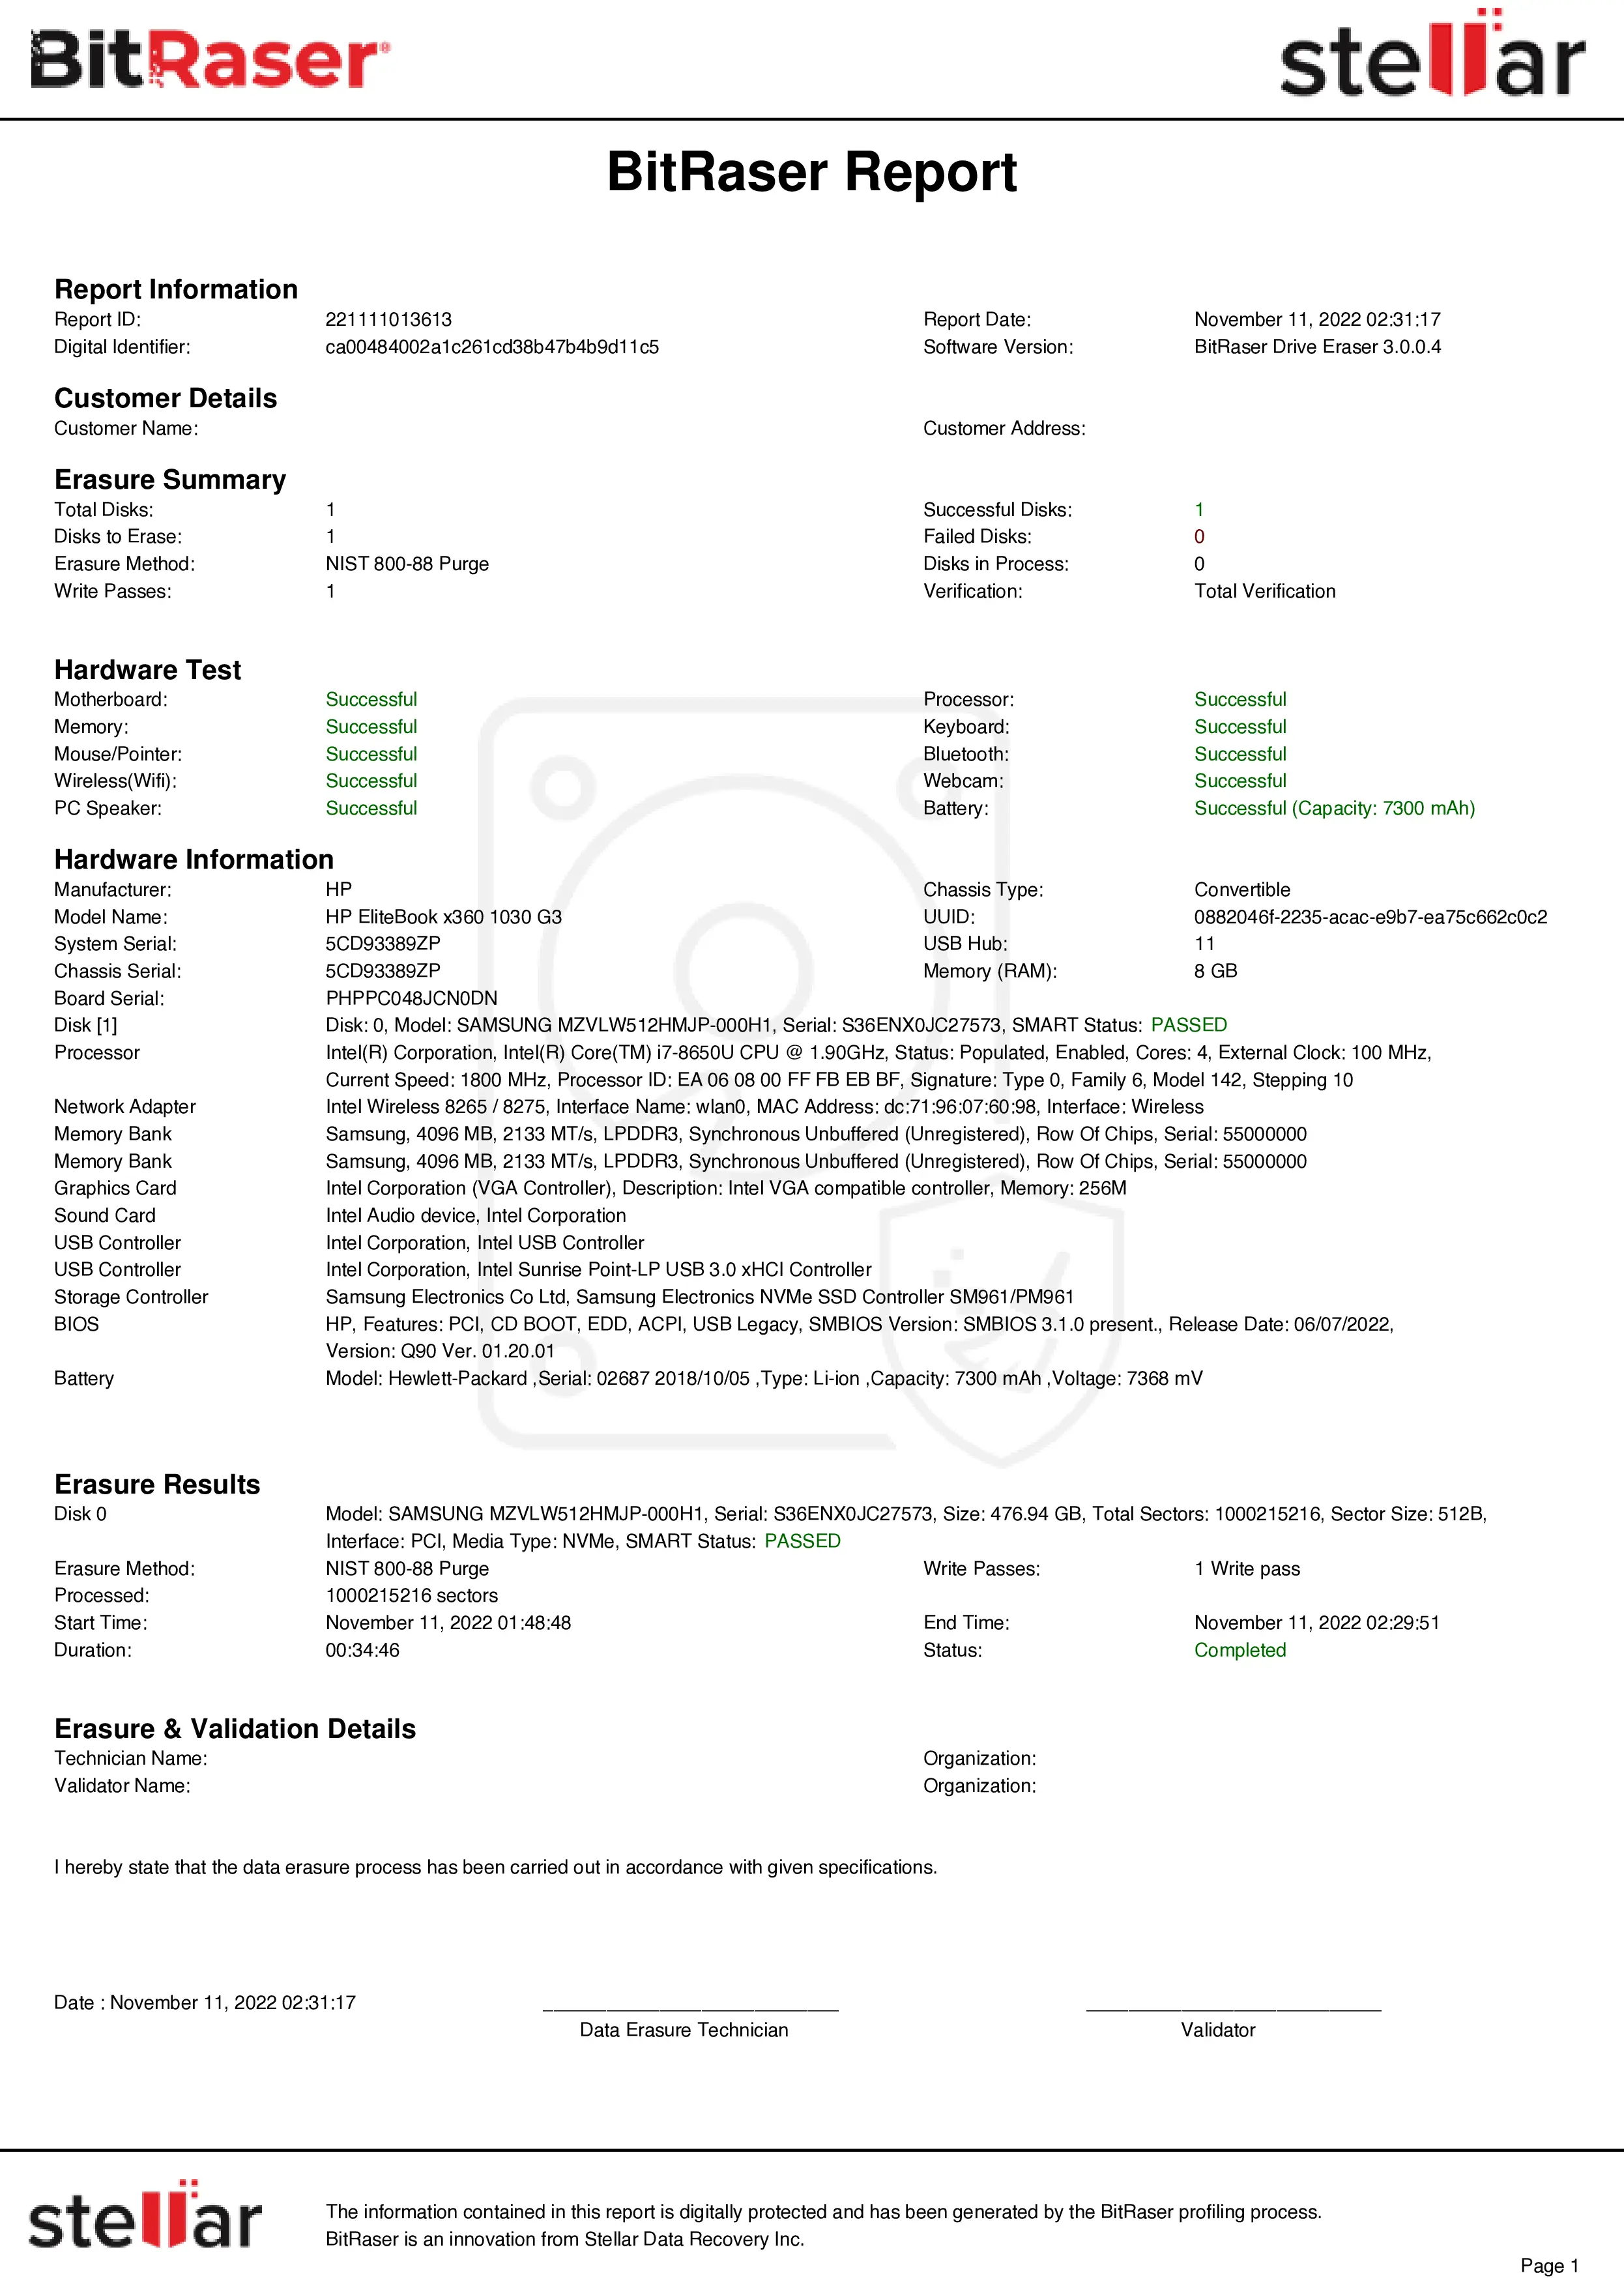
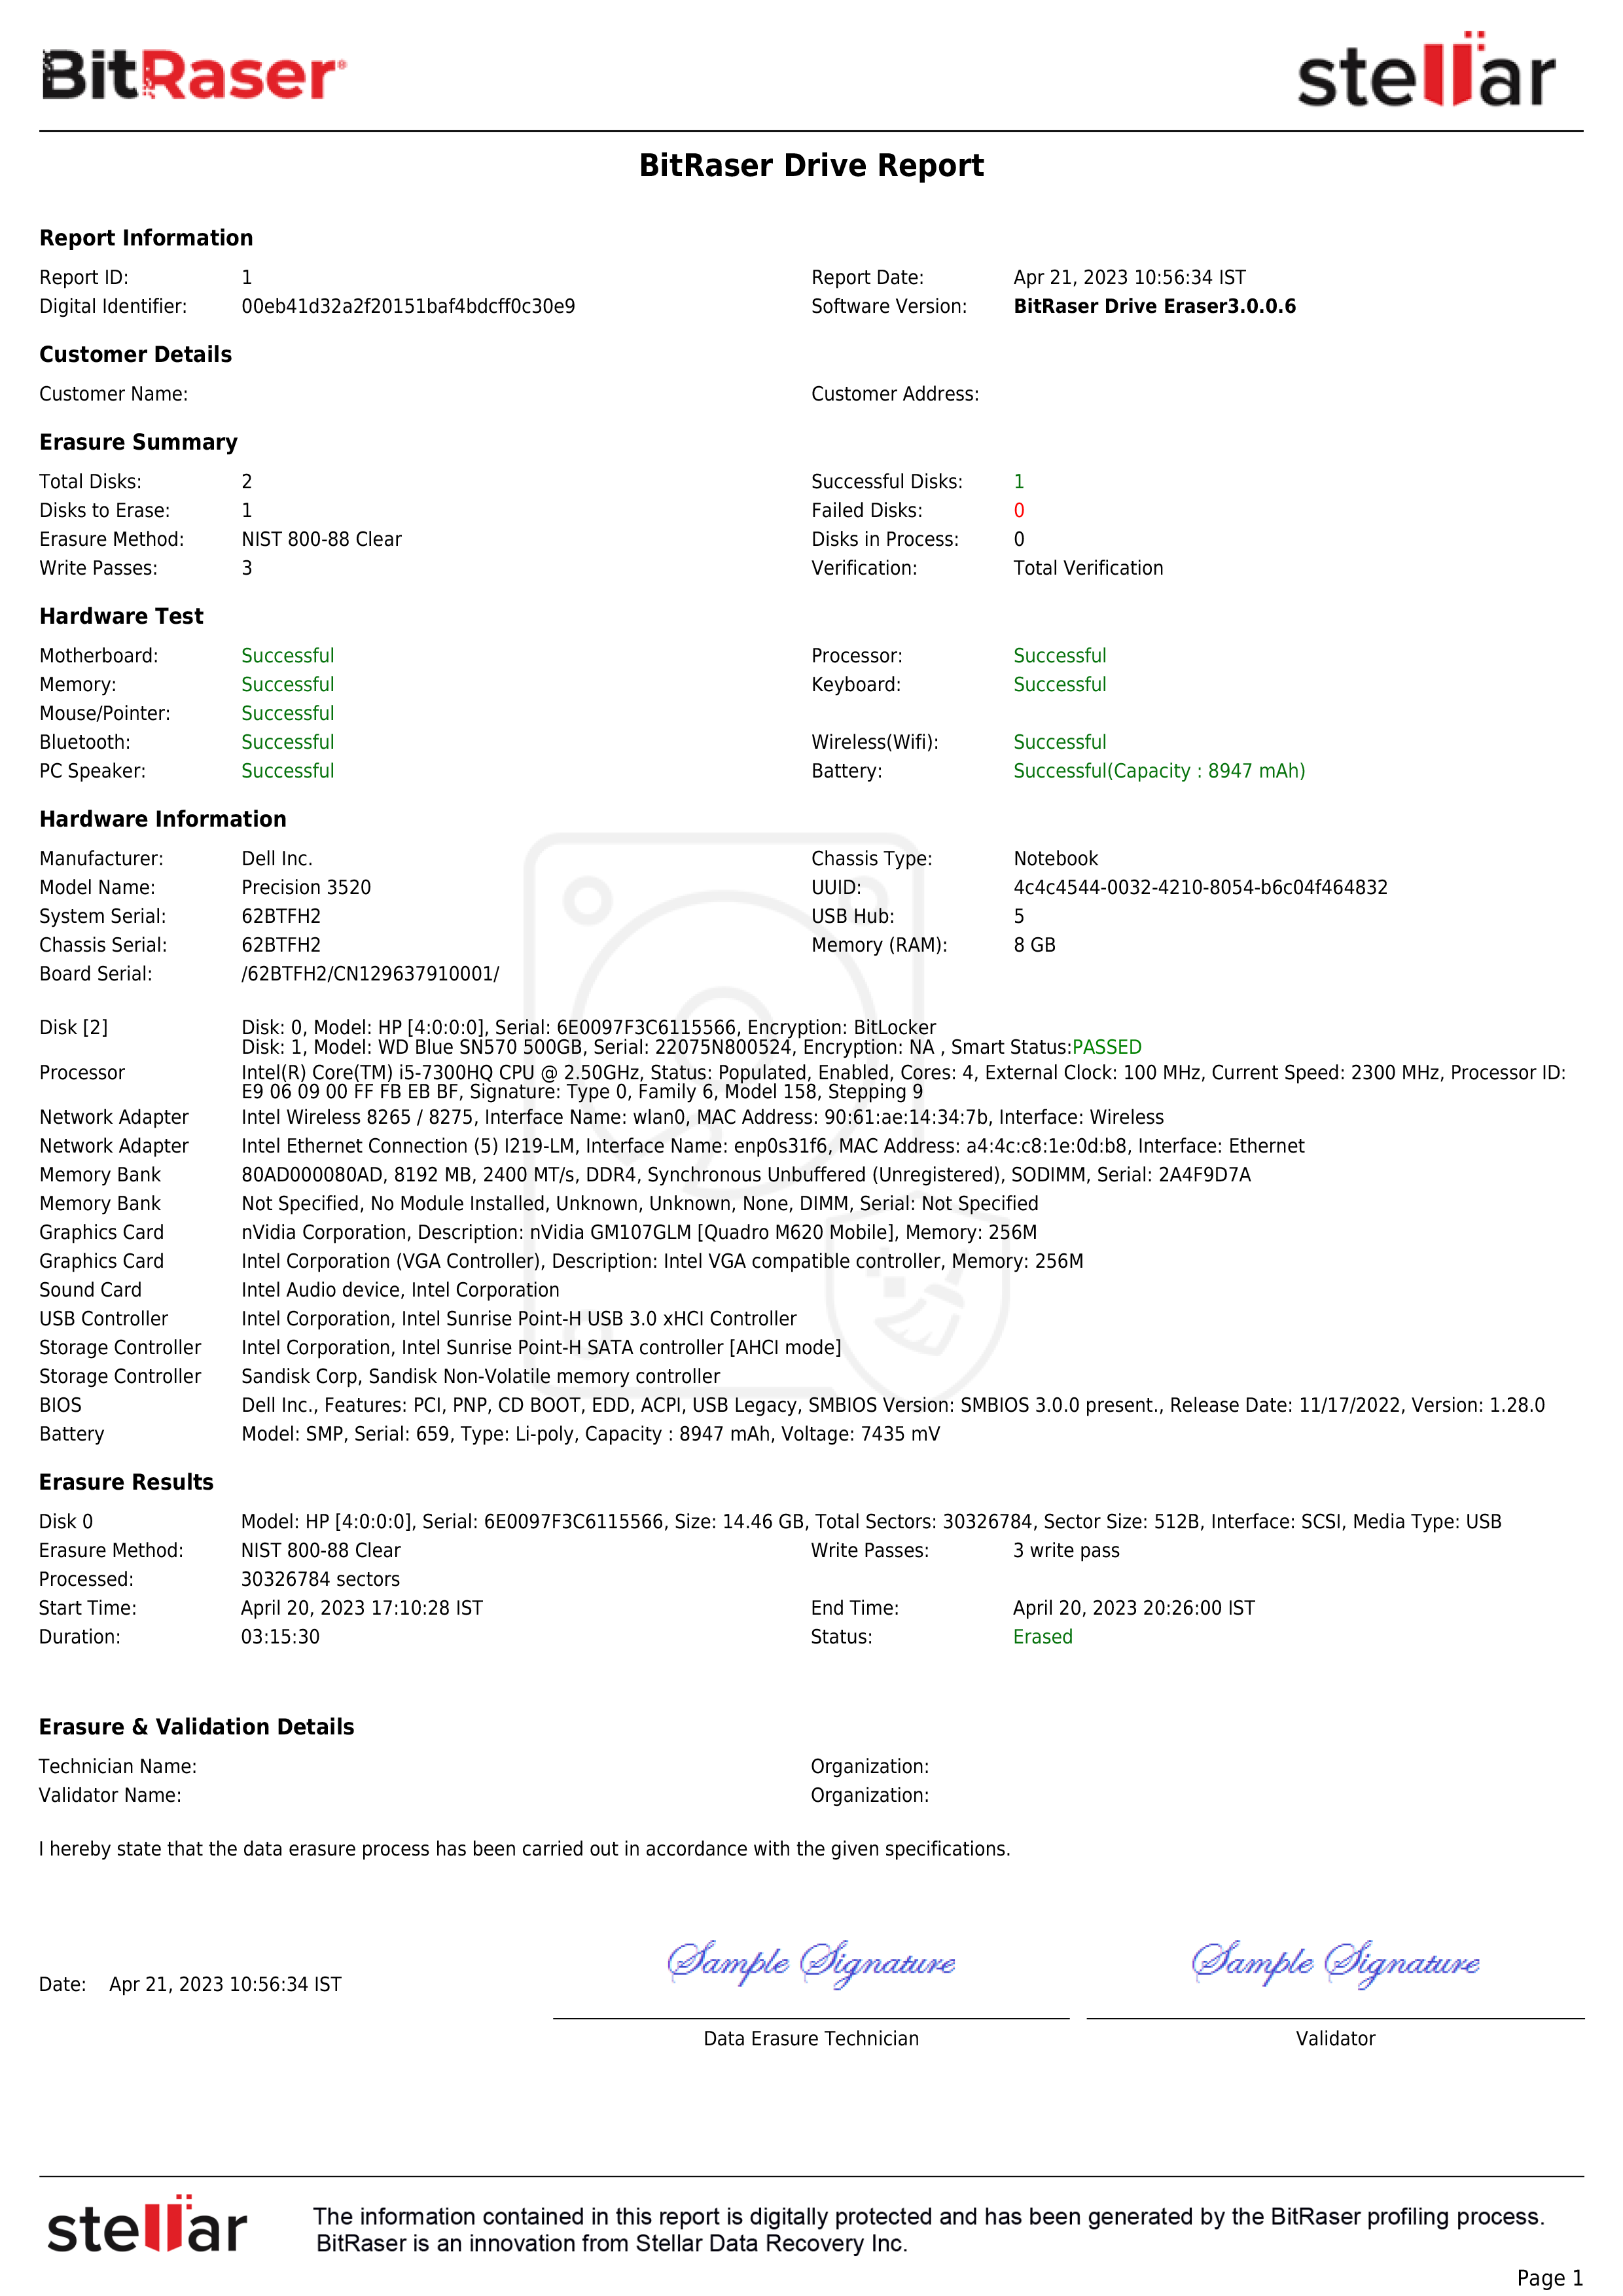
Redmi Data Erasure Report
FAQs
How much time does it take to wipe a Redmi phone? 
The wiping time for your Redmi phone will depend on the storage capacity of your device and the erasure standard you have selected.
If erasure failed and my license was used, will another license be used if I try again? 
For the same device another license won’t be consumed if you perform the erasure process again within 24 hours.
What are the languages supported by BitRaser Mobile Eraser and Diagnostics software? 
Currently the software only supports English language
What details are shared in the erasure report? 
The erasure report contains Customer Details, Device Information, Battery Information, Erasure Information, Erasure & Validation Details.
Can I customize reports of erasure using BitRaser Mobile Eraser and Diagnostics software? 
Yes, you can customize the report by selecting Report Settings button. You can add technician and validator signature, change header text or header image, change the top-right logo in the report as well as modify the watermark image.

