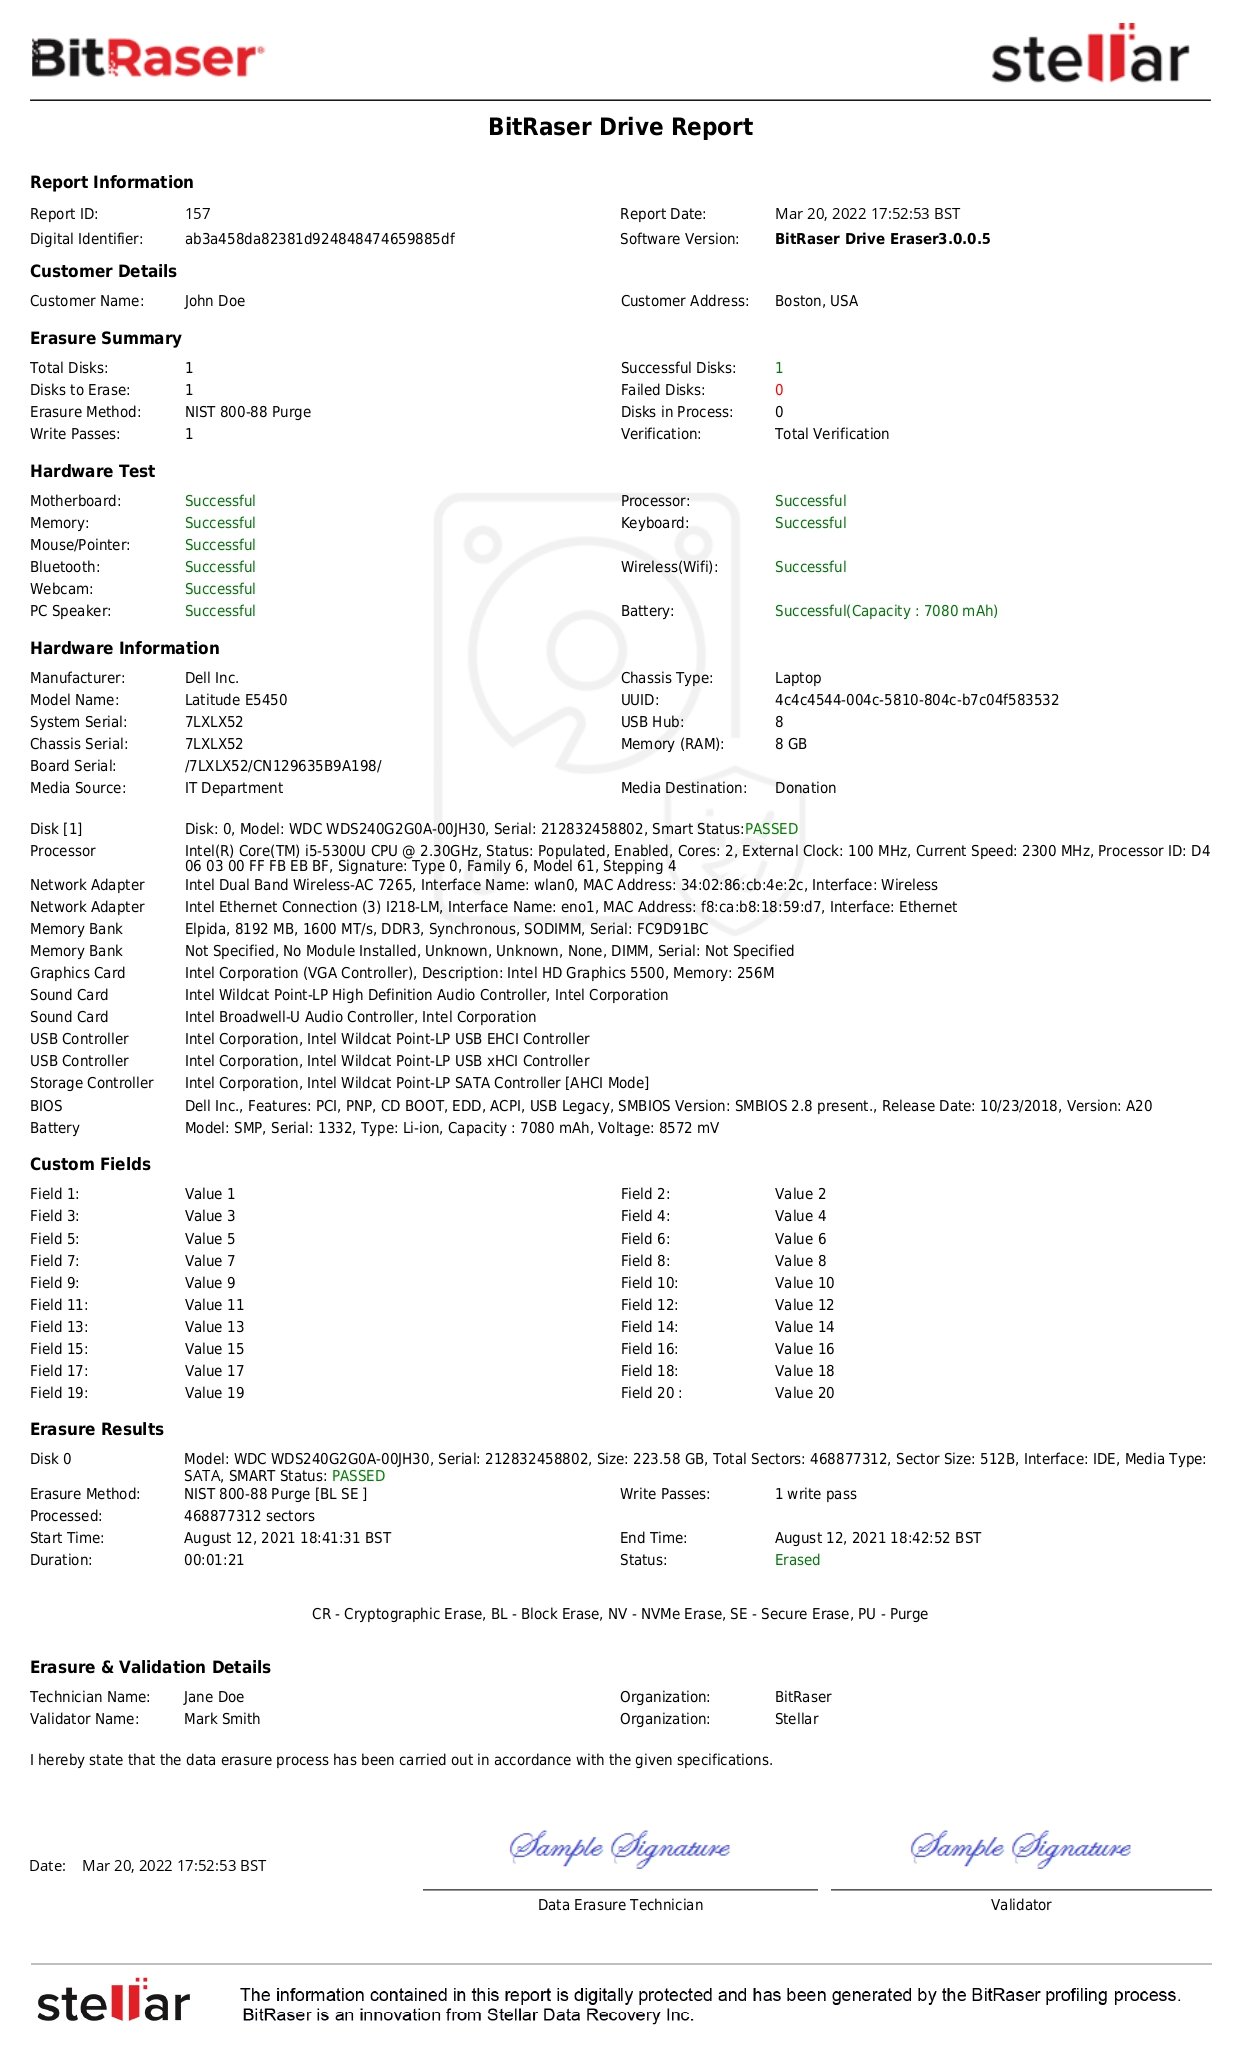
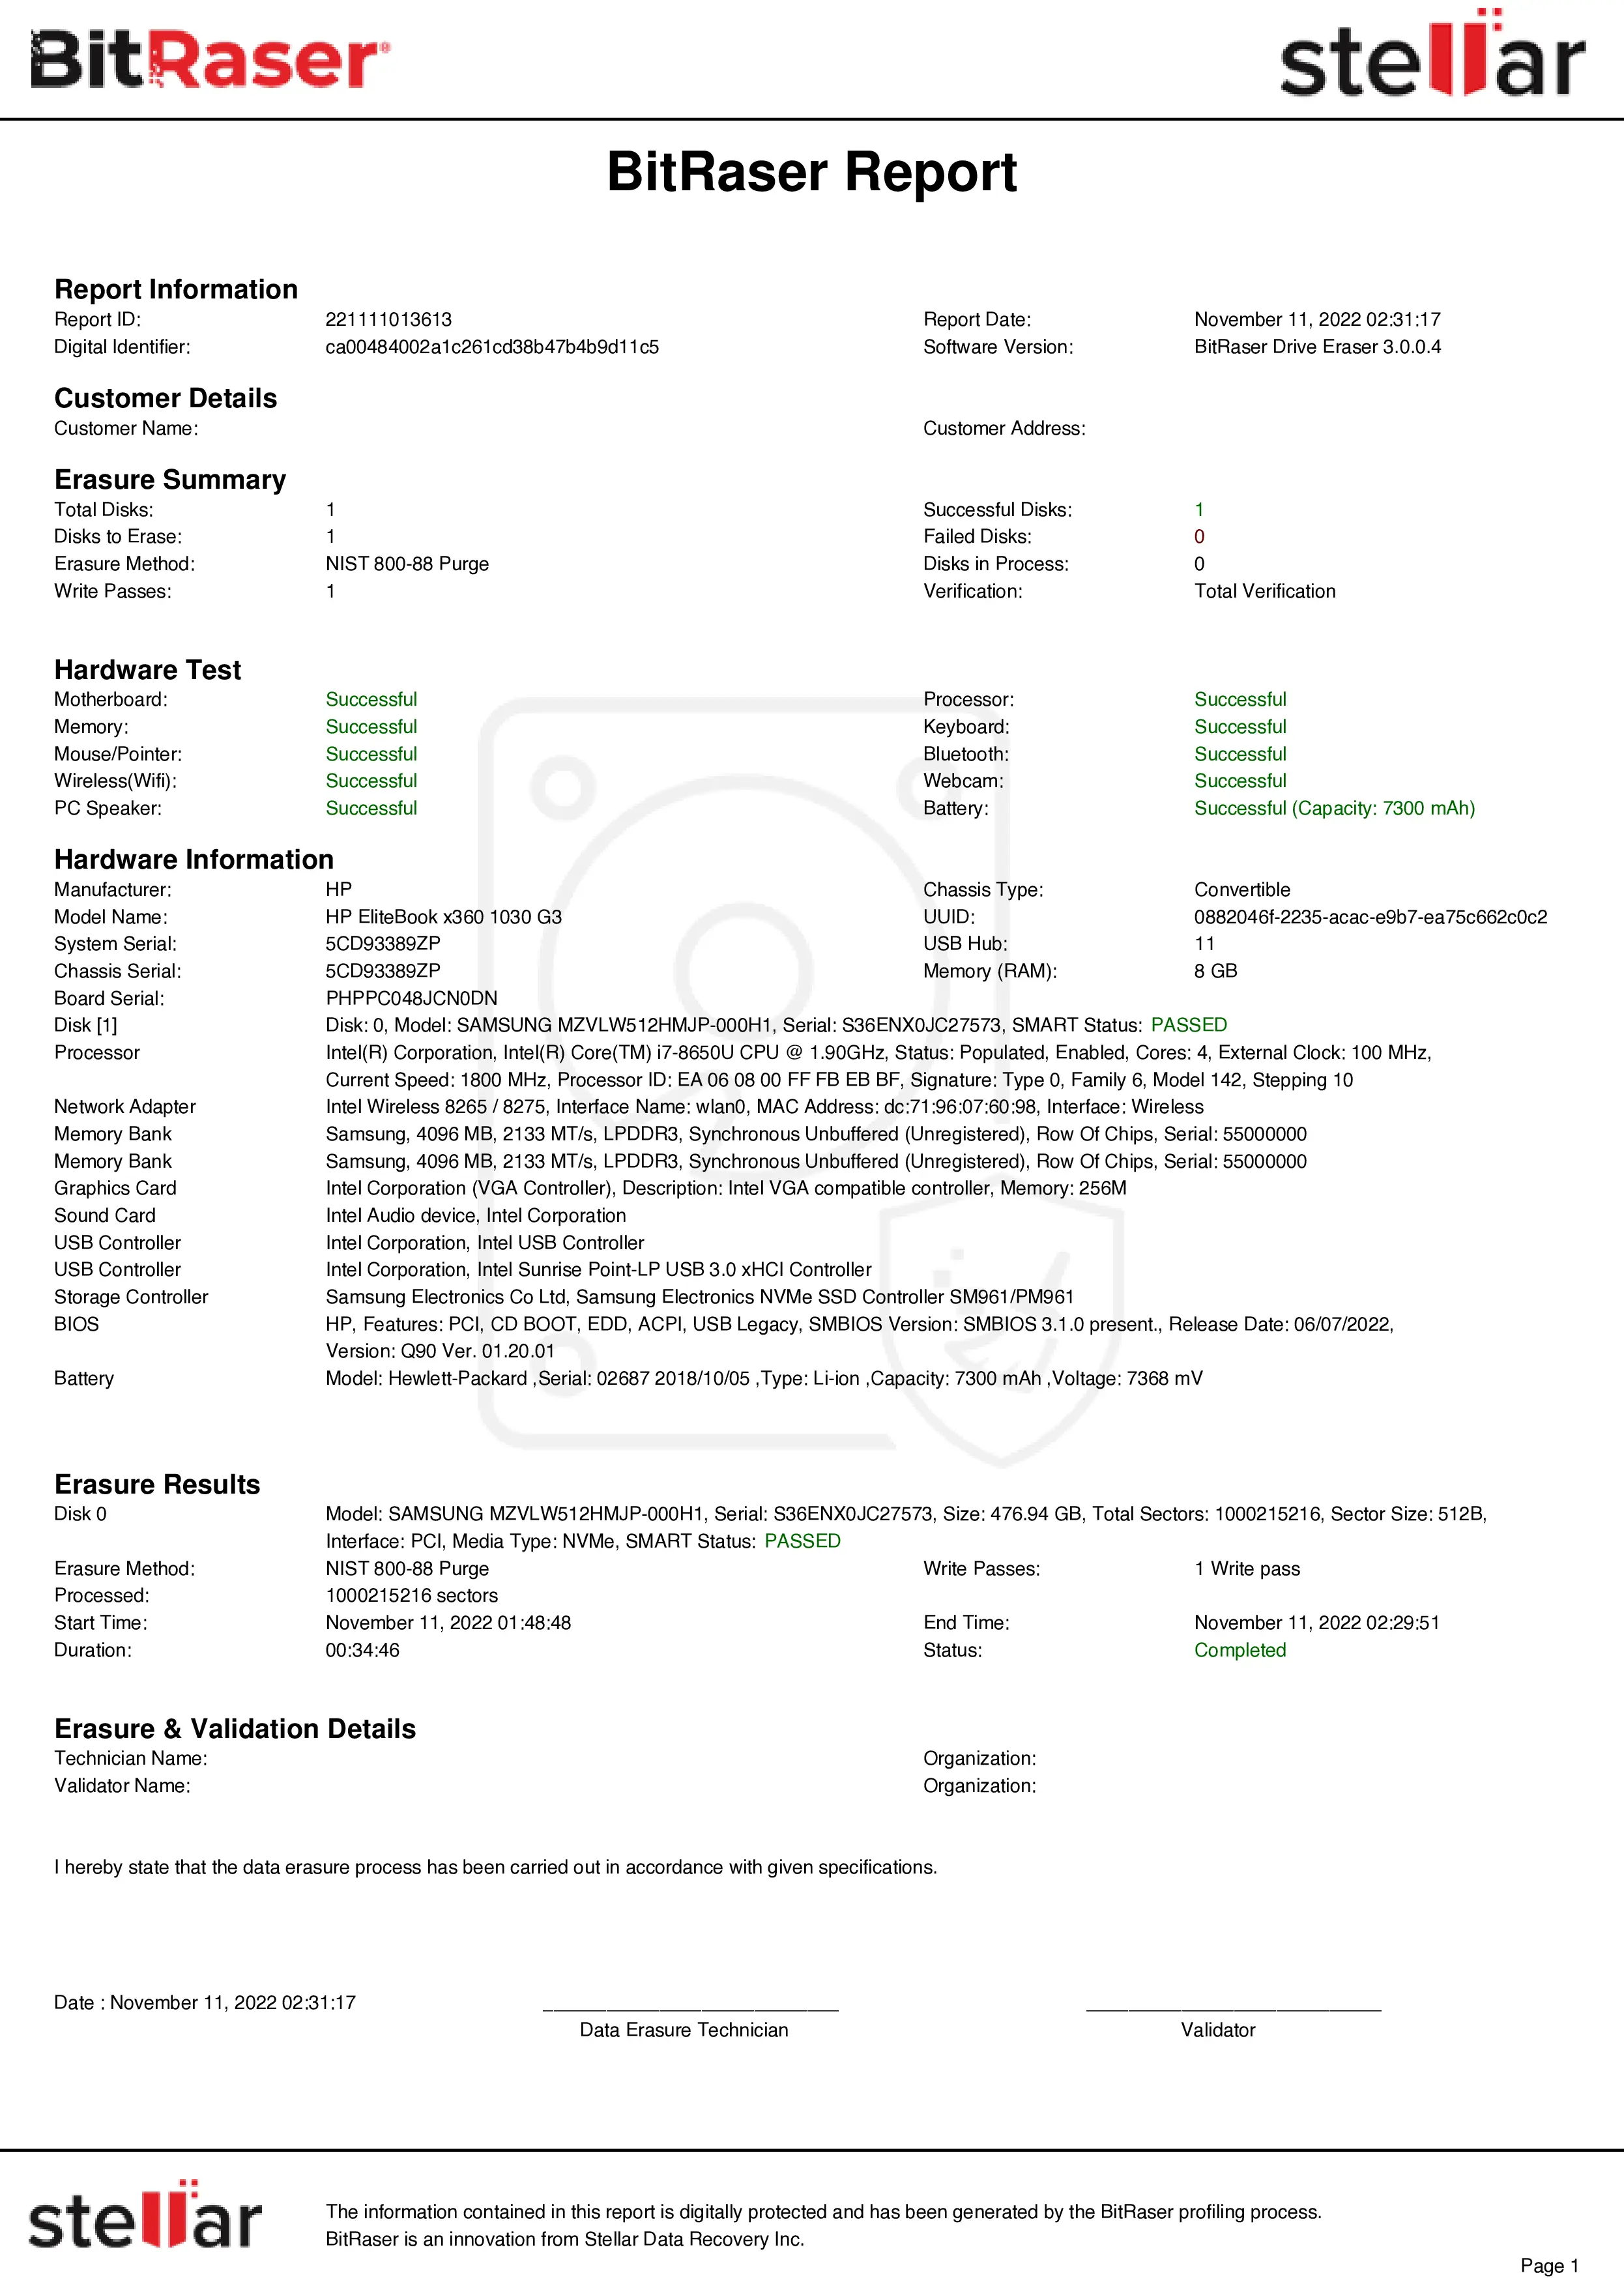
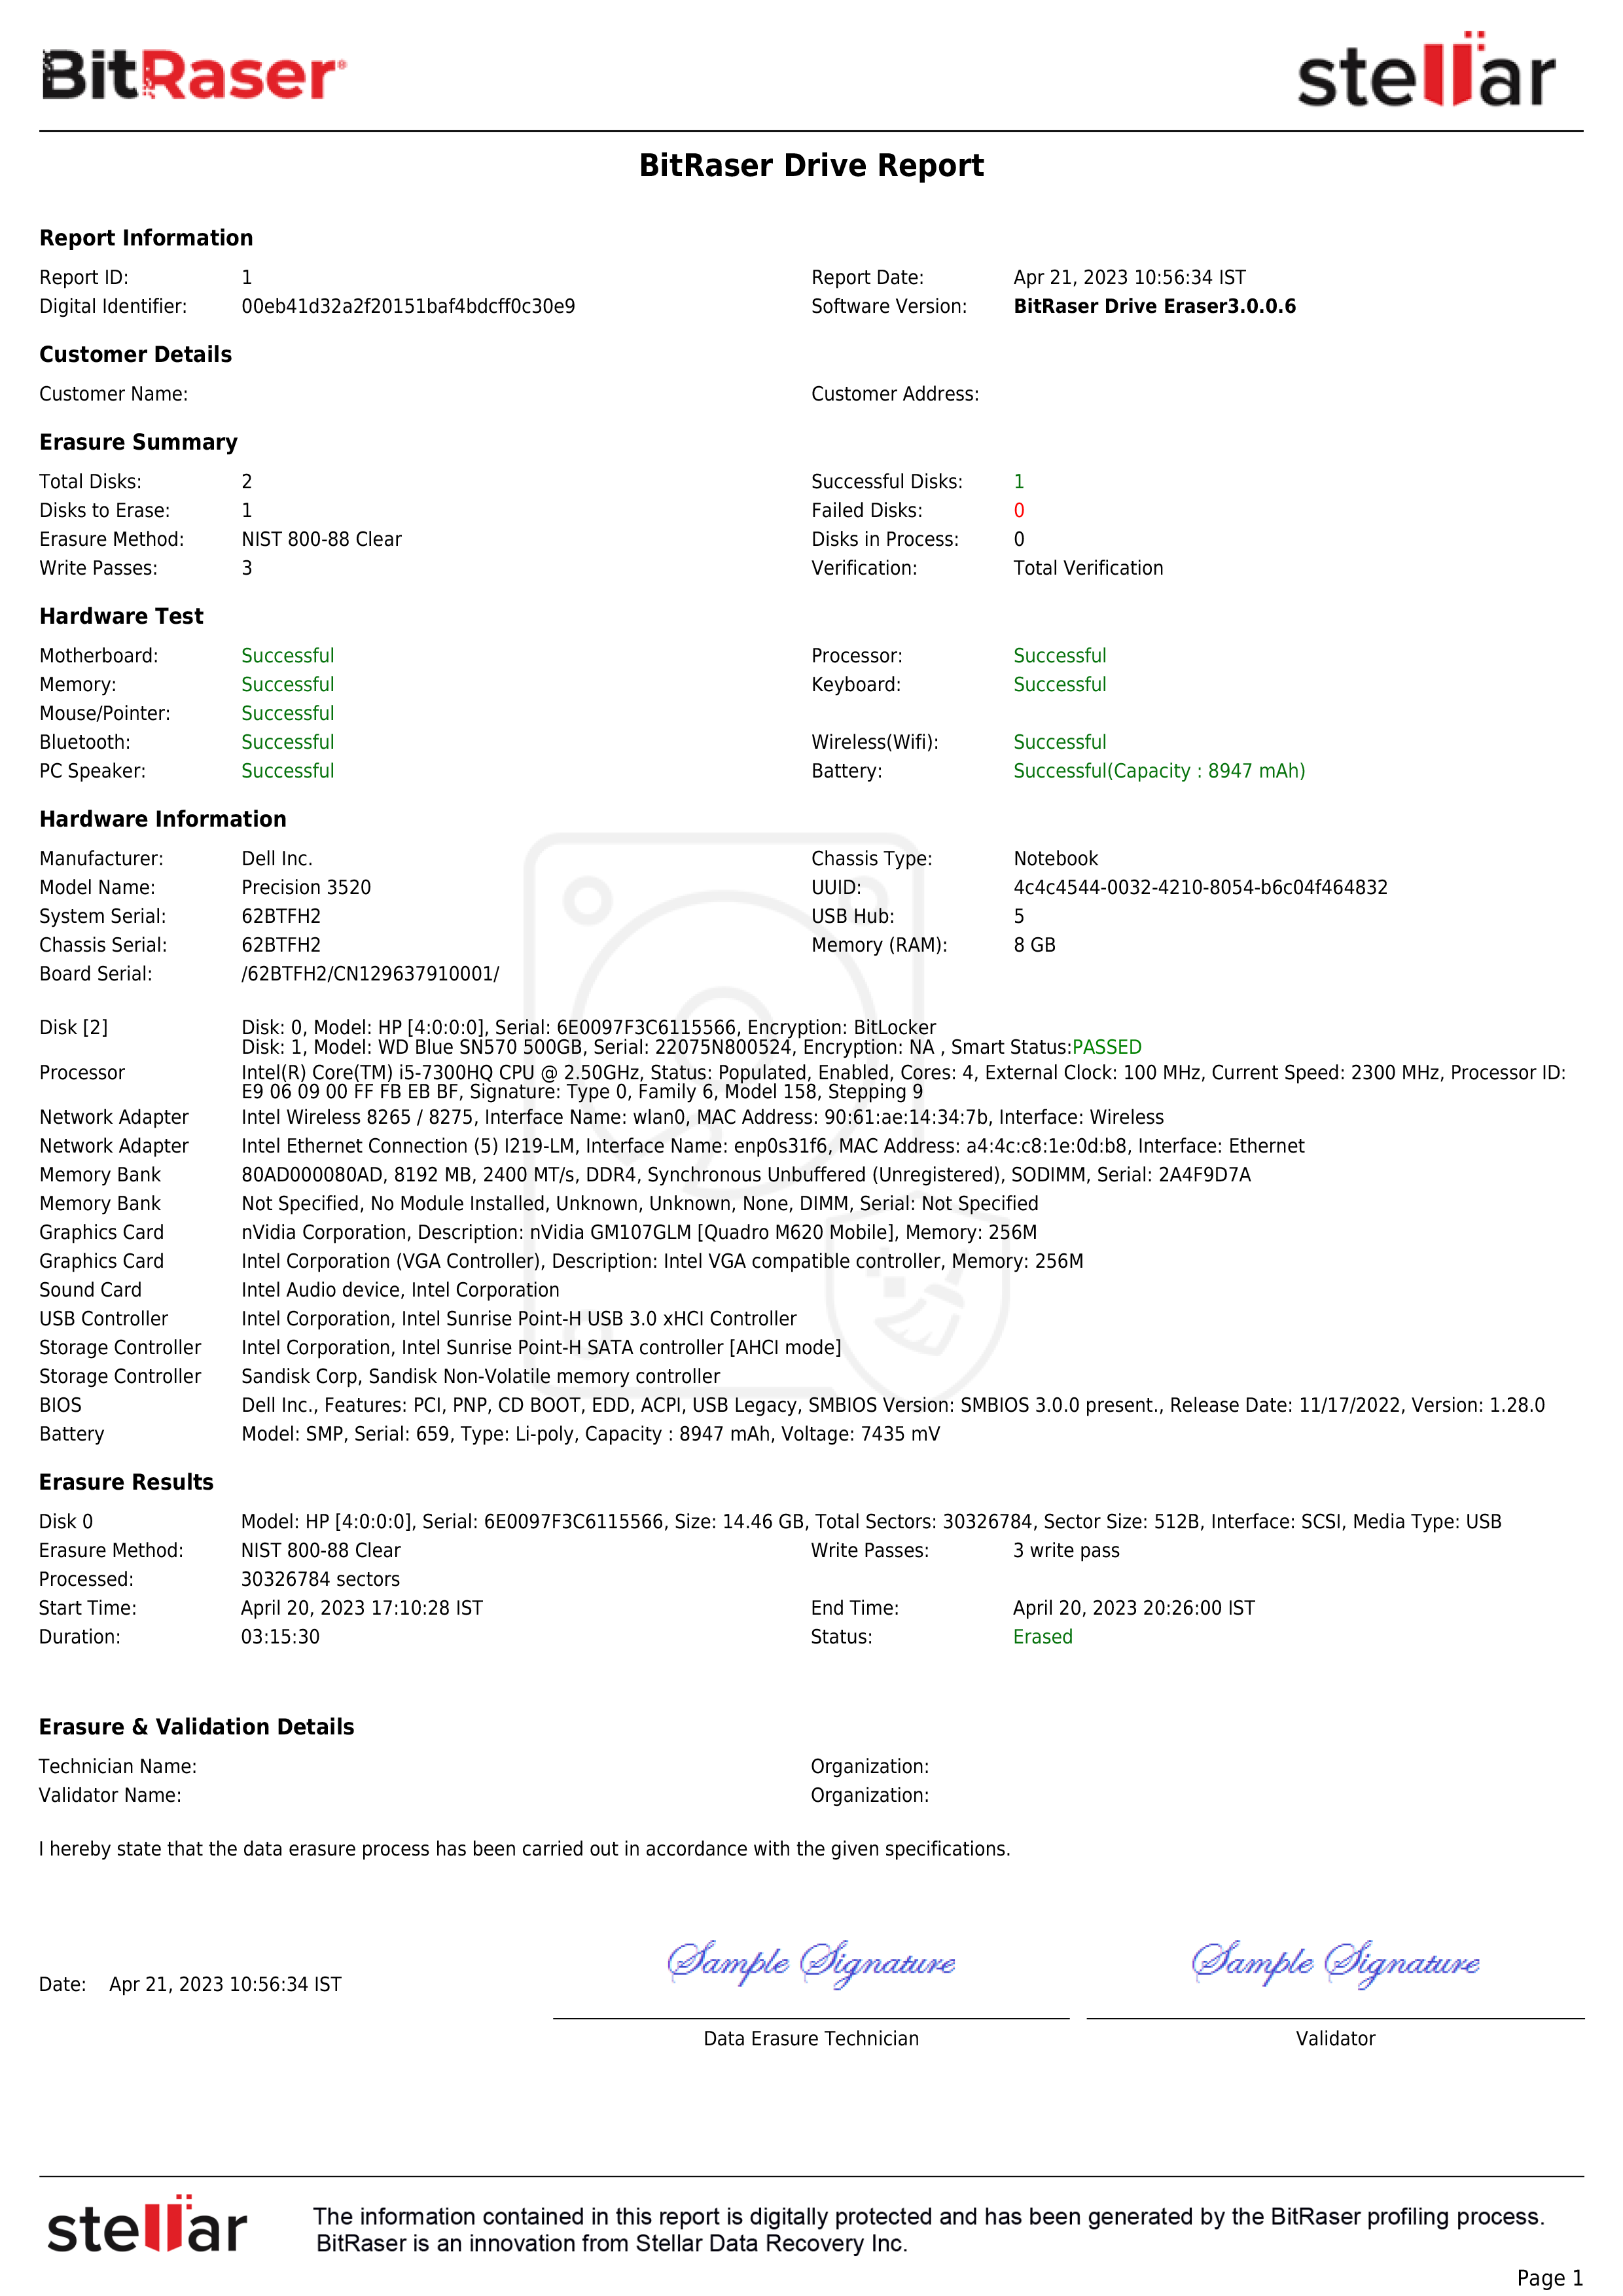
In this KB article, we will highlight Acer's latest business-centric laptops and demonstrate how to permanently wipe data from them using the BitRaser Drive Eraser Cloud variant.
Founded in 1976, the Taiwanese company Acer has launched several laptops in different domains over the decades. Their diverse range of laptops capable of remote management and enhanced security addresses business-oriented requirements and elevates overall productivity. The TravelMate series, including TravelMate P4 Spin 14 and TravelMate P2 14, Acer’s Spin series, and Acer Aspire Vero Green, are used by businesses to store critical data of partners, stakeholders, employees, and customers.
When Acer laptops reach end-of-life, are reallocated within the organization, or are donated, they need to be wiped clean using a secure data erasure tool like BitRaser Drive Eraser to safeguard data security and stay compliant with prevalent laws and regulations.
This KB can be followed to wipe data from Acer laptops using BitRaser Drive Eraser.
How to Wipe an Acer Laptop with BitRaser Drive Eraser?
BitRaser Drive Eraser can wipe all types of Acer laptops; the data wiping process remains the same regardless of the model.
In this KB, we will provide wiping instructions for the Acer Aspire SW5-171P. (Refer to Image 1)
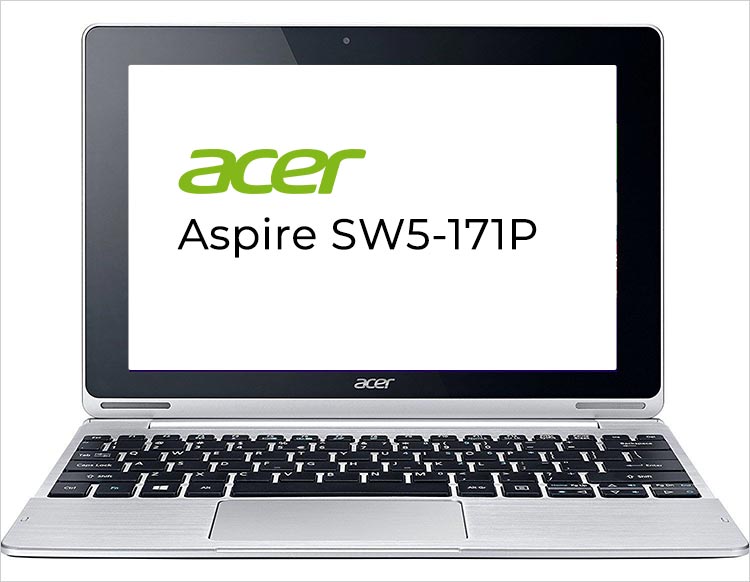
Image 1: Acer Aspire SW5-171P Image Source: IMEI.info
Before proceeding to employ BitRaser Drive Eraser (Cloud Variant) to erase data from the Acer Aspire SW5-171P, it is necessary to meet the following requirements:
Requirements:
- Device to Wipe: Acer laptop
- USB: Minimum 2GB of memory
- Internet: Ethernet or wireless
To simplify the erasure process, this KB is divided into three stages:
Step 1: Using the credentials received in your email, log in to the BitRaser Cloud Console.
Step 2: Go to the 'Download BitRaser' option on the left pane and click on ‘Cloud Variant: BitRaser Drive Eraser’ option. (Refer to Image 2)
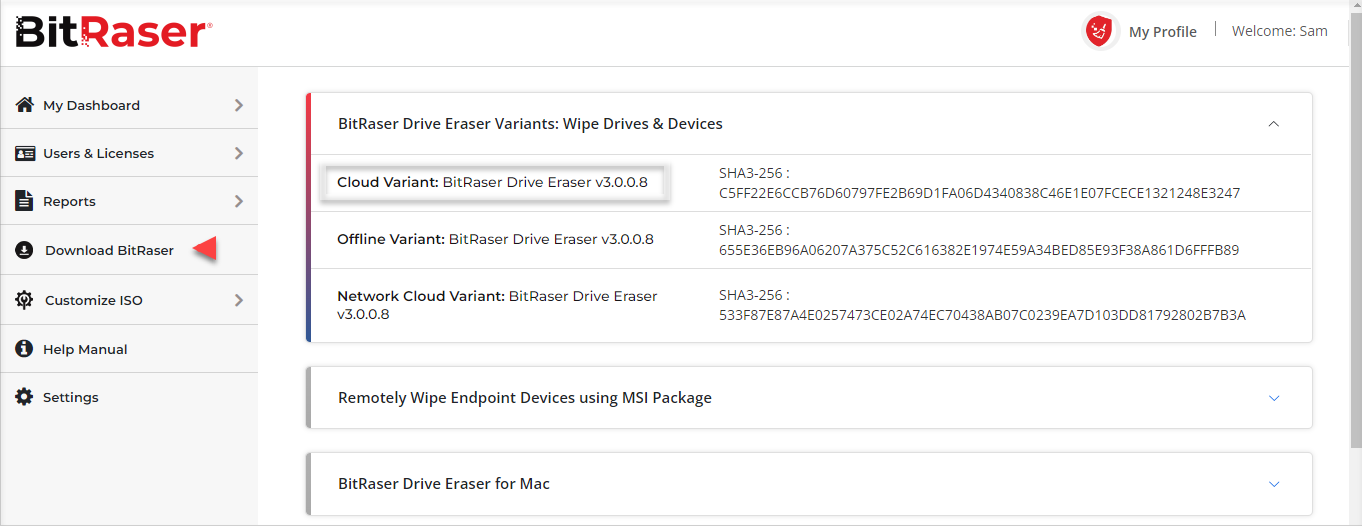
Image 2: Downloading BitRaser Drive Eraser ISO from BitRaser Cloud Console
Step 1: We are using Rufus, an open-source software, to make a bootable USB; you can choose any software of your choice. Download the executable file from their website. Connect the USB device to the host machine.
Step 2: Run the Rufus application. Select the ISO file under the Boot Selection option and click on ‘START’ to initiate the process. Next, click on ‘OK’ in the new pop window. (Refer to Image 3)
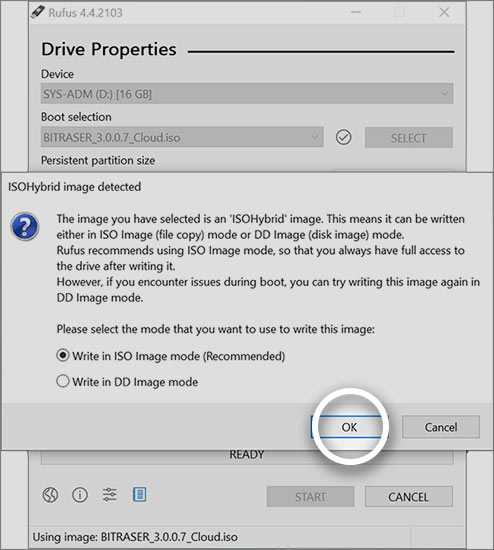
Image 3: Creating a BitRaser Bootable USB with Rufus
Step 3: When the dialog box appears, select
‘Yes’ to download the additional installation files.
(Refer to Image 4)
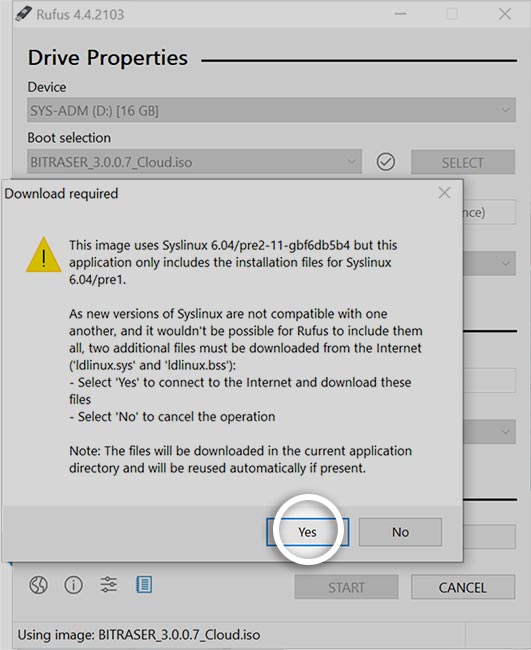
Image 4: Downloading the Additional Installation Files
Step 4: Another dialog box with a warning message will be displayed. Click on
‘OK’ to start the BitRaser Bootable USB creation process.
(Refer to Image 5)
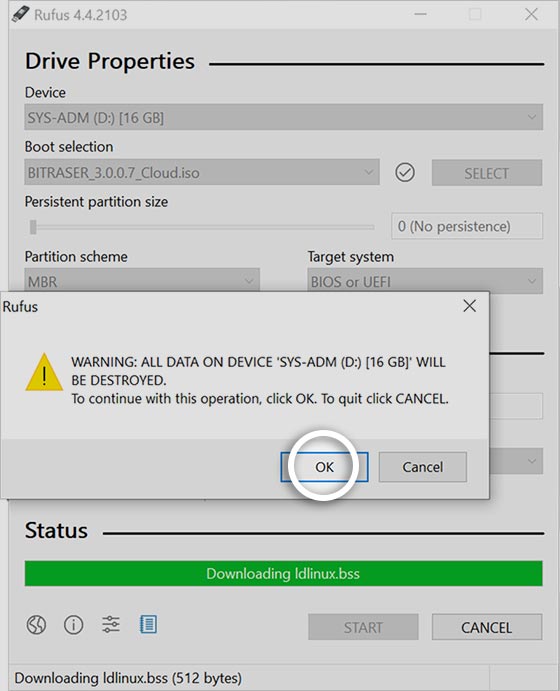
Image 5: Continuing with the Bootable Operation
The bootable process is now complete, and the BitRaser Bootable USB is now ready for use.
Step 1: Restart the Acer laptop without unplugging the USB. Use the function key, F12 (key may vary according to model), to enter the boot menu for the Acer Aspire SW5-171P. Select the bootable USB you created, then press enter to boot the laptop with BitRaser. (Refer to Image 6)
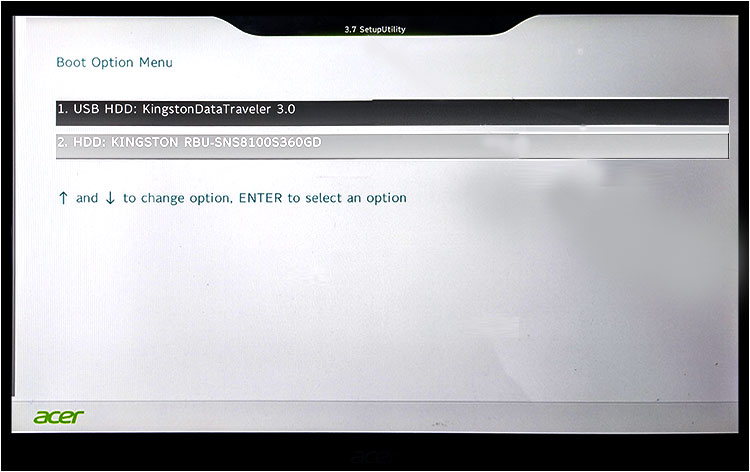
Image 6: Acer Aspire SW5-171P Boot Menu
Step 2: Select the first option, ‘BitRaser,’ from the BitRaser Boot Menu. (Refer to Image 7)
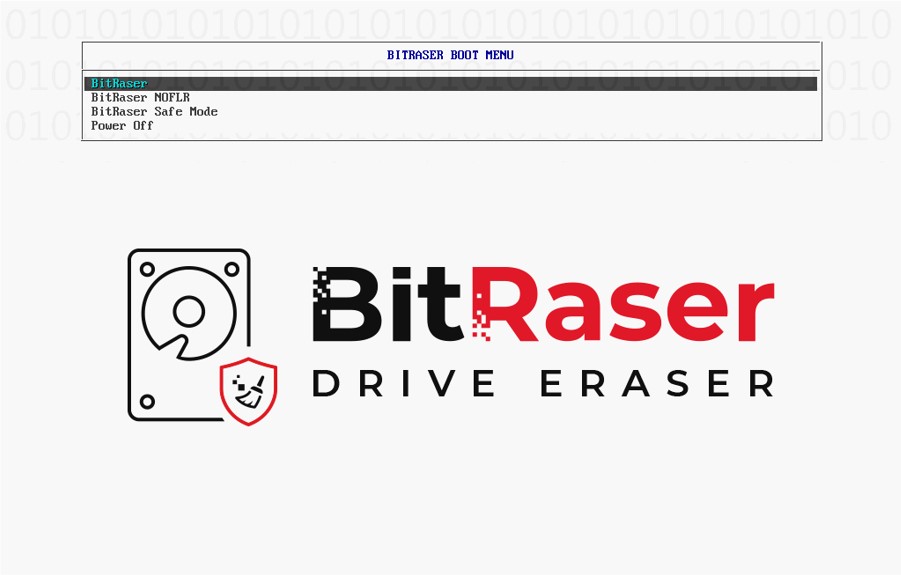
Image 7: BitRaser Boot Menu
Step 3: The home screen will display all the internal and externally connected drives on the Acer Aspire SW5-171P laptop. For this KB, we will only wipe the internal drive of the laptop. (Refer to Image 8)
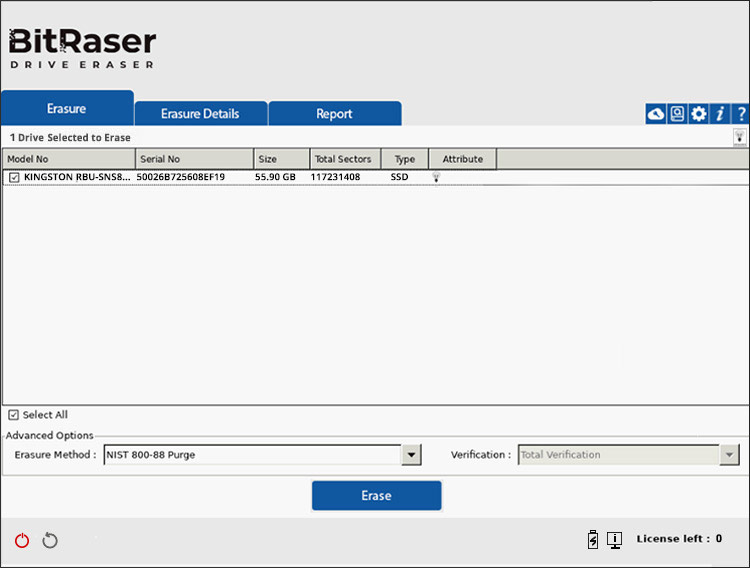
Image 8: Selecting the Drive You Wish to Erase
Step 4: The software requires an internet connection to retrieve the BitRaser licenses from the Cloud Console. To connect the application to the internet, click on the settings icon, then select the network tab. Based on availability and choice, connect the Acer laptop to the internet via Ethernet or a wireless connection. Then click on ‘OK’. (Refer to Image 9)
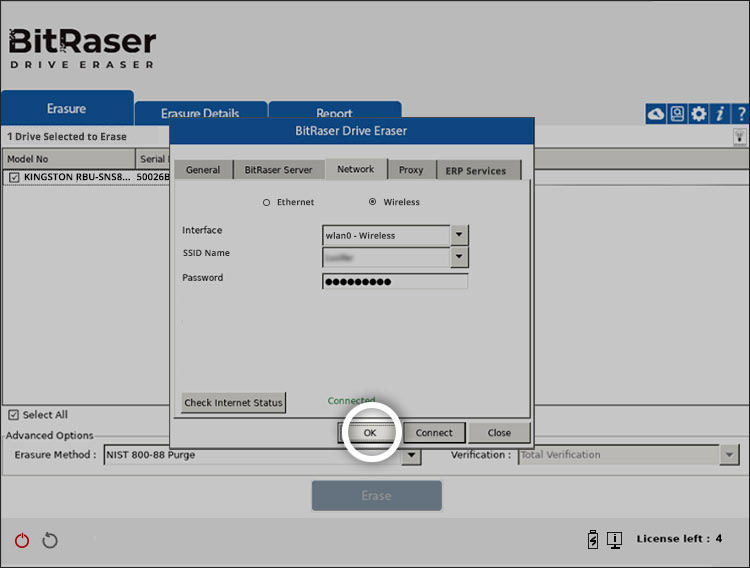
Image 9: Clicking on ‘OK’ to Connect with the Network
Step 5: After the network connection is established, go to the BitRaser Server tab, enter your credentials (username and password), and click on ‘Connect.’ The number of licenses is now updated adjacent to the ‘Licenses left’ label. (Refer to Image 10)
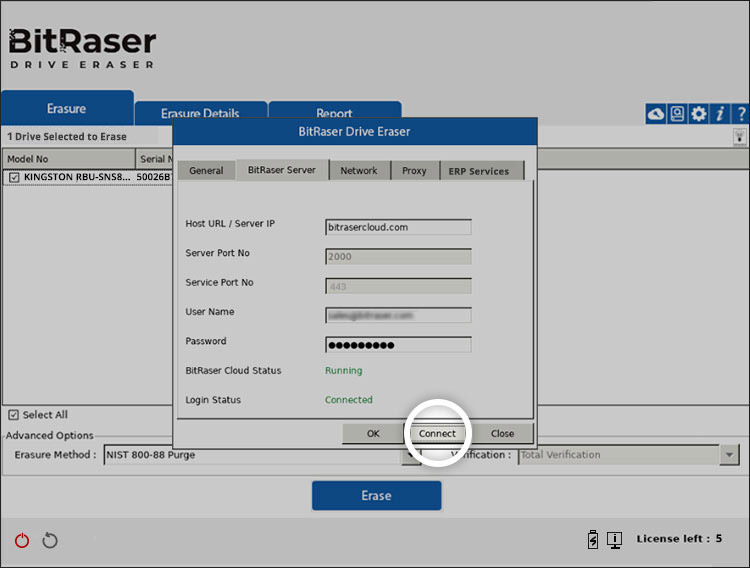
Image 10: Clicking on ‘Connect’ to Connect with the BitRaser Cloud Console
Step 7: By default, NIST 800-88 Purge and total verification are selected as the default erasure method and verification types, respectively. You can change these selections according to your preferences. Click on the ‘Erase’ button. A dialog box will ask for your confirmation. Click ‘Yes’ to start the erasure process. (Refer to Images 11 & 12)
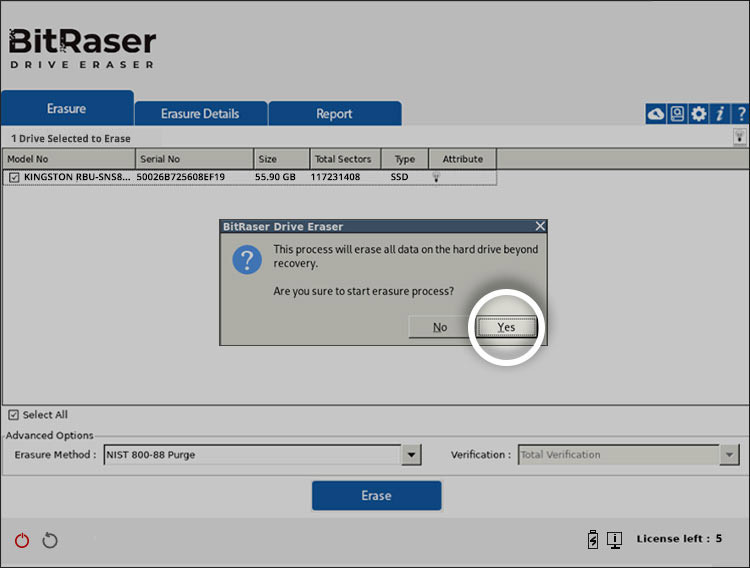
Image 11: Confirming to Start the Erasure Process
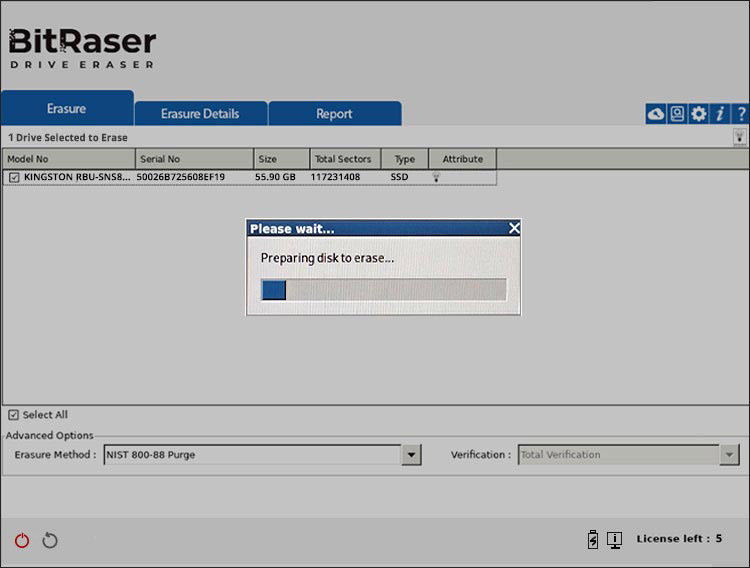
Image 12: Preparing a Disk to Permanently Erase Data
The data wiping process for the Acer Aspire SW5-171P has started, and you can see the erasure progress on the BitRaser screensaver. (Refer to Image 13)
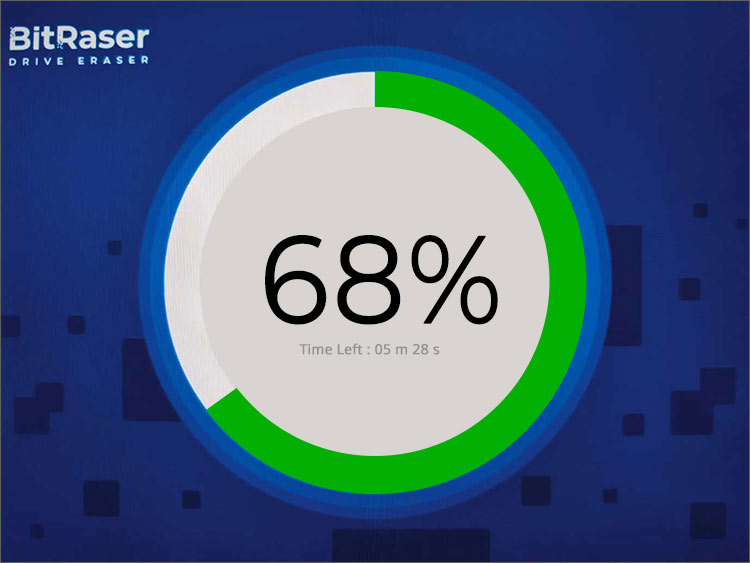 Image 13: Erasure Process in Progress
Step 9:
 Once the data wiping process is completed, you will see a green tick. The digitally signed tamper-proof reports and certificates of erasure can be downloaded from your BitRaser Cloud Console account.
(Refer to Images 14 & 15)
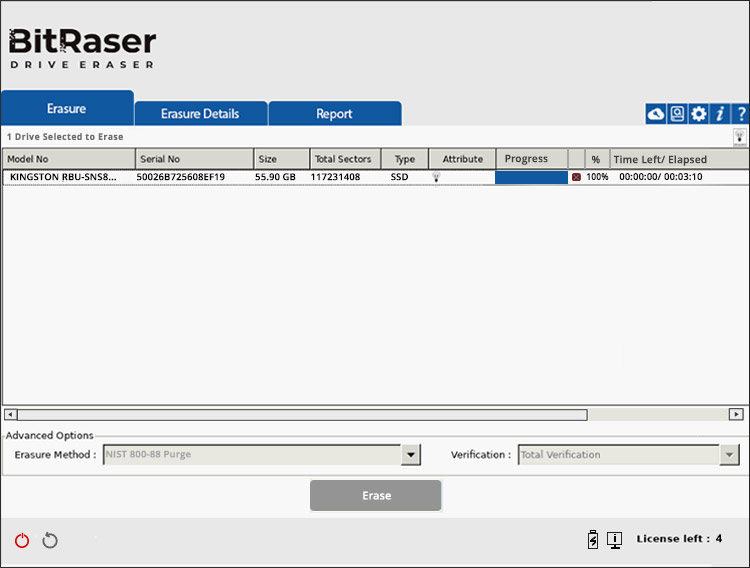
Image 14: Erasure Process Completion Screen
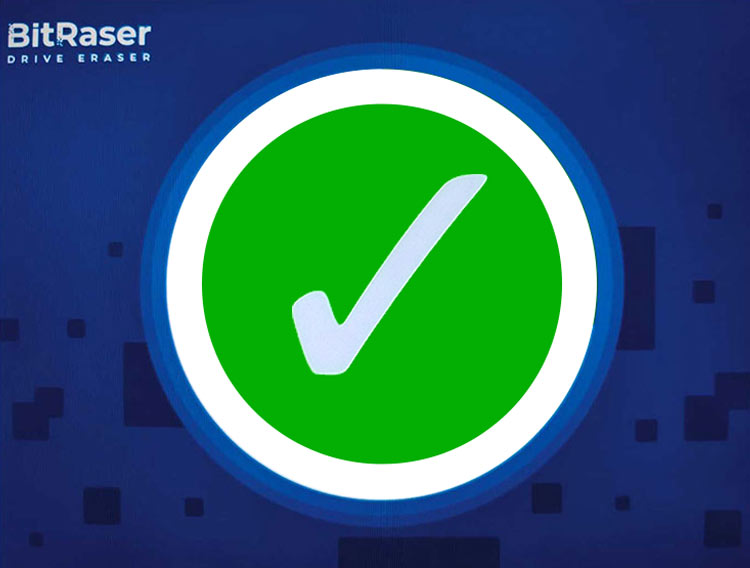
Image 15: The Erasure Process is Finished

