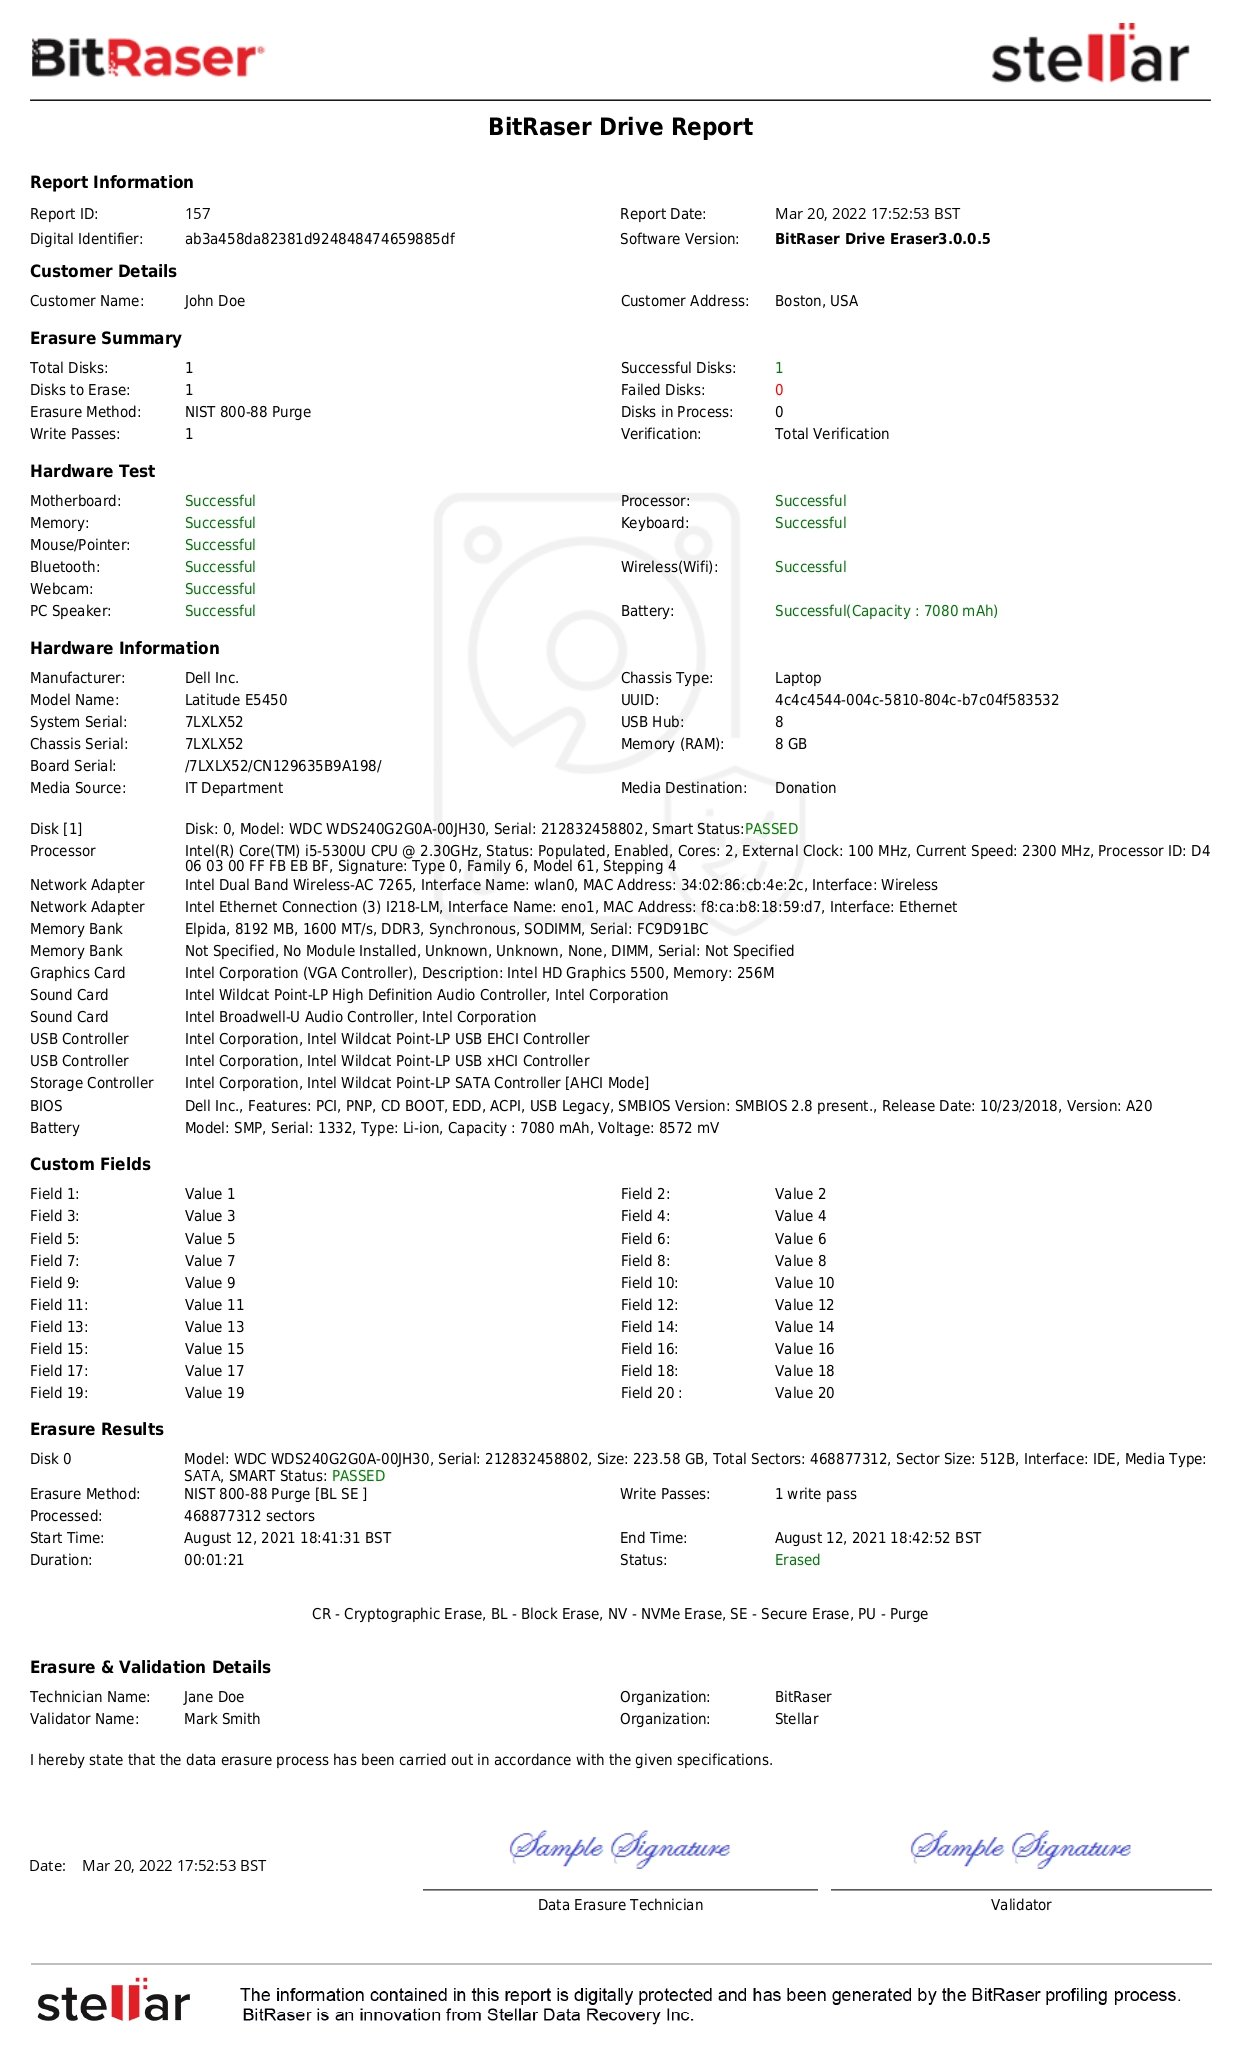
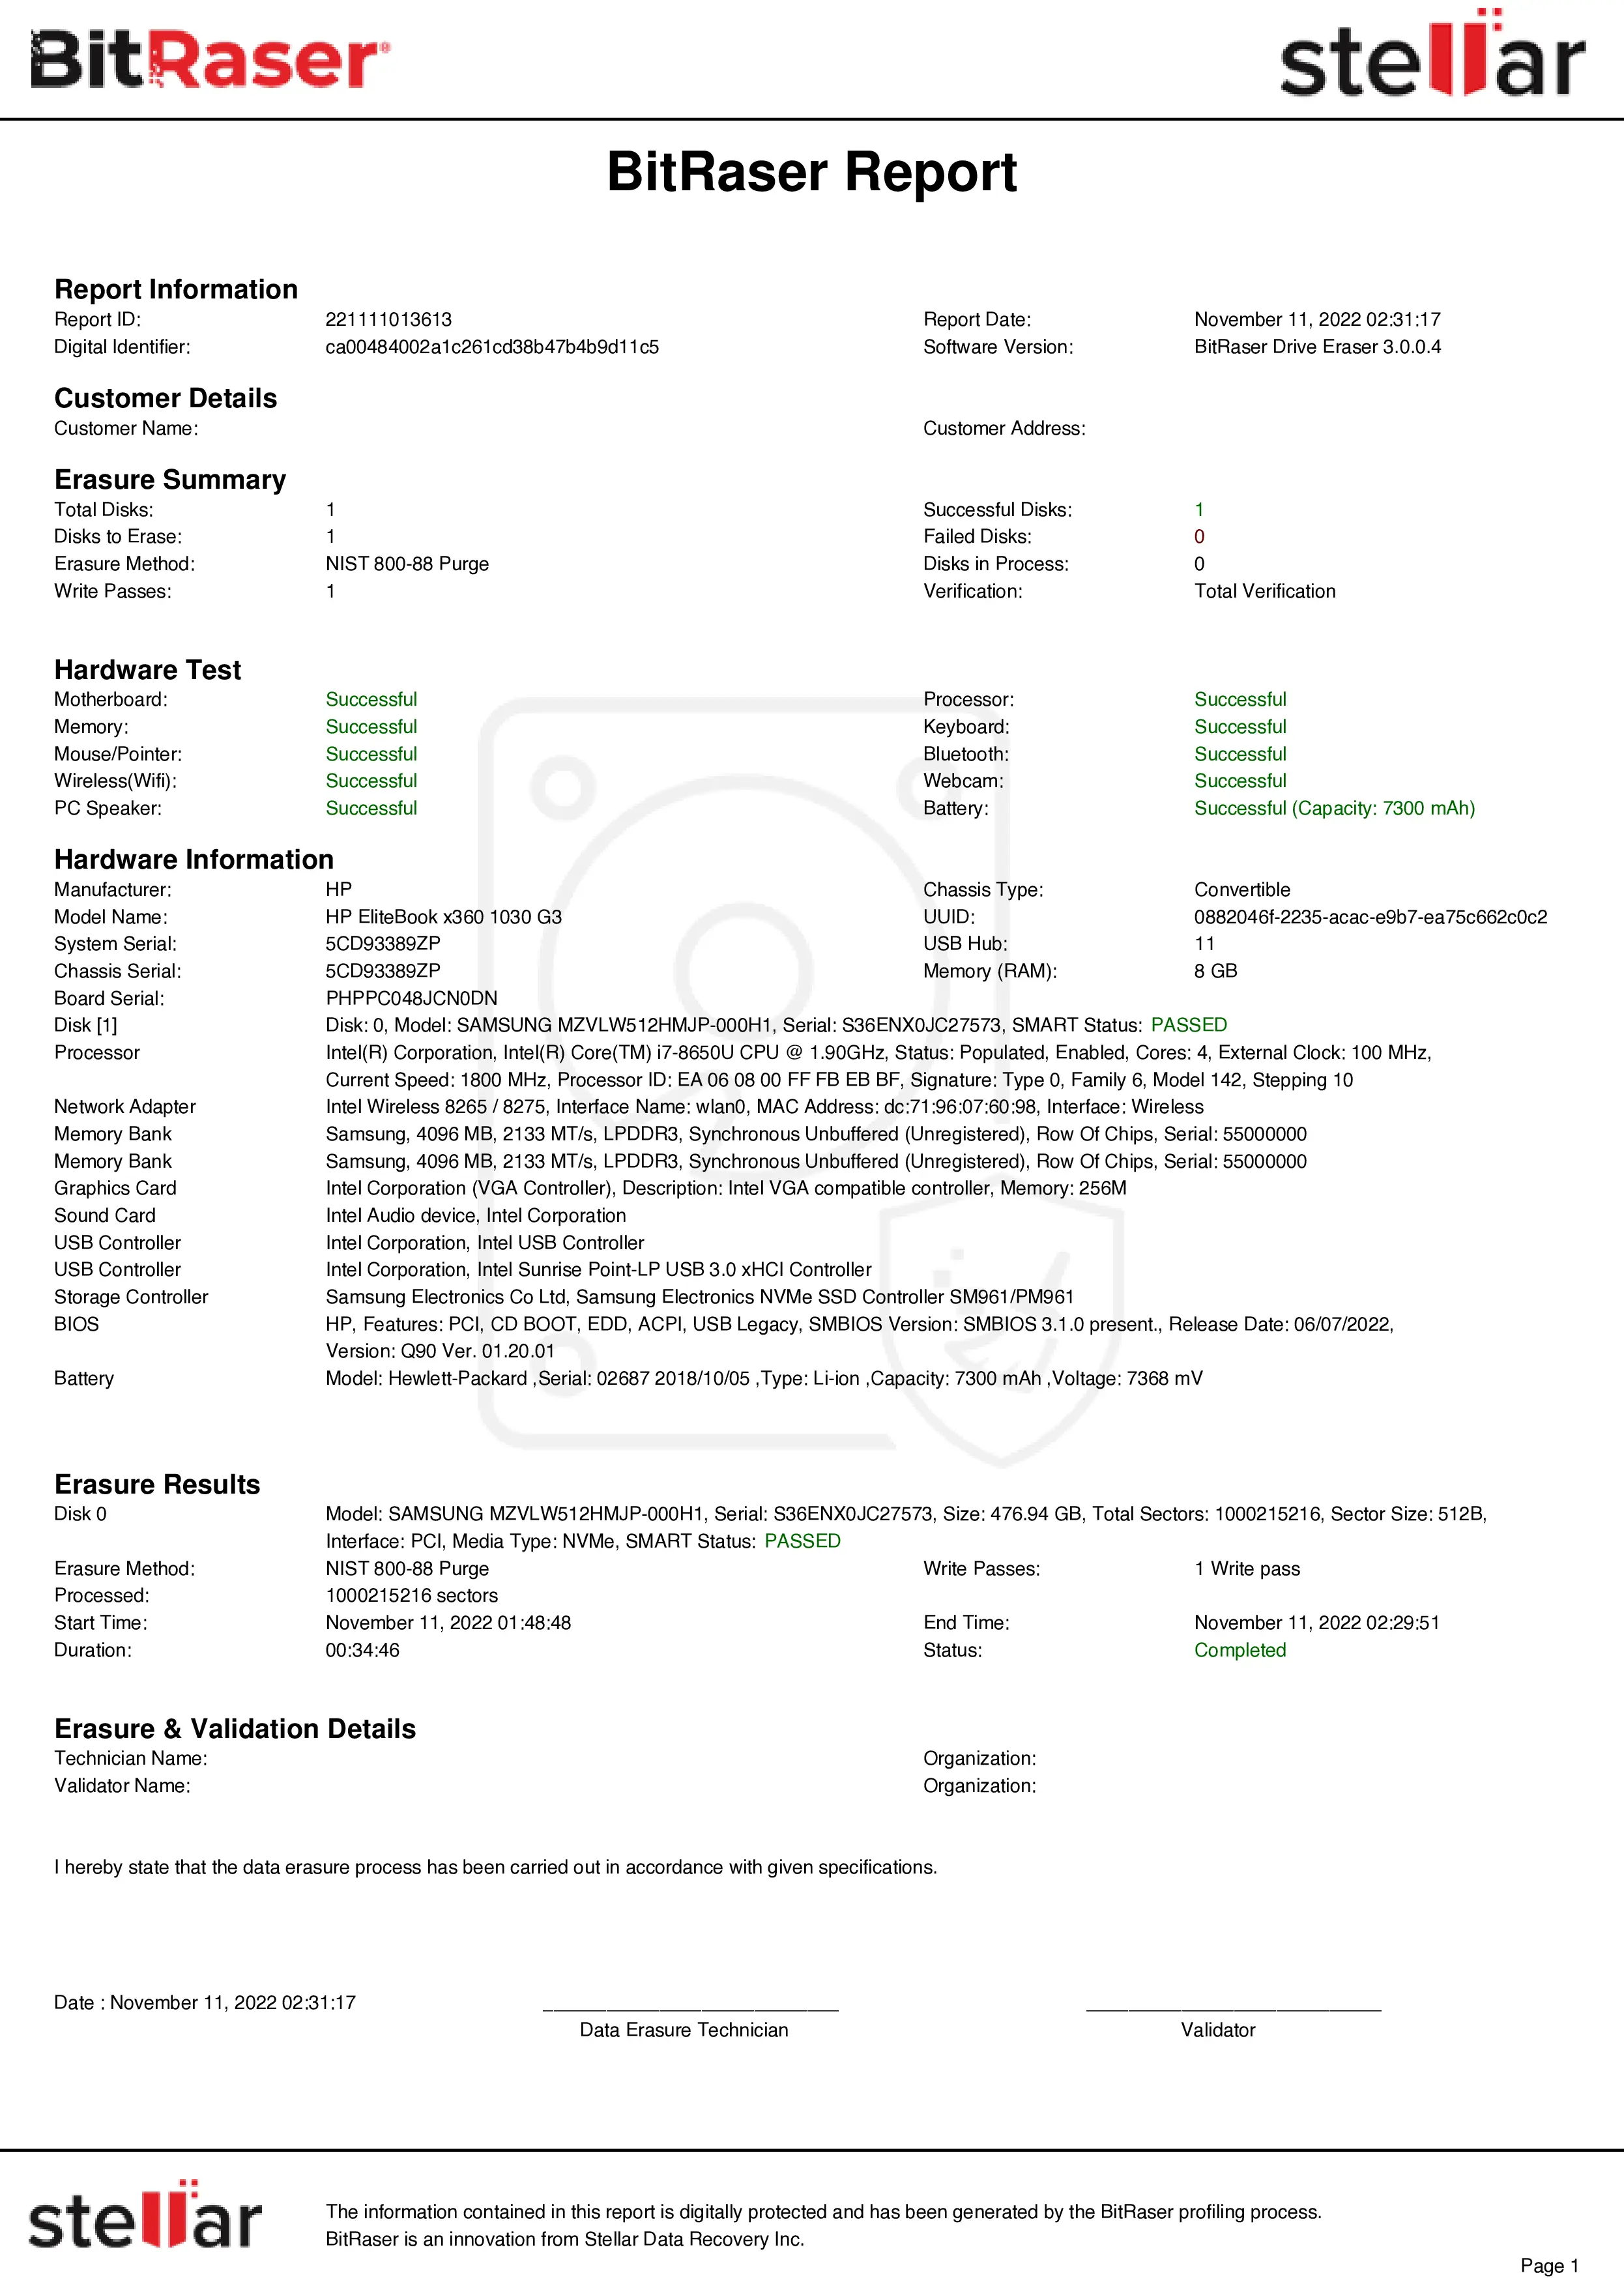
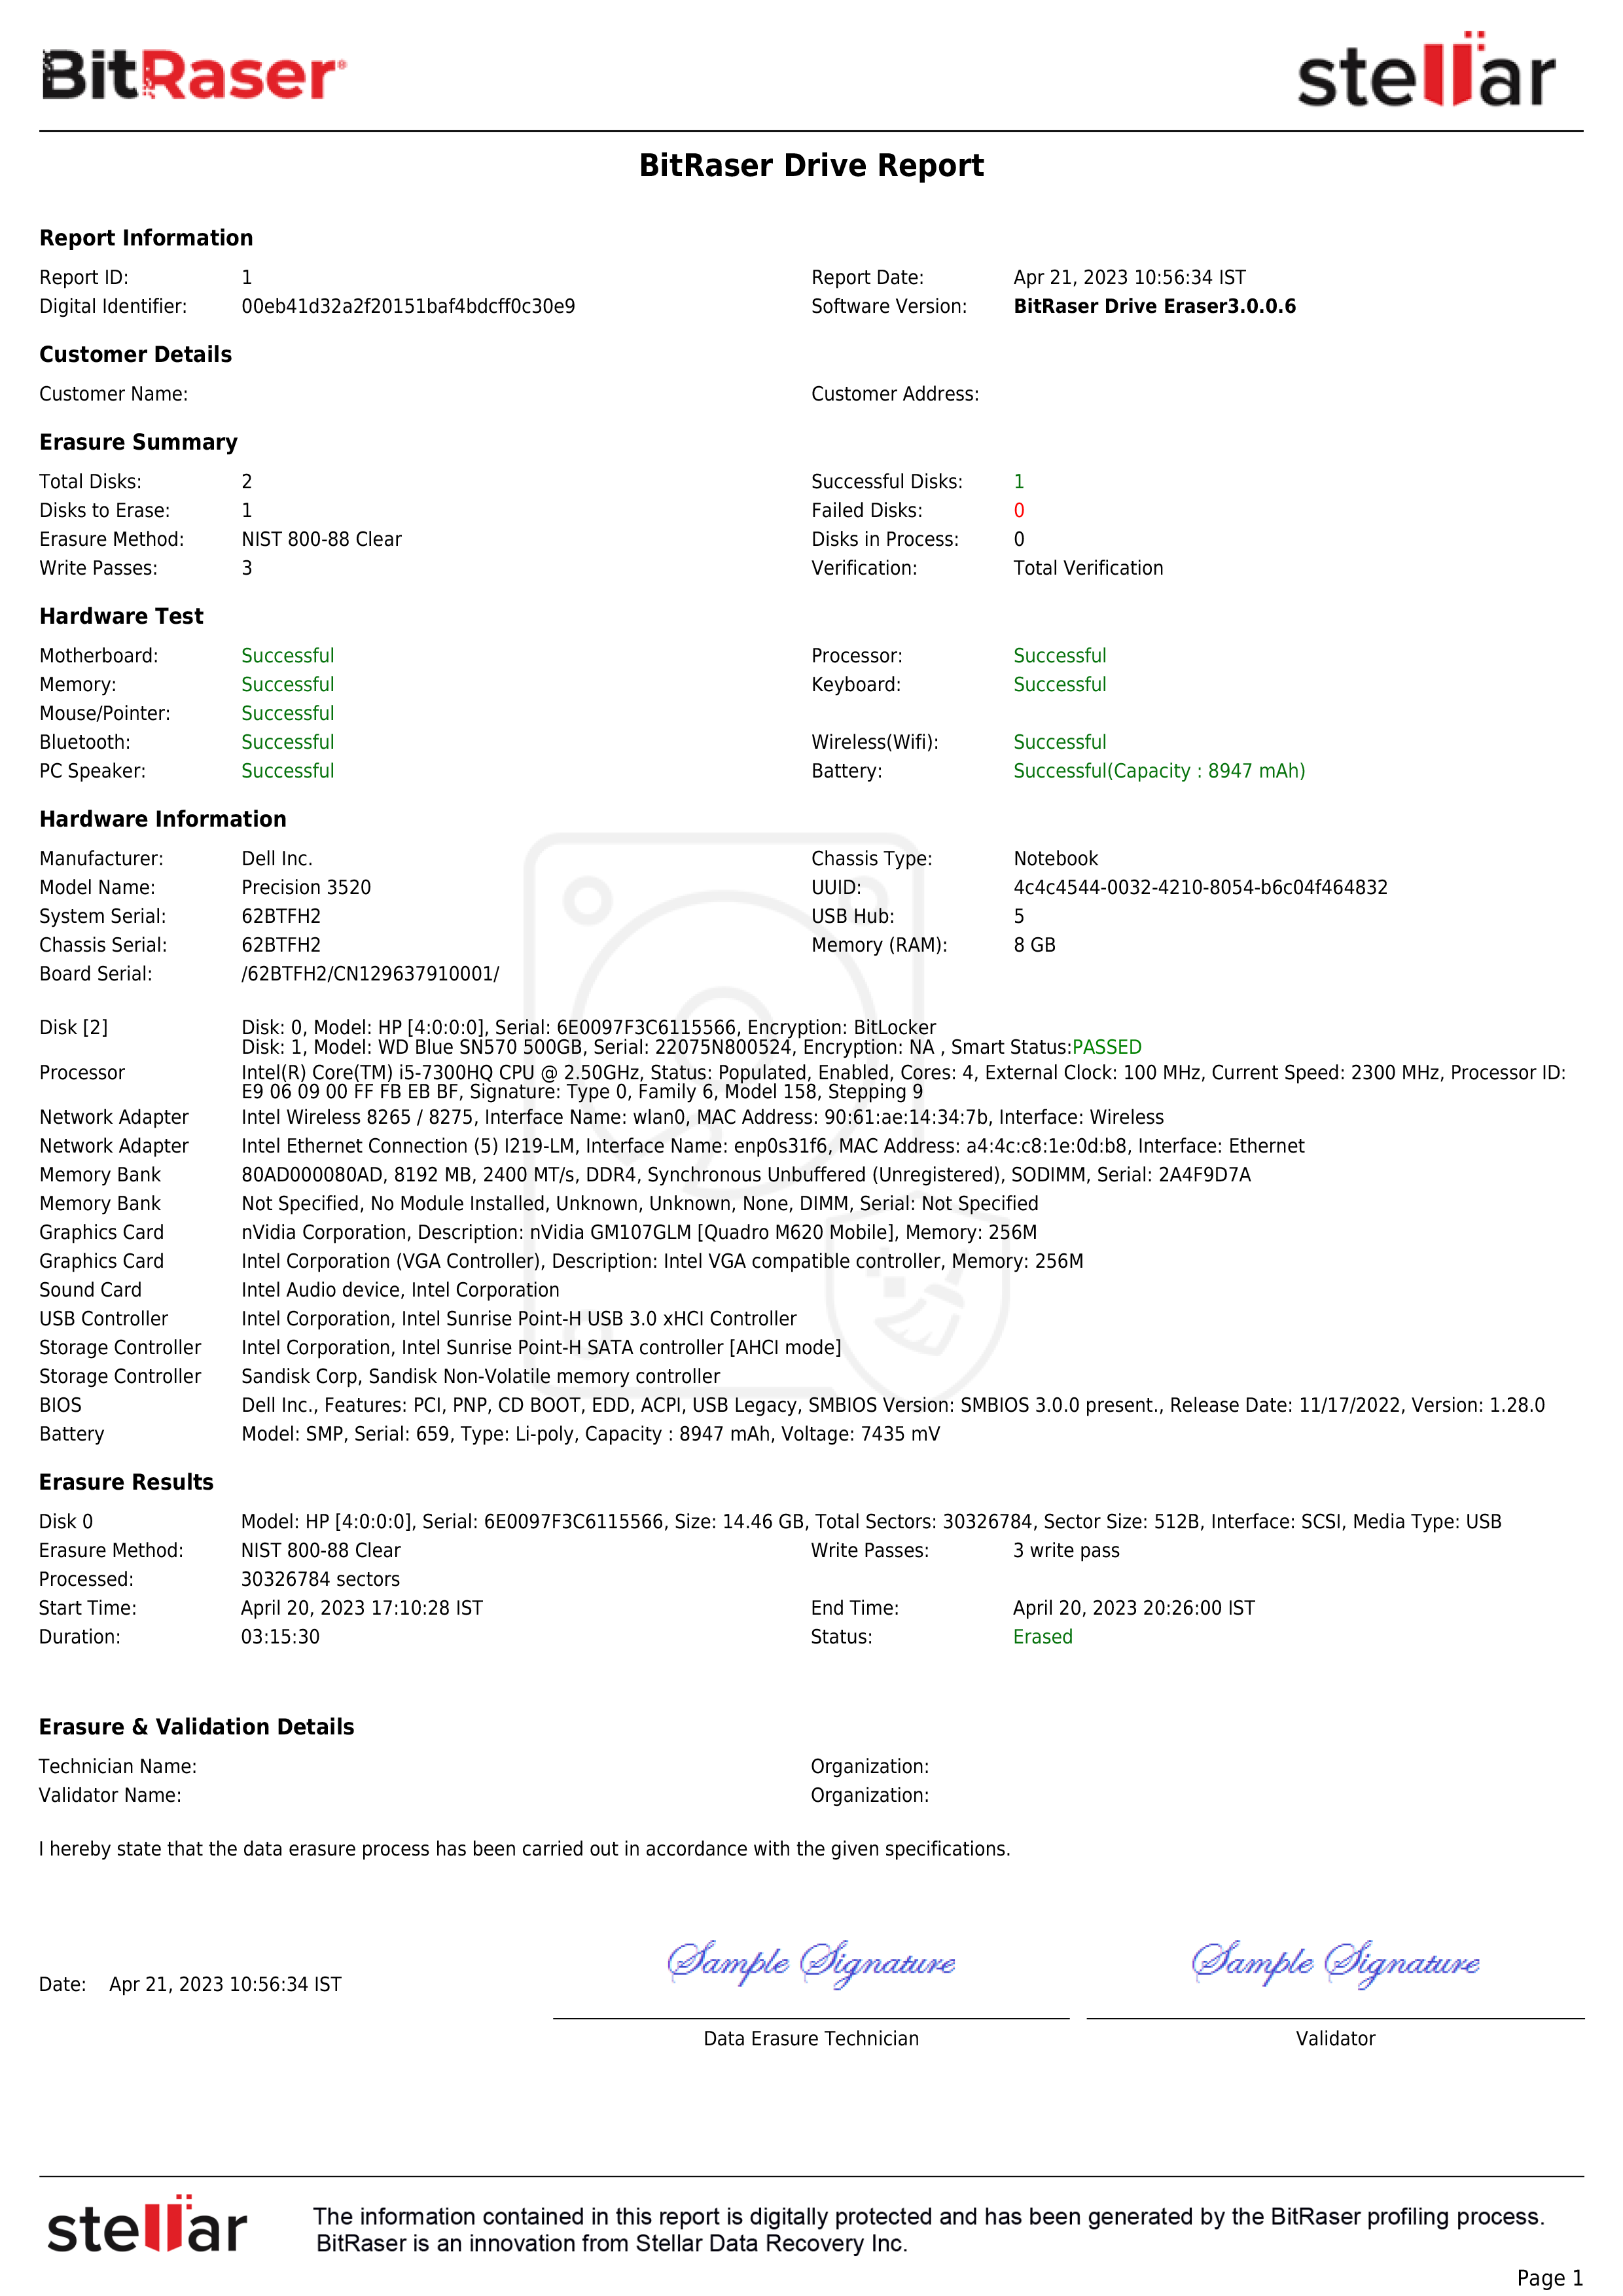
This KB provides instructions to customize BitRaser Drive Eraser Mac software using the BitRaser USB creator application. The customization process helps automate repetitive tasks. It allows you to configure settings like erasure method, verification type, enable auto-erase functionality, save BitRaser server credentials, perform hardware diagnostics, etc. This helps streamline data erasure processes across locations and eliminate human error. Follow the below steps to customize the BitRaser Drive Eraser for Mac application.
Step 1: Log into your BitRaser Cloud account using the credentials received on mail post-purchase. (Refer to Image 1)
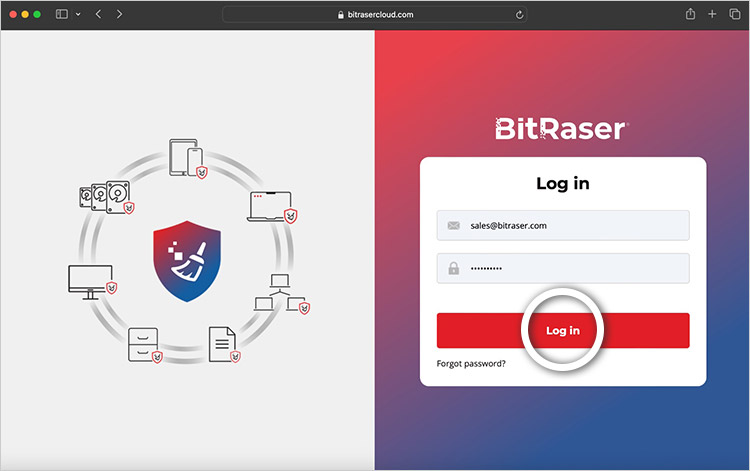
Image 1: Log in to BitRaser Cloud Console
Step 2: Go to the ‘Download BitRaser’ section on the left side and click on ‘Cloud Variant Mac: BitRaser Drive Eraser’ to download BitRaser Drive Eraser for Mac. You have downloaded the BitRaser USB Creator for Mac application that allows you to create a bootable USB to get started with the erasure process. The application (.dmg file) will work only on a Mac machine and must be downloaded on the same. (Refer to Image 2)

Image 2: Download Cloud Variant Mac: BitRaser Drive Eraser
Step 3: Drag and drop the BitRaser USB Creator software into the ‘Applications Folder.’ (Refer to Image 3)
You may be prompted to download ‘Rosetta’ and install it on your system. It is required to run Intel-based applications on Apple Silicon Mac devices.
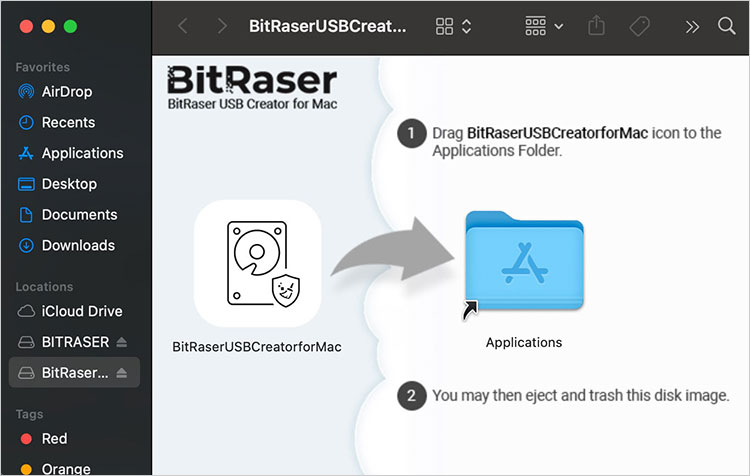
Image 3: Drag and Drop BitRaser USB Creator into Applications
Step 4: Open the application and install it on your system. You may choose the ‘T2 and Above’ option to create a bootable USB to erase Mac devices with M3, M2, M1 & T2 chips. You can choose the ‘Other’ option to erase older Mac devices with an Intel chip. Once chosen, click on Next and follow the on-screen instructions to create a bootable USB. (Refer to Image 4)
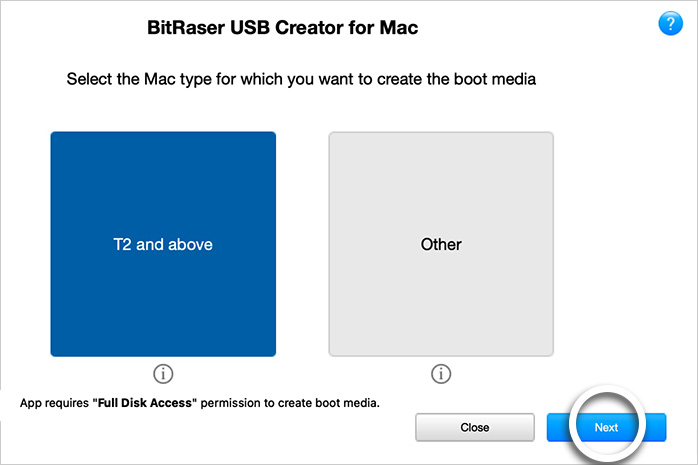
Image 4: Choose T2 and Above to Create a Bootable USB, then click Next
Step 5: Once the bootable USB has been created, the application will prompt you to customize it. Click on ‘Yes’ to customize the BitRaser Drive Eraser Mac USB. (Refer to Image 5)
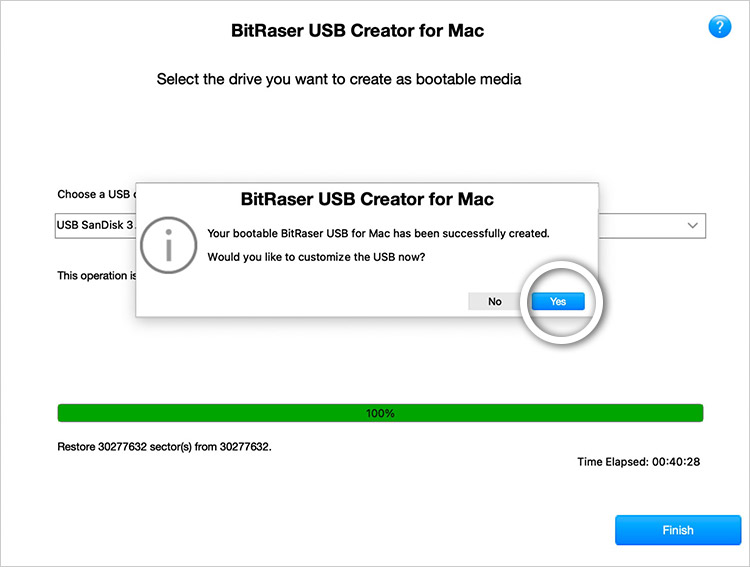
Image 5: Customize BitRaser USB screen Click Yes
Step 6: To customize the USB, it must be ejected and then reinserted. (Refer to Image 6)
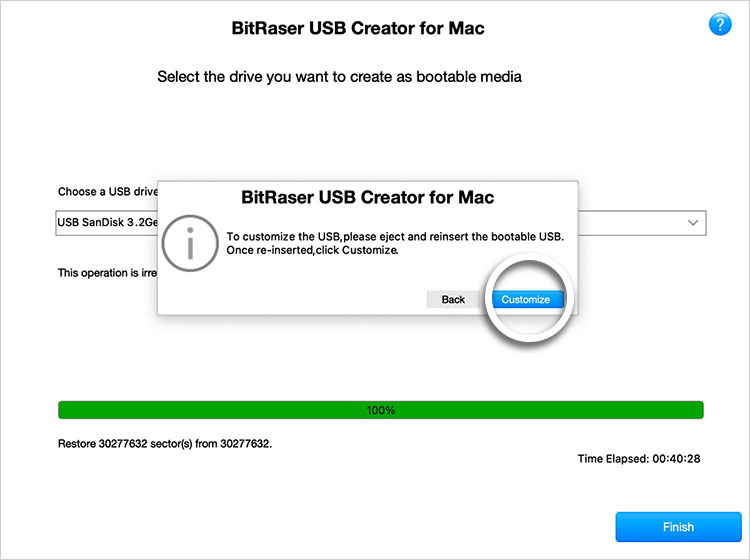
Image 6: Eject & then Reinsert the BitRaser USB
Step 7: Once the USB is reinserted, you will be able to see the customization options on your screen. The first customization tab is General, which allows you to customize the following: (Refer to Image 7)
- Hardware Diagnostics: Selecting this option helps perform hardware diagnostics on the Mac that is being erased. It will show you the status of the motherboard, memory, processor, battery, etc., in the erasure report.
- Enable Screensaver: Checking this option will display the BitRaser screensaver during the erasure process. You have the option to configure the time taken after the screensaver is displayed on the screen, which is 30 seconds by default.
- Enable Disk Smart Size: Selecting this option will round off the actual drive size to the nearest market standard drive size.
- Show Restart Button: If this option is selected, the application will display the application ‘Restart’ button in the software interface.
- Write Fingerprint on Disk: This option allows the application to write a fingerprint at the drive sector level. It helps in verifying that the drive was erased using BitRaser Drive Eraser.
- Customer Details: You can enter the Customer and Media details using this option.
- Technician/Validator Details: This option allows you to enter the name and organization of the technician who is performing the data erasure and the validator who validates the erasure.
Once you have entered relevant details, click on ‘Next’ to move to the Erasing tab.
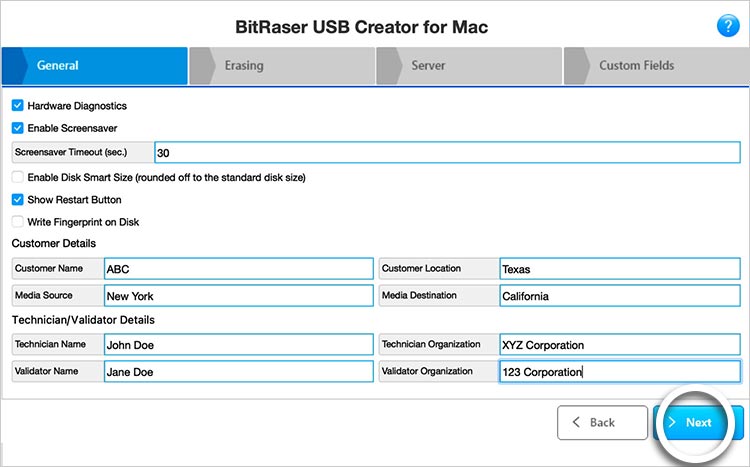
Image 7: General Tab BitRaser Drive Eraser Mac Customization
Step 8: The ‘Erasing’ tab provides you with the following customizable options: (Refer to Image 8)
- Erasure Method: You have the option to select from 20 globally recognized methods like NIST 800-88 Clear & NIST 800-88 Purge to make it the default erasure method for this USB.
- Verification: You may choose the erasure verification method that you want the application to use each time erasure is performed. The options are ‘Total Verification,’ ‘Random Verification,’ or ‘No Verification.’
Please note that for NIST Clear & Purge, British HMG, and US DoD 3 Pass, Total Verification is selected by default and cannot be changed.
- Auto Select Drive to Erase: This option helps select internal Mac drive/s automatically for erasure, thereby saving time.
- Auto Erase: Selecting this option will enable the application to perform erasure without the need to click the ‘Erase’ button. As soon as the application is connected to the Internet and has acquired erasure licenses from BitRaser Cloud, it will start the erasure process, saving time and clicks a technician has to make.
- Freeze Erasure Methods & Verification: Use this option to freeze the selected erasure method and verification type for this bootable USB. It helps standardize the erasure process at physically spread-out locations and helps in maintaining consistency.
- Shutdown Machine after Erasure: This enables the application to automatically shut down the Mac device once the erasure process has finished.
- Sync Report on Cloud During Erasure Process: Checking this would allow the application to sync the erasure progress on the BitRaser Cloud Console, allowing you to check the erasure progress in real time from any Internet-enabled location globally.
- Bad Sector Settings: This allows you to limit the Bad Blocks & Bad Sectors on the drive. If the number of Bad Blocks & Bad Sectors crosses this threshold, then the application will stop the erasure process. It helps segregate Mac devices with bad sectors without spending time on the wiping process.
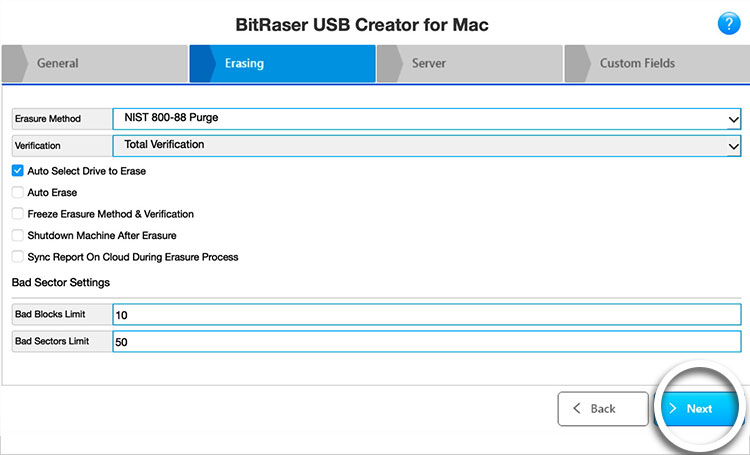
Image 8: Erasing Tab BitRaser Drive Eraser Mac Customization
Once you have customized the Erasing tab, click on ‘Next’ to move to the Server tab.
Step 9: The ‘Server’ tab allows you to save your BitRaser Cloud Console credentials in the bootable USB. It helps save time as the technician doesn’t have to enter these details for each erasure. Selecting the “Auto Connect to Cloud Account” allows the application to automatically connect to BitRaser Cloud as soon as it has Internet connectivity.
Once you have entered the credentials, click on ‘Next’ to move to the Custom Fields tab. (Refer to Image 9)
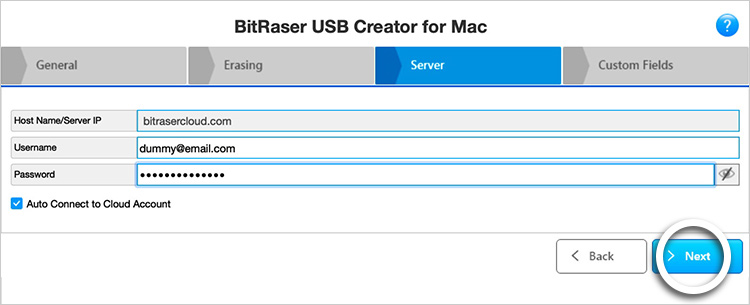
Image 9: Server Tab BitRaser Drive Eraser Mac Customization
Step 10: The ‘Custom Fields’ tab allows you to enter specific fields and their values according to your requirements. You have the option to enter up to 20 Custom Fields. These fields are displayed in the erasure report.
Once entered, you can click ‘Create’ to customize the USB or click ‘Back’ if you want to make any changes. (Refer to Image 10)
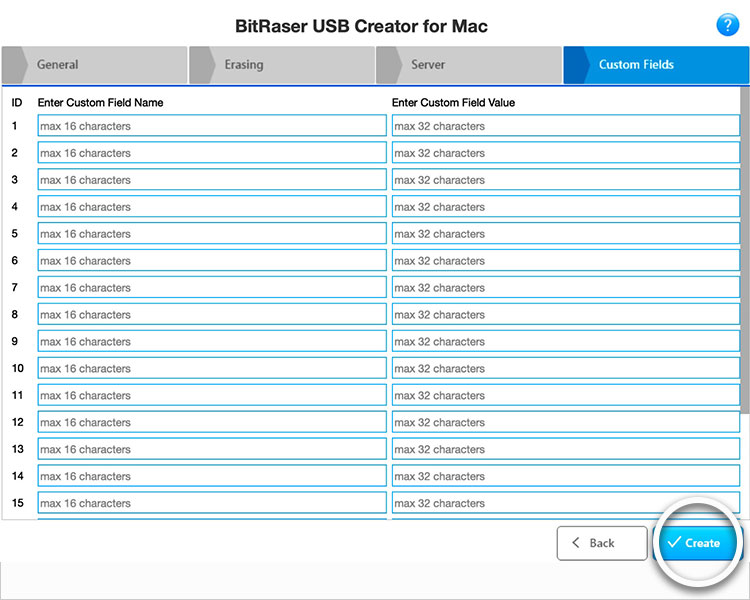
Image 10: Custom Fields Tab BitRaser Drive Eraser Mac Customization
After clicking Create, you will get a message that “Customization for bootable USB completed successfully.” (Refer to Image 11)
You have successfully customized BitRaser Drive Eraser Mac; you may now begin the Mac erasure process.
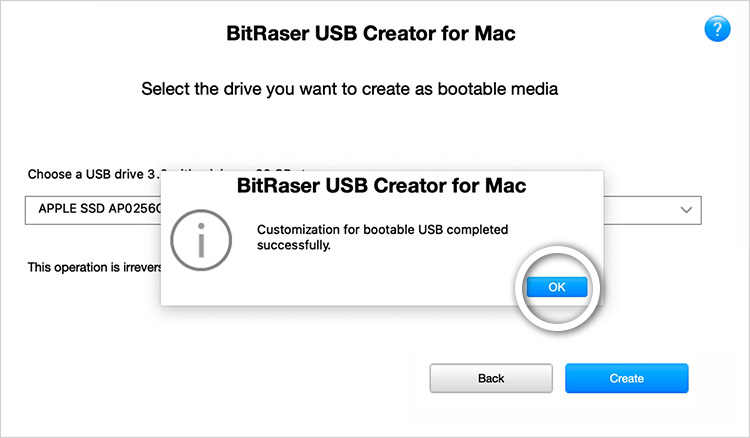
Image 11: Customization Completed Successfully

