BitRaser bootable USB helps in booting BitRaser to erase data, diagnose hardware, and verify media sanitization. This knowledge base will explain how to create a BitRaser bootable USB. It is divided into two stages:
Stage 1: Downloading the BitRaser ISO File
Stage 2: Creating BitRaser Bootable USB
Stage 1: Downloading the BitRaser ISO File
- Step 1: Using the credentials received in your mail post-purchase, log in to your BitRaser cloud console account. (Refer to Image 1)
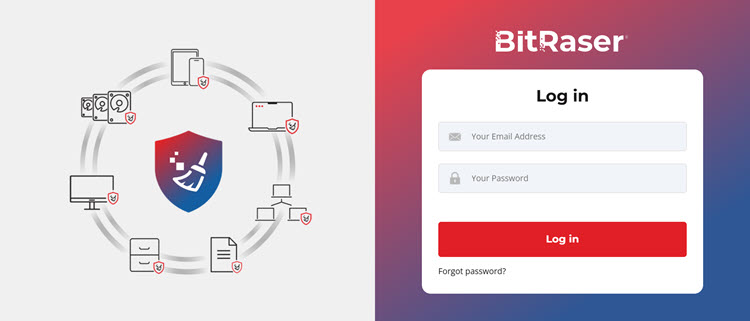
Image 1: BitRaser Cloud Console Login Page
- Step 2: You will be able to see ‘Download BitRaser’ on the left pane. Click on the button to choose the right variant purchased. The ISO file is available for cloud, offline, and network cloud variants for BitRaser Drive Eraser. Likewise, variants are available for Hardware Diagnostics, Mobile Eraser & Diagnostics, and Drive Verifier. (Refer to Images 2, 3, 4, and 5)
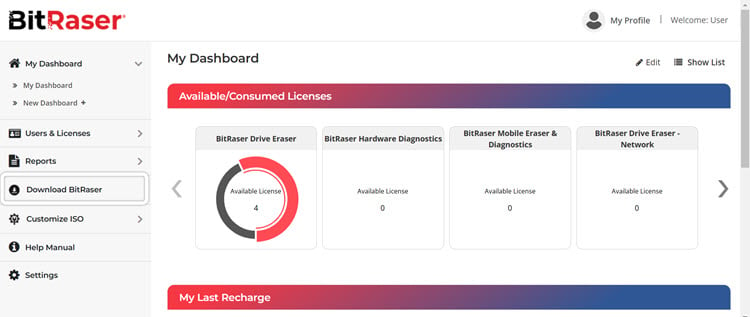
Image 2: BitRaser Cloud Console Dashboard
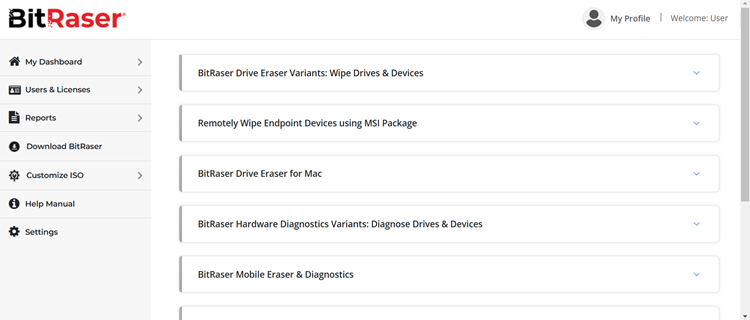
Image 3: BitRaser Products Available For Download

Image 4: Downloading the Cloud Variant of BitRaser Drive Eraser
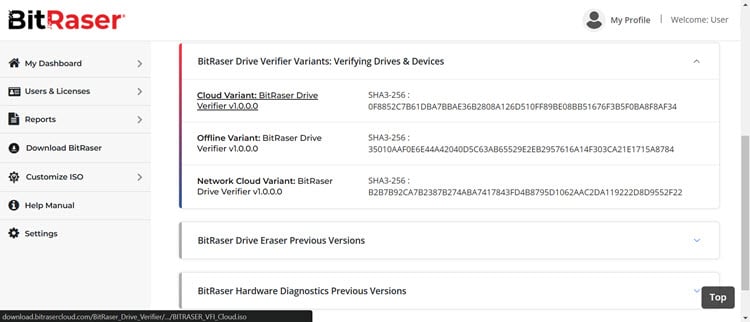
Image 5: Downloading the Cloud Variant of BitRaser Drive Verifier
Stage 2: Creating BitRaser Bootable USB
- Step 1: To create BitRaser bootable, you can choose freely available software – Rufus to burn the ISO file on a USB drive. First, download Rufus as per your operating system and then proceed accordingly. (Refer to Image 6)
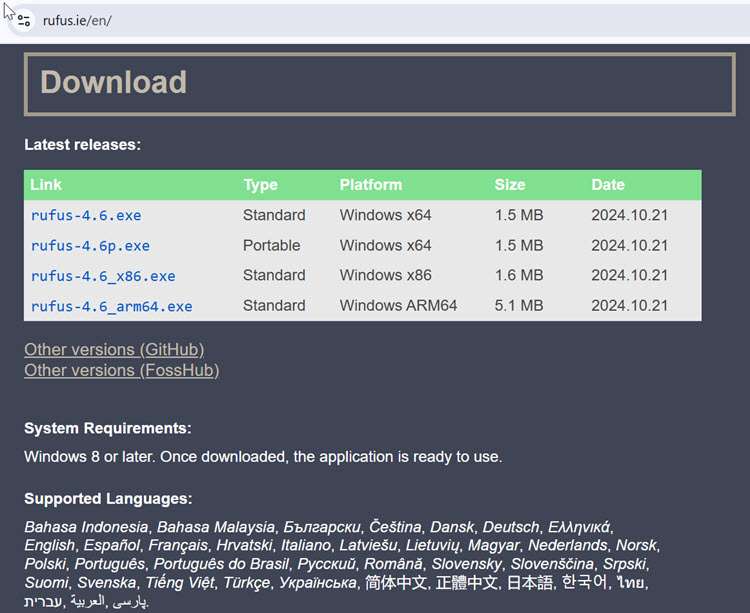
Image 6: Download the Executable File from Rufus' Website
- Step 2: Click on the downloaded Rufus executable file. The Rufus application will get started. Now, connect the USB to the system. Click on the ‘SELECT’ button to choose the BitRaser ISO file. We downloaded BitRaser_3.0.0.8_Cloud.iso of the Drive Eraser software. The same will be displayed in the boot selection. Click on ‘START’. (Refer to Image 7)
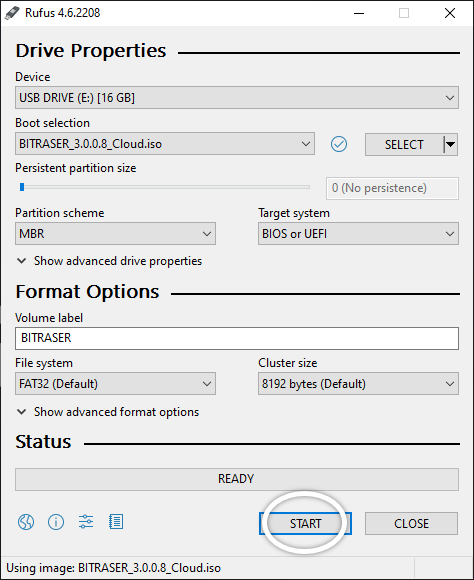
Image 7: Click on START
A dialog box will appear on the screen asking for the mode (ISO or DD) selection. By default, the first option, “Write in ISO Image Mode (Recommended),” to write the ISO file on the USB drive, is selected. Click on ‘OK’. (Refer to Image 8)
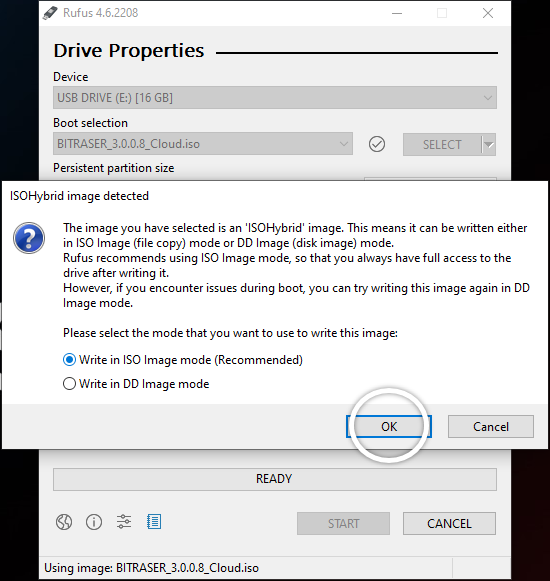
Image 8: Select the ISO Image Mode from the Options
- Step 3: Rufus will detect and revoke the UEFI bootloader in the ISO. Click on ‘OK’ to proceed further. (Refer to Image 9)
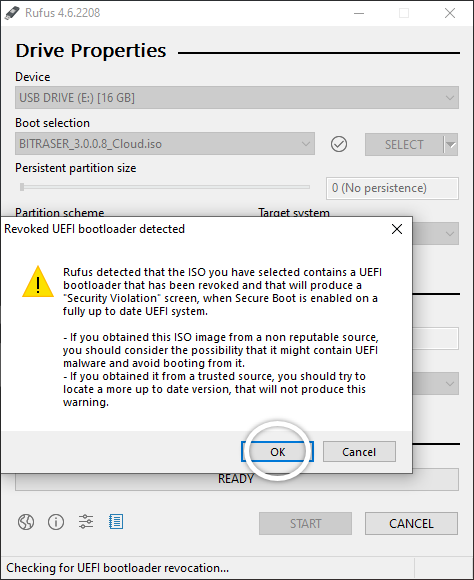
Image 9: Click on OK to Proceed After Revoked UEFI Bootloader is Detected
- Step 4: Rufus will display a warning message about all the data getting destroyed from the USB. Click on ‘OK’ to continue with the operation. (Refer to Image 10)
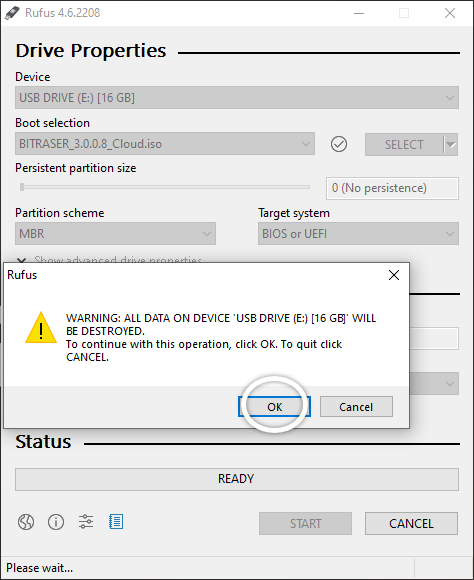
Image 10: Click on OK to Continue With the Operation
The BitRaser bootable USB creation process will begin immediately. (Refer to Image 11)
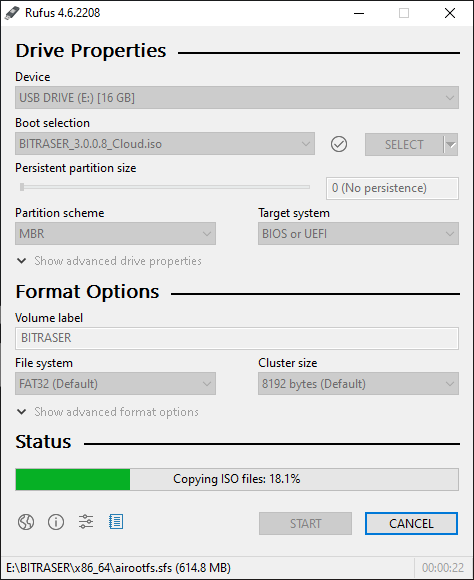
Image 11: Process to Create the USB BitRaser Bootable Starts
The status of the USB will be shown as READY. (Refer to Image 12)
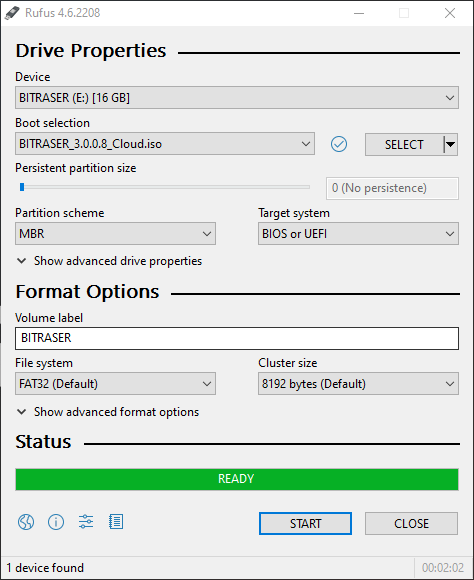
Image 12: BitRaser Bootable USB is Ready
Similarly, you can download ISO files of BitRaser Hardware Diagnostics, Mobile Eraser & Diagnostics, and Drive Verifier software and proceed with creating a bootable USB drive.
FAQs
Which tool can we use to create a BitRaser bootable USB? 
You can use rufus which is an open-source software that can create bootable USB drives.
Why do we need a BitRaser bootable USB drive?
You need a BitRaser bootable drive to boot the system and erase data, diagnose hardware components, and verify sanitization.
Do we need a BitRaser bootable USB for all the products?
No, a BitRaser bootable USB is required only for BitRaser Drive Eraser, BitRaser Hardware Diagnostics, BitRaser Drive Verifier and the barebone variant of BitRaser Mobile Eraser & Diagnostics.