BitRaser Mobile Eraser & Diagnostics
- 1. About BitRaser Mobile Eraser & Diagnostics
- 2. About the Guide
 3. Getting Started
 4. Working with BitRaser Mobile Eraser & Diagnostics
- 5. Frequently Asked Questions (FAQ)
- 6. About Stellar

BitRaser Mobile Eraser & Diagnostics / 4. Working with BitRaser Mobile Eraser & Diagnostics / 4.1. Settings / 4.1.6. Printer Settings
4.1.6. Printer Settings
This option allows you to print the information on connected devices.
It has the following two tabs:
- Printer:

-
Printer Settings:
-
Printer: Allows you to select a printer from the drop-down list.
-
Page Size: Choose the appropriate paper size from the drop-down list that you can print on.
-
- Layout:
|
Android |
iOS |
|
 |
 |
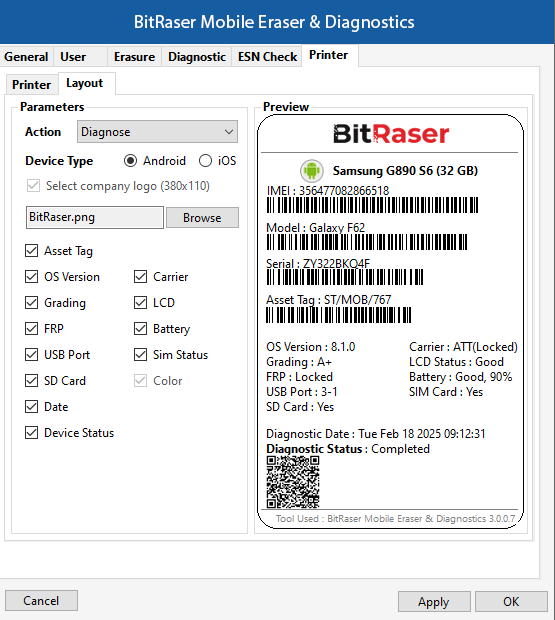
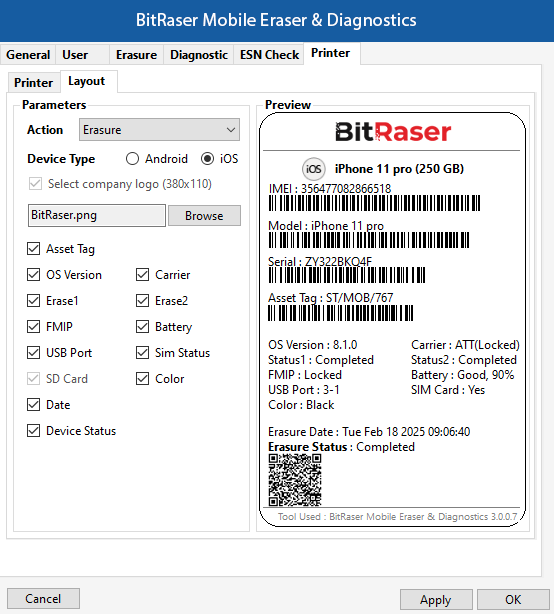
The layout tab allows you to select a list of parameters such as Action (Erasure or Diagnostics), Device Type (Android or iOS), Company Logo, Asset Tag, OS Version, and so on, for printing the device label. It also shows you the print preview of the label with all the device details selected by you.
The QR code displayed below the erasure / diagnostic completion status provides easy access to the report of the erased devices. Scan the QR code to instantly receive a PDF version of the report.
Once the settings have been modified, click Apply button to save the changes. OK applies all the changes to the software and closes the Settings menu; Cancel closes the Settings menu without saving the changes.
Note: BitRaser Mobile Eraser & Diagnostics currently supports only Brother QL-700 and the Dymo Label Writer 450 brands of label makers. These labels are very useful for asset tagging and managing device inventory.
To start the erasure process, refer to Erasure Process.