BitRaser Mobile Eraser & Diagnostics
- 1. About BitRaser Mobile Eraser & Diagnostics
- 2. About the Guide
 3. Getting Started
 4. Working with BitRaser Mobile Eraser & Diagnostics
- 5. Frequently Asked Questions (FAQ)
- 6. About Stellar

BitRaser Mobile Eraser & Diagnostics / 4. Working with BitRaser Mobile Eraser & Diagnostics / 4.1. Settings / 4.1.1. General Settings
4.1.1. General Settings
The General Settings tab allows you to configure erasure warning settings, grid settings, cloud report settings, delete the local reports and select the default erasure method.
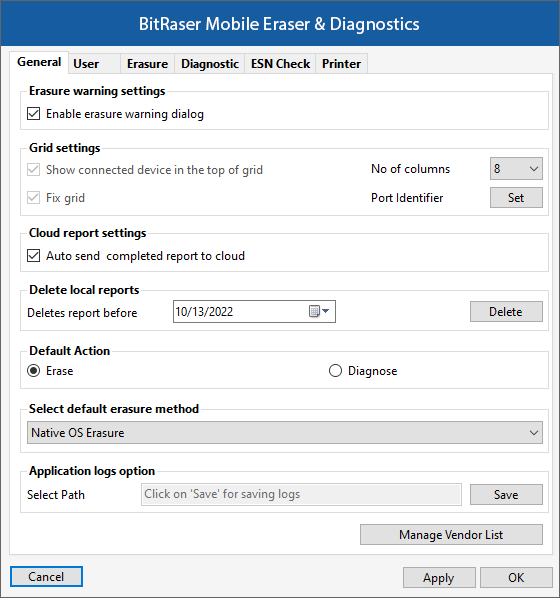
The following fields can be edited from this section:
-
Erasure Warning Settings:
-
Enable Erasure Warning Dialog: Check this field to enable the warning message before the initiation of the erasure process.
-
-
Grid Settings: This option allows you to set the layout of the grid which is shown when we connect the devices.
-
Show connected devices at the top of the grid: Checking this field allows you to display the connected devices at the starting of the grid.
-
Fix Grid: Checking this field allows you to fix the grid columns i.e., they cannot be moved.
-
No. of columns: Allows you to predefine the number of columns in a grid.
-
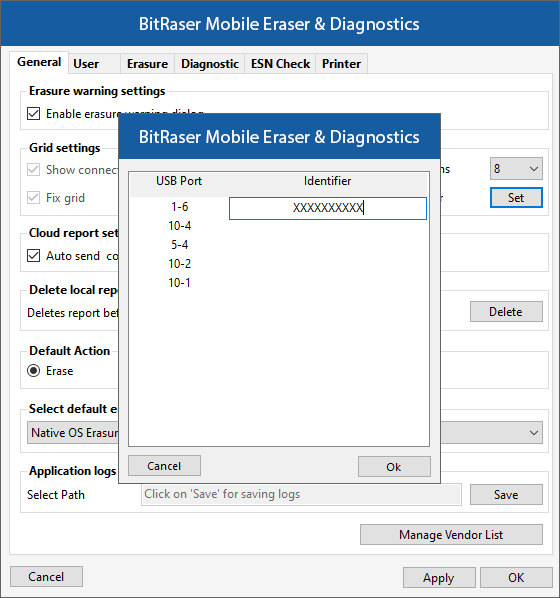
Port Identifier: Allows you to predefine name of each port to identify the port easily. Click on Set. The popup window shows a list of USB ports. Type the name against each port in the Identifier column and click OK to save or Cancel to exit without saving:
-
-
Cloud Report Settings:
-
Auto send completed report to cloud: Checking this field allows you to auto-send the report to the cloud.
-
-
Delete Local Reports:
-
Delete Reports before: This option allows you to delete the reports before a certain date. Specify the date from the calendar and click the Delete button. All the reports generated before the selected date will be deleted.
-
-
Default Action: Select a default option of Erase or Diagnose, when you connect a device to BitRaser Mobile Eraser & Diagnostics.
-
Select Default Erasure Method: Select any one of the erasure methods from the drop-down options to set the default erasure method for all devices.
-
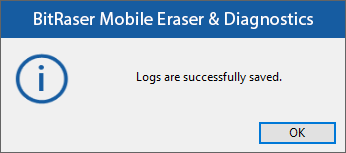
Application Logs option: This option allows you to save the log files at the desired destination path. Click Save to select the path where the log file will be saved. After selecting the path, the log files are copied to the destination and a message appears as shown below, click OK.
- Manage Vendor List: Click this button to add or list the mobile vendor manually, if mobile vendor is not recognized by the system.
Steps to add mobile vendors name manually:
-
Click Manage vendor list located below right in the General tab.
-
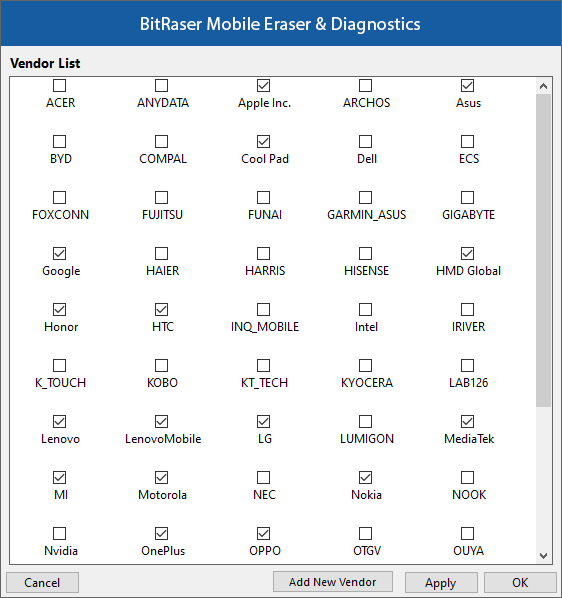
Vendor List screen appears, this screen is displayed a list of mobile vendors name.
-
Check mobile vendor name from this screen, if the vendor name is available check that checkbox and click Apply to list mobile vendor name in the main user interface.
-
If mobile vendor name is not found in the Vendor List screen, click Add New Vendor button to add name of mobile vendor manually.
-
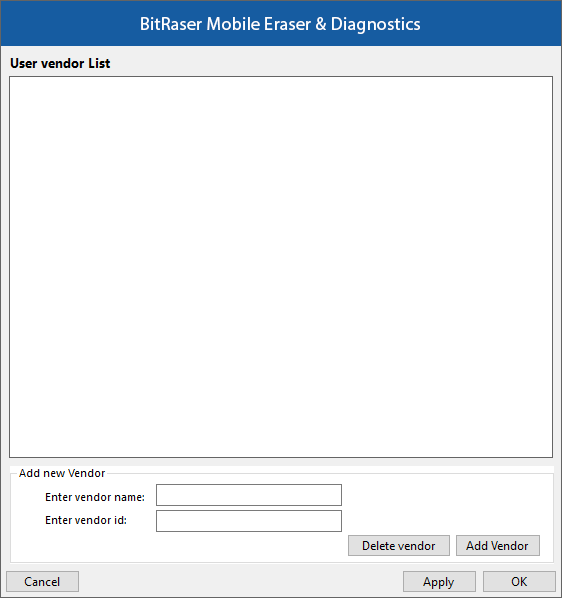
User Vendor List screen appears. In Add new Vendor section, enter vendor Name and ID.
-
Click Add Vendor button to list the vendor name in User Vendor List section.
Note: If you wish to delete any vendor from the User Vendor List section, click Delete Added Vendor button.
-
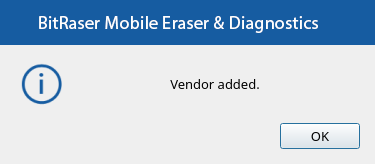
Vendor added screen appears as shown below, click OK to continue.
-
After the vendor name is added under User Vendor List, click OK to continue further and Cancel to exit the screen.
Once the settings have been modified, click the Apply button to save the changes. OK applies all the changes to the software and closes the Settings menu, Cancel closes the Settings menu without saving the changes.