BitRaser File Eraser Network
- 1. About BitRaser File Eraser Network
- 2. Quick Overview
 3. First Steps
 4. How to
- 5. Frequently Asked Questions (FAQs)
- 6. About Stellar

BitRaser File Eraser Network / 4. How to / 4.5. Schedule Erasure / 4.5.2. Schedule Erasure for Erasing Files & Folders / 4.5.2.3. Delete a Scheduled Task
4.5.2.3. Delete a Scheduled Task
BitRaser File Eraser Network also provides the option to permanently delete the existing scheduled tasks. Choose the specific task you want to delete, confirm the deletion, and manage task settings as needed. After successful deletion, you can review the task status and save it for reference if desired. This process ensures efficient management of scheduled tasks within the software.
Steps to Delete an Existing Scheduled Task:
1. Run BitRaser File Eraser Network.

2. Select Schedule Task option from the Home menu. Schedule Erasure window appears with Erase Traces tab selected by default.
3. Select Erase Files & Folders tab from the Schedule Erasure window.

4. There are two options under Select Option section:
-
Existing Task
5. New Task option is selected by default; therefore, select Existing Task. The list of already created tasks appears with all the details.
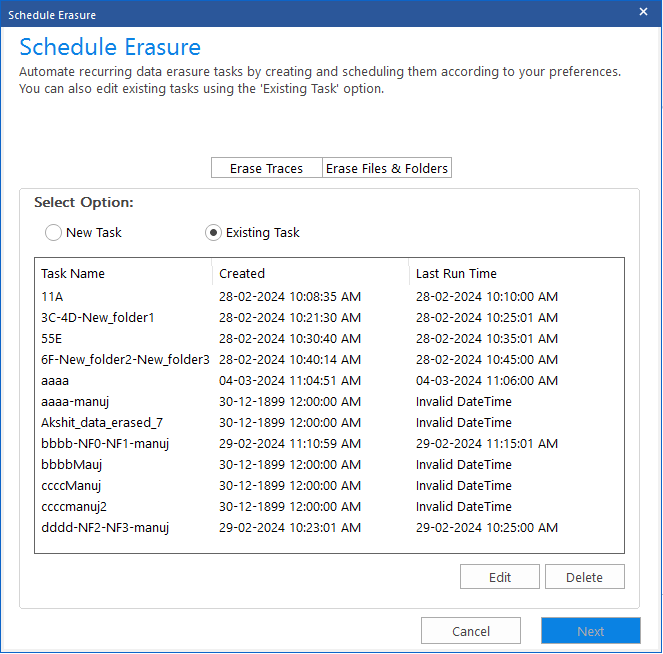
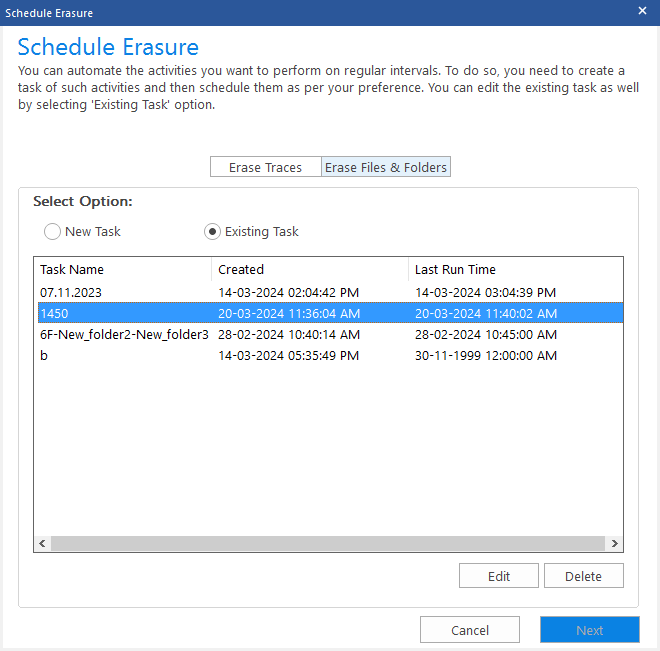
6. Select the task which you want to delete and click Delete.
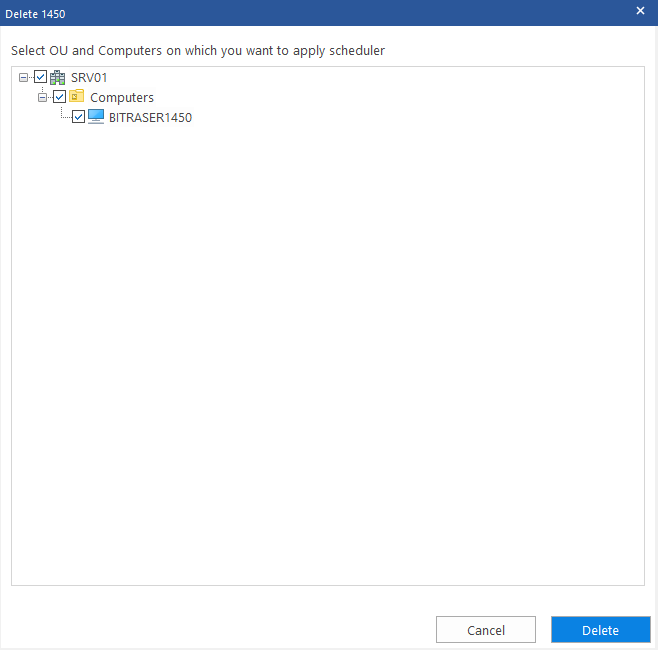
7. A window appears with the list of connected OUs to the domain. Choose the computers on which you wish to apply the task settings and for final confirmation click Delete.
8. Task Status dialog box appears with task details such as serial number, Computer/OUs, status and description once the task has been successfully created. Click OK to exit or click Save to browse and save the list of task status at your desired location in .csv format.
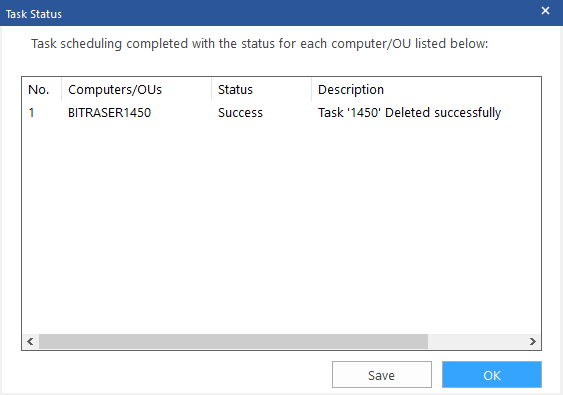
Note: The status appears as failure if the selected computer is inaccessible or doesn't meet the task requirements.
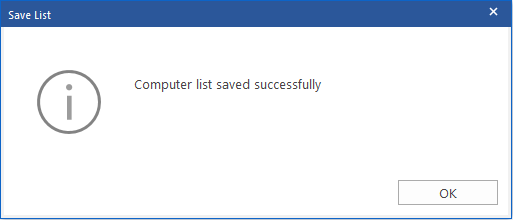
9. Saved List dialog box appears with the message "Computer list saved successfully" once you have successfully saved your task. Click OK to finish the process.
